Introduction

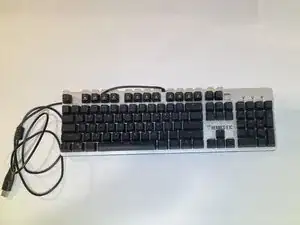
Whether it's due to wear and tear, accidental spills, or the collection of dust and debris, keyboard switches can encounter various issues over time. If you're experiencing unresponsive keys, or any other keyboard switch-related problems with your Hermes E1C then this guide is here to walk you through the step-by-step process of replacing your switches.

The Hermes E1C uses switches that may easily break down due to daily use. This guide is designed to address common issues associated with Gamdia's custom keyboard switches for this model, ensuring that you can restore the functionality of your keyboard without the need to invest in a brand-new one.

Finding a replacement switch may be difficult as Gamdias creates but does not sell its custom switches, especially since the E1C keyboard contains mechanical tactile switches that don't have compatibility with other consumer tactile switches.

  1. SXhGOFhqfFjJfSPw
    • Disconnect the keyboard via its USB cable.

  2. 6nOYGEfy2MQBTJnQ
    6nOYGEfy2MQBTJnQ
    AXOMryLkG5KFyqOS
    UPViY1DCMsUOdPFs
    • Using a keycap remover, pull out as many keycaps as needed using minimal force.

    • Removal of 3 caps from the top, 1 cap from the right & left, and 2 caps from the bottom are needed to gain clear access to a desired switch.

    • It is highly recommended to take a picture of the keyboard before removing the majority of keycaps.

  3. l2PCAG1ysc5qsMjb
    l2PCAG1ysc5qsMjb
    2Ki2FNo5CpjNiZUH
    wuF2hR6FeM4Hg5fl
    • Use a brush to remove any debris to prevent any connection issues for the switches.

    • You will need to spend a bit of time moving the brush up and down through the switches as some debris may not be cleared.

    • Usage of the brush shown in the 3rd picture is only needed if there are clear signs of debris stuck under the switch.

  4. 6RMYQTFO1aBBoS2F
    6RMYQTFO1aBBoS2F
    m251QWRrhkWLNTOO
    gPlEITLOUv53qZHR
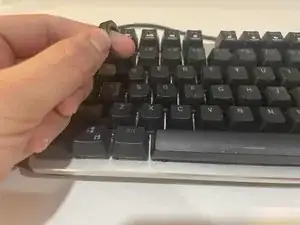
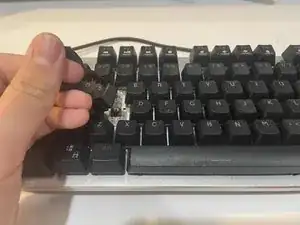
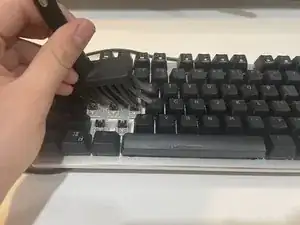
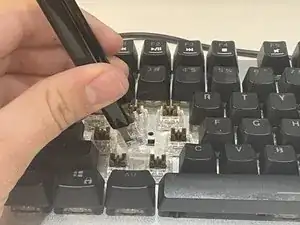
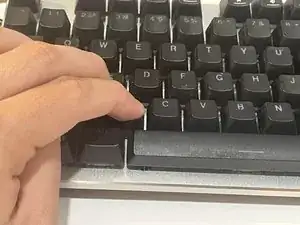
    • Using a switch puller, you want to target the top and bottom of the switch.

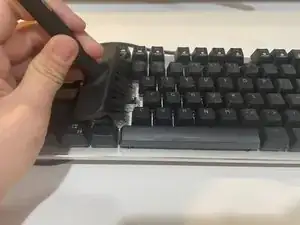
    • When you feel like the tool is safely under the switch you can simply pull it upwards with a bit of force.

  5. aX6bGGJ1yGqaXQDv
    aX6bGGJ1yGqaXQDv
    hlJFuAQbnWrESqFw
    guCjS6pm2DpTGYgk
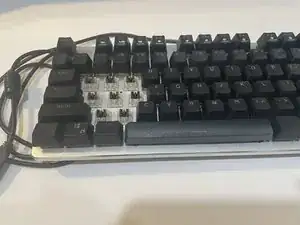
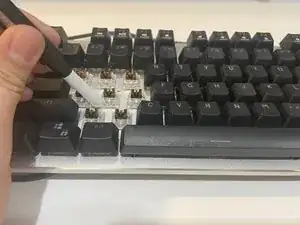
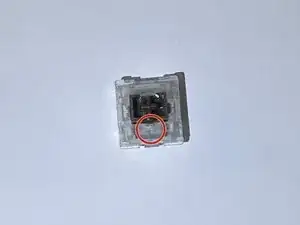
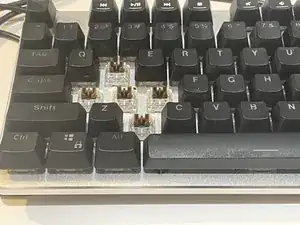
    • Before inserting the new/working switch, you need to make sure that you can either:

    • See an X symbol facing towards you.

    • See that the top of the brown switch is horizontal like a rectangle.

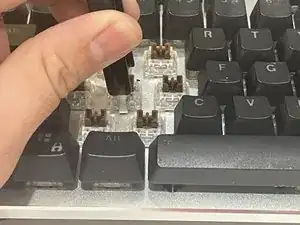
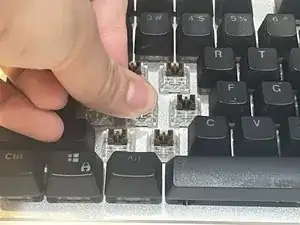
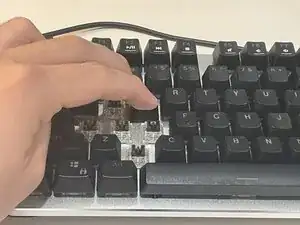
    • Insert the correctly aligned switch by using a bit of force to push in the switch as there are no pins to be mindful of.

    • If the switch is not correctly aligned you run the risk of damaging the switch or even getting it stuck in the keyboard.

  6. ECn1rV5kwAKTKPUM
    ECn1rV5kwAKTKPUM
    uTpeZnBqVSes2BiA
    4oWTFnUgQOroyWo2
    • Simply use a bit of force to place the keycaps back onto the switches

    • If you are removing multiple key caps then this is where the previously mentioned picture becomes useful, as it will help you place the the key caps on their corresponding switches.

    • Some keycaps have "switch helpers," such as the space bar. All that is needed is to align the bottom of the keycap with the placement on the keyboard and it should pop into place easily.

Jorge Arias

Member since: 25/10/23

133 Reputation

One comment

where did you get the switches? I can't find any anywhere.

abbi grace -