Introduction

This is a prerequisite-only guide! This guide is part of another procedure and is not meant to be used alone.

  1. dBgHCbiwHw1WMWQf
    dBgHCbiwHw1WMWQf
    ntxnwIlQBB2Yco2O
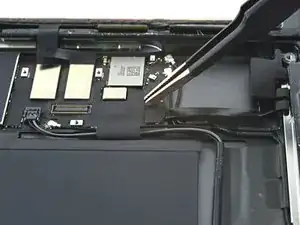
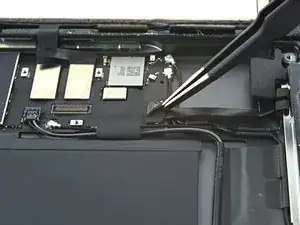
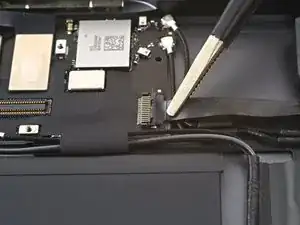
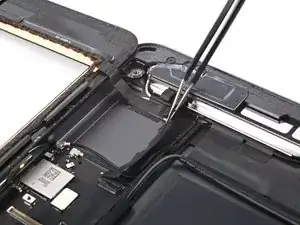
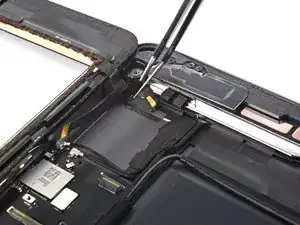
    • Use a pair of tweezers to peel off the tape covering the home button cable ZIF connector.

  2. w4eXX2BdWPHkxcYR
    w4eXX2BdWPHkxcYR
    vJ4GAR4ONBjjWxHG
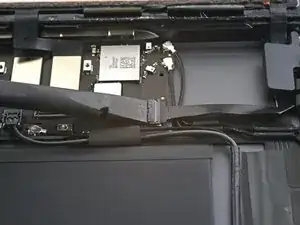
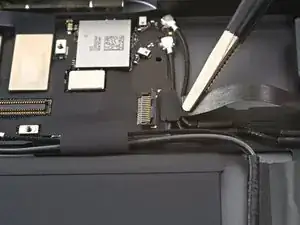
    • Use a spudger, an opening tool, or your fingernail to flip up the small, hinged locking flap on the home button cable ZIF connector.

  3. CDBsVjWQNOmeZ3pH
    CDBsVjWQNOmeZ3pH
    DaP1reiBQRWBZboX
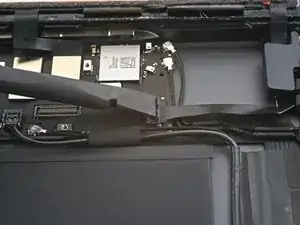
    • Use a pair of tweezers to pull the home button ribbon cable straight out of the ZIF connector.

  4. fRqjvfUDFpGwJEuM
    fRqjvfUDFpGwJEuM
    2cZUUmYT6MTjcxtl
    qqbJARxZIHM5nCan
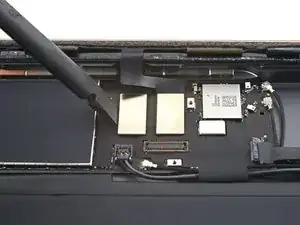
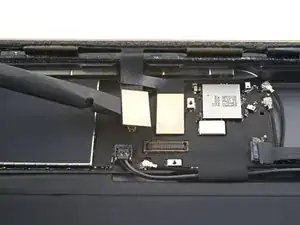
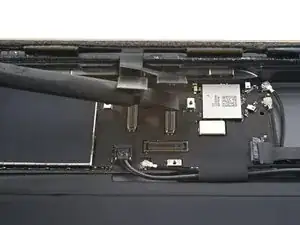
    • Use the flat end of a spudger to pry up and disconnect the two digitizer cable press connectors.

    • To avoid damaging your iPad, pry only on the connectors themselves, not on the socket on the logic board.

  5. 2Z65nIi4uMCvttCN
    2Z65nIi4uMCvttCN
    OThHsnG4ttXrfCQE
    HaUpGcXp2GltHHjW
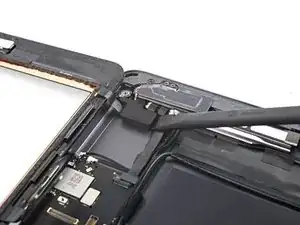
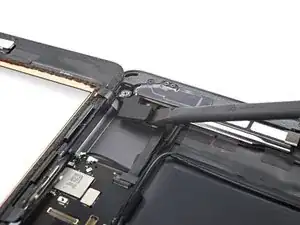
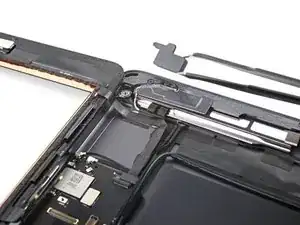
    • Use the flat end of a spudger to pry up the vibration isolator near the bottom-right corner of the device.

    • Take care not to puncture or tear the home button ribbon cable.

    • Remove the vibration isolator.

  6. ogIaD6vOywWV4qFm
    ogIaD6vOywWV4qFm
    CF4xLynj23qvWZQO
    • The home button cable is secured with some light adhesive.

    • Use a pair of tweezers to peel the home button cable away from the frame.

  7. 6nVv2pTvXfQeJt5k
    6nVv2pTvXfQeJt5k
    edNM131pTfdaygtM
    NTLOVWWsXPM33GkA
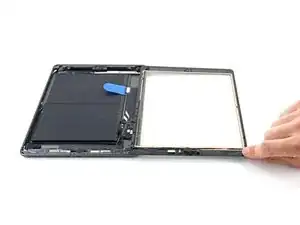
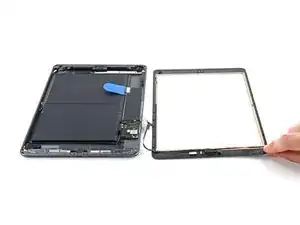
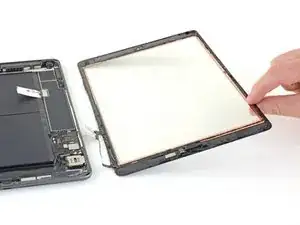
    • Remove the front panel assembly.

    • Use an opening pick to cut away any residual adhesive that may still be connecting the front panel assembly to the frame.

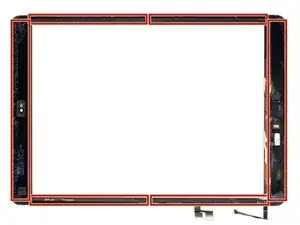
    • If you experience "ghost" or "phantom" touch input issues with your new display, this can be resolved by adding a layer of very thin insulating tape, such as Kapton (polyimide) tape, to the highlighted areas on the back of the panel. iFixit replacement digitizers come with the proper insulation and should not require the addition of any tape.

    • Without the proper insulation, these areas of the digitizer can ground out against other components, causing touch input malfunction.

    • The insulation is not visible to the naked eye, and is different from the foam dust barrier strips found on many iPads.

    • During reassembly, before installing a display, remove any remaining adhesive from the iPad, and clean the glued areas with high concentration isopropyl alcohol (90% or greater) and a lint-free cloth. This helps prep the iPad for fresh adhesive and ensures that it will bond properly.

    • Test your iPad's functions and install pre-cut adhesive strips to the back of the display using our display adhesive application guide before sealing it up.

Conclusion

To reassemble your device, follow these instructions in reverse order.
Alex Diaz-Kokaisl

Member since: 16/01/22

117875 Reputation

0 comments