Introduction
This guide will cover removing a damaged RJ45 connector from an Ethernet cable and the steps to replacing it with a new one using the T568B standard. This requires a wire cutter/stripper/crimper tool and an RJ45 connector.
-
-
First let's identify which side of the tool performs which functions.
-
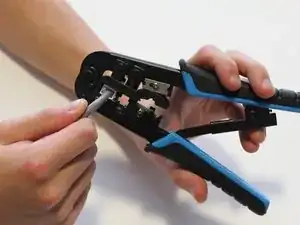
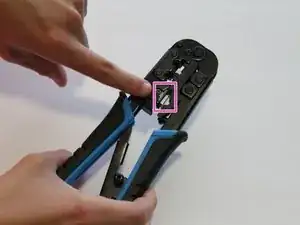
One side of the tool is used for stripping wires. You can tell because it has two blades, one on each side, as indicated in the first photo.
-
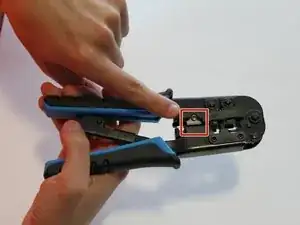
The other side is used for cutting wires. You can tell because one side is bladed while the other is flat, as seen in the second photo.
-
-
-
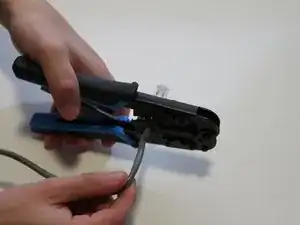
Place the wire across the blade of the wire cutter.
-
Squeeze the handles of the tool together until the wire is cut.
-
-
-
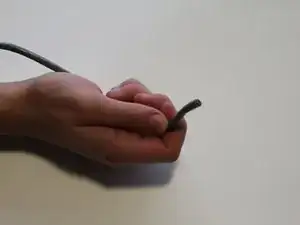
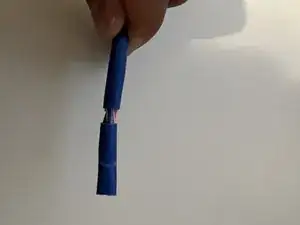
Place about a quarter of an inch of the cable into the stripping end of the tool.
-
Squeeze the handles of the tools together until the tool clicks and then release.
-
Pull the stripped wire cover from the cable with your fingers.
-
When you have successfully completed this step, the cable should appear similar to the third photo of this step.
-
-
-
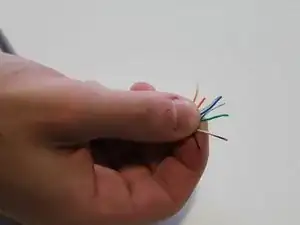
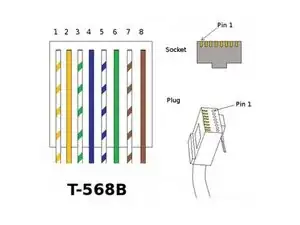
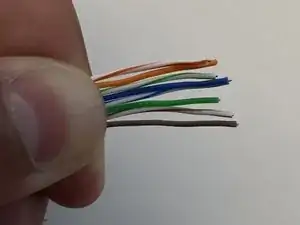
Arrange these cables in the order shown in the diagram.
-
Use your fingers to squeeze the cables about to keep them in order.
-
-
-
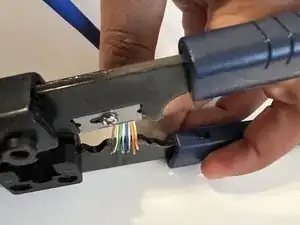
Insert the cables into wire cutters.
-
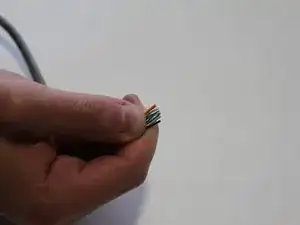
Cut all the cables at the end so they are flush together.
-
-
-
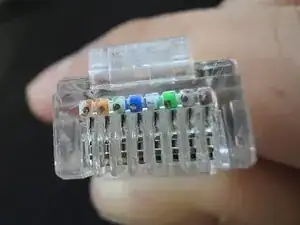
Hold the wires closely together in the order shown in the previous step and push them into the new RJ45 connector, with the clip end of the connector facing down, and the orange/white wire to the left.
-
Push the wires to the end of the connector ensuring that all wires enter their respective chambers in the connector.
-
If you inspect the top of the connector you should be able to see the tips of the wires pushed against the end of the connector, as shown in the second photo in this step.
-
-
-
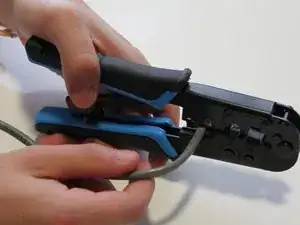
Place the RJ45 into the crimper at the end of the tool. Push it in all the way, it will fit exactly in the tool—you can not push it in too far.
-
Squeeze the handles of the tool together until it clicks and releases.
-


You have now replaced the RJ45 connector, you may test the fix by using using a cable tester. If it does not work, you can always follow the steps in this guide to try again.