Introduction

Follow this guide to replace or remove the 75’ cable on your Electric Eel 75' Drain Cleaner Z5K12IC75AF.

  1. P4lTpgLwLEUKfkiB
    P4lTpgLwLEUKfkiB
    LUIHdnyOdY3GBsjd
    6TZvZ2tyGLxDVWvv
    • Unplug your drain cleaner before starting this guide. Because this device may have been used in a septic setting, it should be cleaned and disinfected as much as possible before disassembly.

    • Wear gloves to protect your hands from injury when handling the cable.

    • Ensure the cable is completely retracted into the auto-feeder.

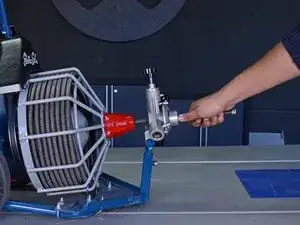
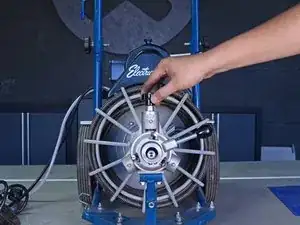
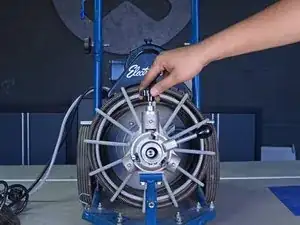
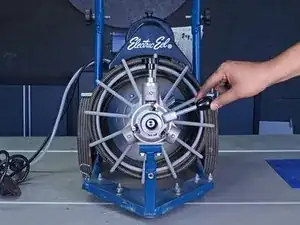
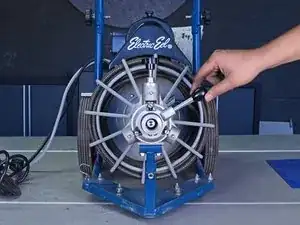
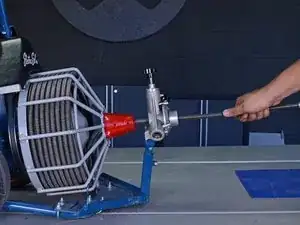
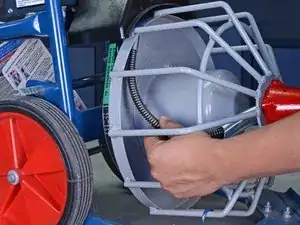
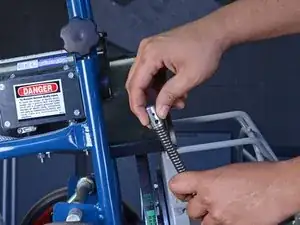
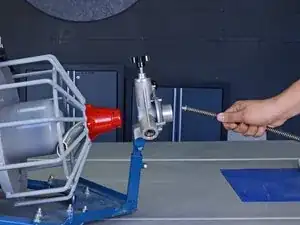
    • Twist the guide spring counter-clockwise to unscrew it from the auto-feeder.

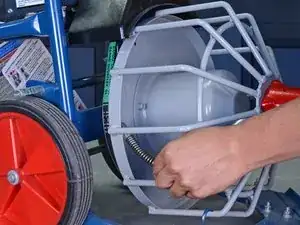
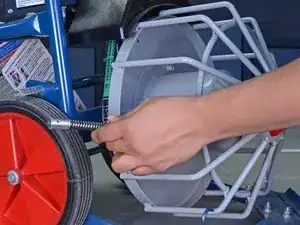
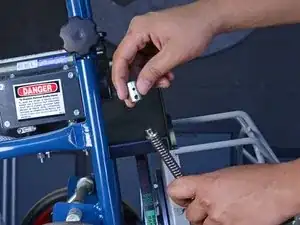
    • Remove the guide spring.

  2. davZ6vQZJJ5grSSh
    davZ6vQZJJ5grSSh
    W5AVMwWZWfQFn3iM
    JZmIOIgDmUOTNPrj
    • Unscrew the tension knob to loosen the tension spring in the top feeder assembly.

  3. ArKKXVtRdPkjnbm1
    ArKKXVtRdPkjnbm1
    fRpgnqxyCKh2nROA
    S3RmJrh2lOBV4pmA
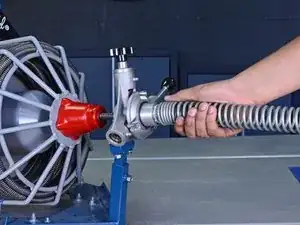
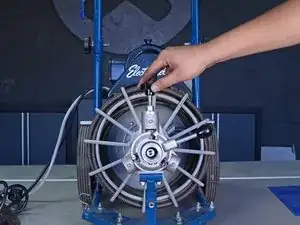
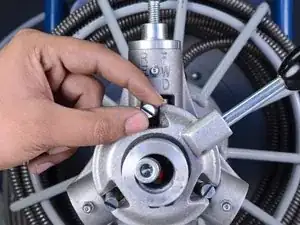
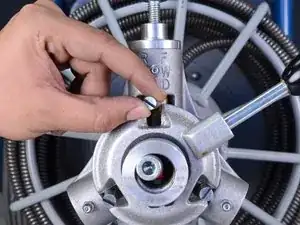
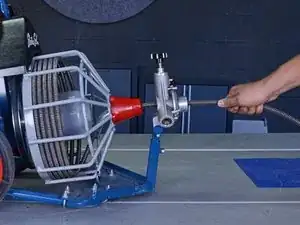
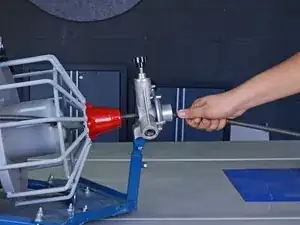
    • Set the feeder adjustment knob in the neutral position, in between the "FWD" and "REV" positions.

  4. BTlRN3kcb6TAgRGg
    BTlRN3kcb6TAgRGg
    vFvdrabPlfStShsT
    • Push the top control finger up as far as possible.

    • This disengages the top feeder assembly and allows the cable to freely move through the feeder. The finger may fall back down on its own and restrict cable movement. If this occurs, simply push the finger back up.

  5. pSEt2AJM36JjWJtD
    pSEt2AJM36JjWJtD
    iTMVIYMIS5epwOI5
    • Grab the end of the cable and pull to begin removing the cable from the drum.

    • If the the cable won't pass through the feeder, ensure that the top bearing is completely disengaged as described in step 4 of this guide.

  6. 2XKqR2iOQLfVs5W5
    2XKqR2iOQLfVs5W5
    gB1VukBZLClgZFKC
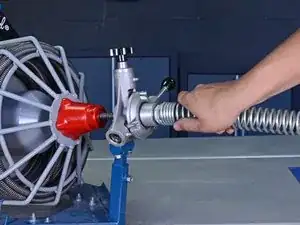
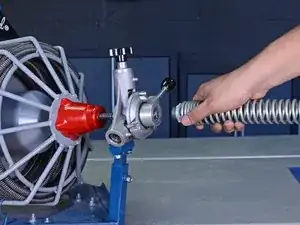
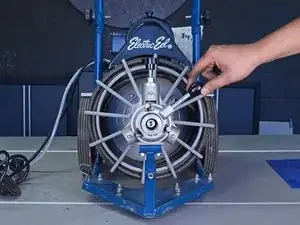
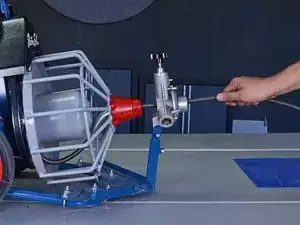
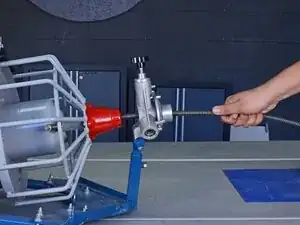
    • Continue pulling out the cable until it reaches the end. The very end of the cable and the cable anchor will still be attached to the back side of the drum.

  7. HTYuIvkitG4ByagF
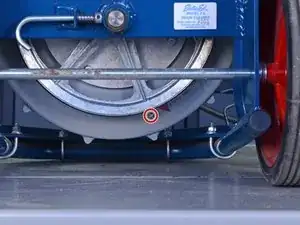
    • Use a flat-head screwdriver to remove the screw on the rear face of the drum that secures the cable anchor.

    • You may need to rotate the drum so that the screw is accessible from bottom rear of the drain cleaner.

    • During reassembly, twist the cable so that the threaded hole in the cable anchor is facing the back side of the drum.

  8. FYoHIyaKhnxVnAaZ
    FYoHIyaKhnxVnAaZ
    txurysLFTx6d2Lee
    65w2SrD5LLNqCEJY
    • Pull the end of the cable out of the side of the drum to access the cable anchor.

  9. isNb1NLBQOZtctLd
    • Use a 1/8" hex key to remove the grub screw from the cable anchor.

  10. ZvbwUKaiLHosUjWZ
    ZvbwUKaiLHosUjWZ
    6LVXilVUJEwvb4Cb
    • Remove the cable anchor from the cable.

  11. GvqaqNIFmPHZM4q4
    GvqaqNIFmPHZM4q4
    oKRYIKuSUKeBM1ic
    sHAJYNRIbTov1TuG
    • Pull the rest of the cable out of the drum through the auto-feeder to remove it.

Conclusion

To reassemble your device, follow these instructions in reverse order.

Tarun Thiruma

Member since: 20/11/19

35226 Reputation

2 comments

make sure to feed back in counter clockwise

MIGUEL -

there is a ANCHOR CABLE, P/N: 1/2M3, that can be left on the drum and the new cable can be attached to it. Much easier to change the cable when yo don't have to re-attach it each time, to the drum.

MICHEL -