Introduction
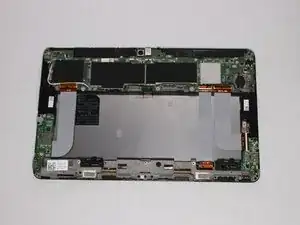
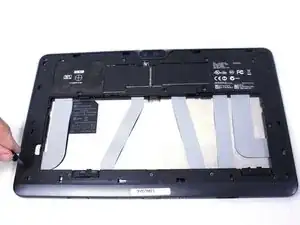
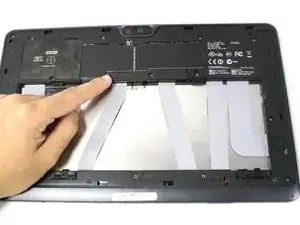
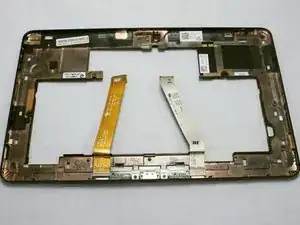
This guide will show you how to safely remove the frame from the body of the Dell Venue 11 Pro to access the internal components. It is also a prerequisite to all other replacement guides on this page except for the battery.
Tools
-
-
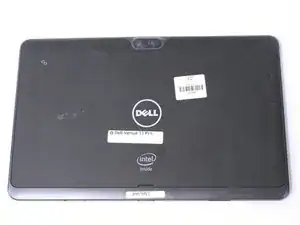
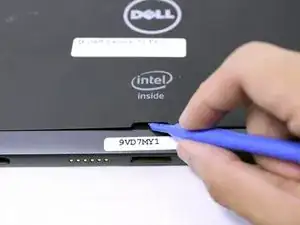
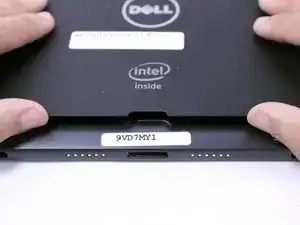
Turn your device over to the backside. On the notch at the bottom portion of the tablet, use your fingers to lift up the back cover.
-
-
-
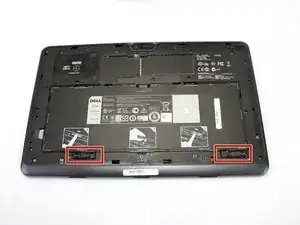
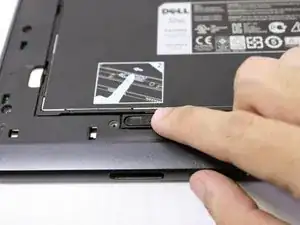
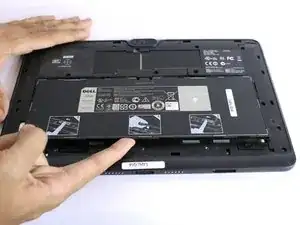
Below the battery pack, there are two lock mechanisms. Push EACH lock to the LEFT until it makes a click noise. Lift the battery from the bottom up and remove.
-
-
-
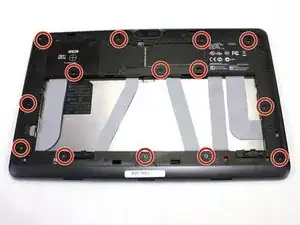
Use your Philips #000 screwdriver to unscrew the fourteen 2.5 mm screws marked on the tablet.
-
-
-
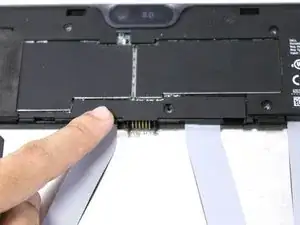
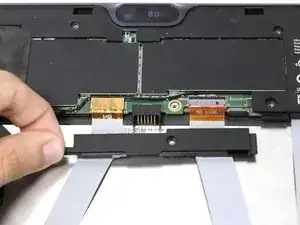
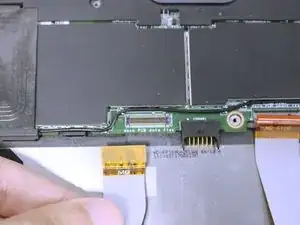
Slide the cover on the two middle ribbon cables out to remove it. It should uncover the orange cable connectors.
-
-
-
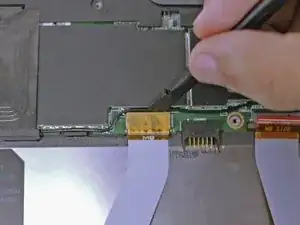
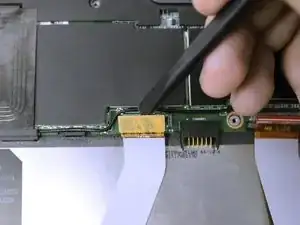
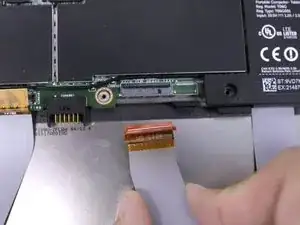
To disconnect the left ribbon cable from the motherboard, place the flat end of your spudger under the edge of the pop connector and pry the connector straight up.
-
-
-
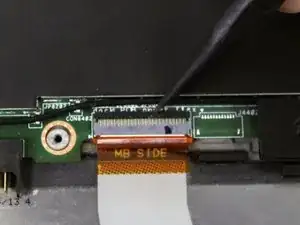
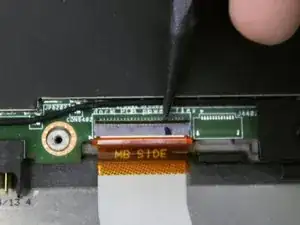
The right ribbon cable has a ZIF connector. Use the flat end of your spudger to lift up the small locking flap, then pull out the cable.
-
-
-
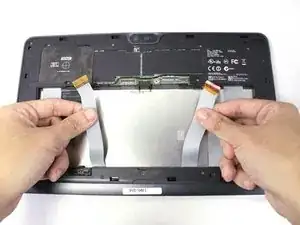
There are adhesive strips between the device and the two ribbon cables we disconnected. Pull each cable away from the device just enough to break the adhesive bonds.
-
-
-
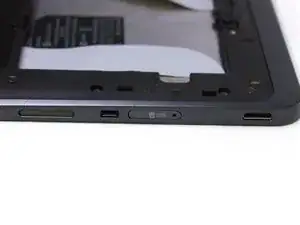
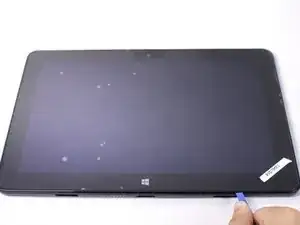
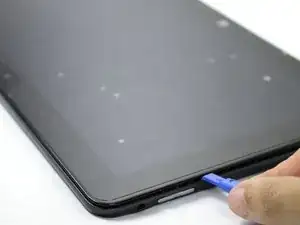
Insert your plastic opening tool between the screen and frame, and run the tool around the edges to separate the frame from the tablet.
-
To reassemble your device, follow these instructions in reverse order.
