Introduction

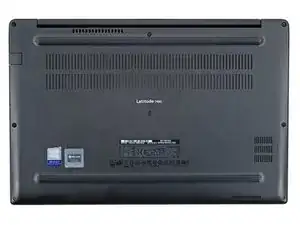
Use this guide to replace the speakers in your Dell Latitude 7490 laptop.

You may need to replace the speakers if they're scratchy, too quiet, or sound fuzzy.

Note: The left and right speakers are connected by a wire and must be removed and replaced together.

  1. rXn3Ph1eZtNG6JV1
    rXn3Ph1eZtNG6JV1
    HFqT4WkFUlepG16O
    • Allow your laptop's battery to drain below 25% before starting this repair—a charged battery may catch fire if damaged.

    • Unplug all cables and fully shut down your laptop.

  2. NcTiMBuYfW2cSSrR
    • Flip your laptop over so the rubber feet strips are facing up.

  3. gj3hyTxJVLb3n3ux
    gj3hyTxJVLb3n3ux
    XwSng1PvSHoWwP5p
    • Use a Phillips screwdriver to fully loosen the eight captive screws securing the back cover.

  4. BsC3oIpopaQDQcON
    BsC3oIpopaQDQcON
    pANaxGFhRHT1dFcj
    1HavHh64px6L2sg3
    • Plastic clips secure the back cover to the frame. You'll hear and feel them release as you work.

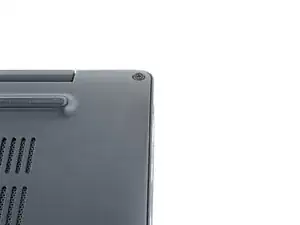
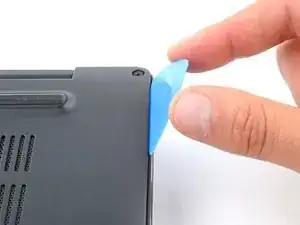
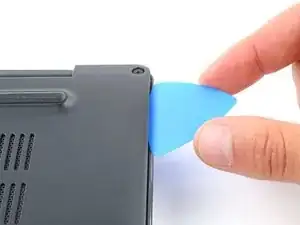
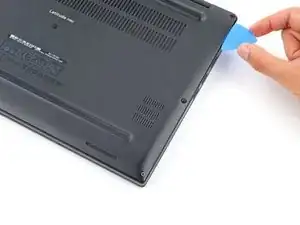
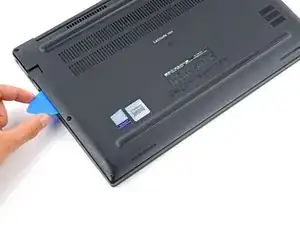
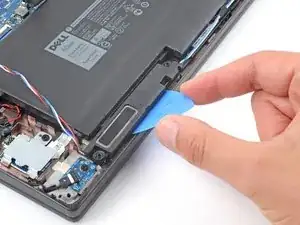
    • Insert the long side of an opening pick between the top right corner of the back cover and frame.

    • Pry the back cover up to release the clips securing the top right corner.

  5. oxqS61jibxnAdhth
    oxqS61jibxnAdhth
    tUmEATLiqUUNtYYW
    Zq51LW5mCBtFKmTF
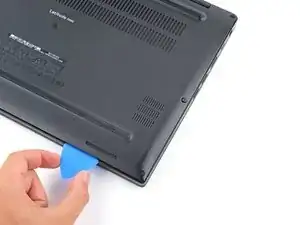
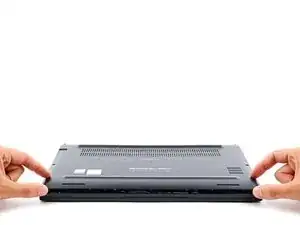
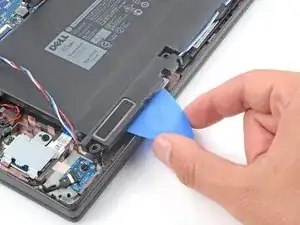
    • Slide the opening pick down the right edge and around the bottom right corner to release the clips.

  6. sZRF3JmgpPdwarJA
    sZRF3JmgpPdwarJA
    spUpebP2lSEFYbyq
    ijAcmIoxgTvABmoH
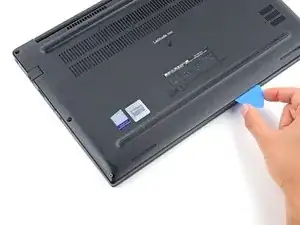
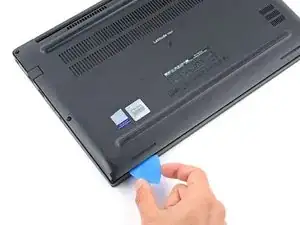
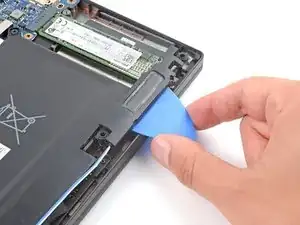
    • Slide the opening pick along the front edge and up to the top left corner to release the remaining clips securing the back cover.

  7. 34H5a1DYHpRGT1Oj
    34H5a1DYHpRGT1Oj
    u214Yu31dPTxLsJt
    lwHMcKKeFflBgNJo
    • Remove the back cover.

    • During reassembly, lay the back cover on the frame and press down firmly around the perimeter to engage all the clips.

  8. nSR4PYrMP1ojYFJQ
    nSR4PYrMP1ojYFJQ
    EgAseLpdRf6kVb5p
    • Grip the plastic tab on the battery connector and pull straight up to disconnect it.

    • During reassembly, align this connector over its socket and press down until it clicks into place. If it doesn't connect, re‑align it and try again.

  9. 6lBHUYQ4wsl1t6fF
    6lBHUYQ4wsl1t6fF
    G6ZSfQwCNZg3ZAIK
    blq6mPVcZ3huDMST
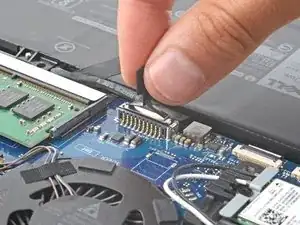
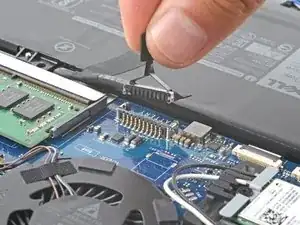
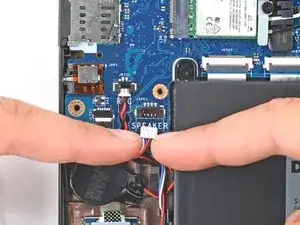
    • Use clean fingernails to pull the speaker connector out of its socket on motherboard's bottom left corner.

    • If your fingernails aren't long enough, use a spudger to push on alternating sides of the connector and "walk" it out of its socket.

  10. Au2GV2rupLtZPoSl
    Au2GV2rupLtZPoSl
    HDRUTbZdwldDEMJP
    voFVfoxBSCSAp3hr
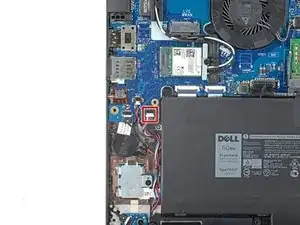
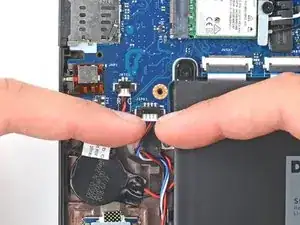
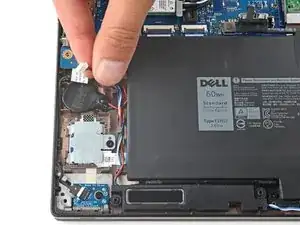
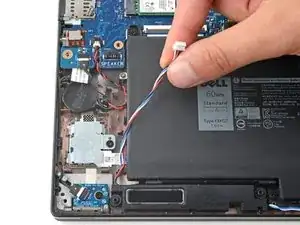
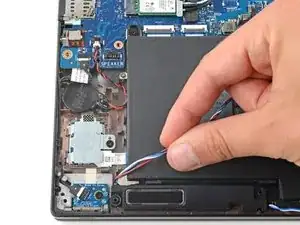
    • Use your fingers to guide the speaker wire out of its clips near the left edge of the battery.

  11. bxlVK4uyiEM64BBw
    bxlVK4uyiEM64BBw
    kMWkjLfER2UIp53I
    KRD3dvh35AdjH635
    • The speakers are secured to the frame with rubber grommets.

    • Insert the flat side of an opening pick between the bottom edge of the left speaker and frame.

    • Pry the speaker up to free it from the frame.

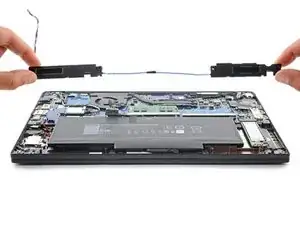
    • Use the same process to free the right speaker.

  12. dJpEiGPRAWV5wcch
    dJpEiGPRAWV5wcch
    i2BtIIH2Bc3w552E
    • Remove the speakers.

    • To reinstall a speaker, line the grommets up with their posts in the frame and push the speakers down to secure them.

Conclusion

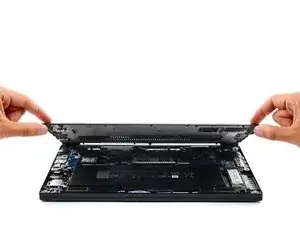
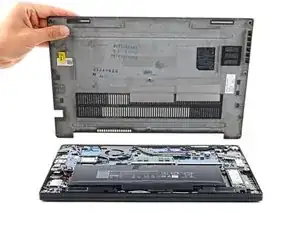
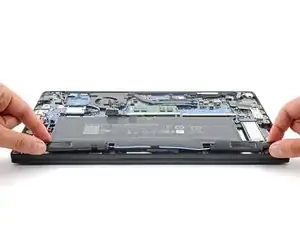
To reassemble your device, follow these instructions in reverse order.

Take your e-waste to an R2 or e-Stewards certified recycler.

Repair didn’t go as planned? Try some basic troubleshooting, or ask our Answers community for help.

Spencer Day

Member since: 14/09/22

49372 Reputation

0 comments