Introduction

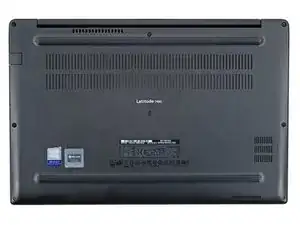
Use this guide to replace the CMOS battery in your Dell Latitude 7490 laptop.

If your laptop shows a BIOS configuration screen every time it's powered on, the CMOS battery may have died. Replace the CMOS battery to retain certain boot settings on your laptop.

  1. rXn3Ph1eZtNG6JV1
    rXn3Ph1eZtNG6JV1
    HFqT4WkFUlepG16O
    • Allow your laptop's battery to drain below 25% before starting this repair—a charged battery may catch fire if damaged.

    • Unplug all cables and fully shut down your laptop.

  2. NcTiMBuYfW2cSSrR
    • Flip your laptop over so the rubber feet strips are facing up.

  3. gj3hyTxJVLb3n3ux
    gj3hyTxJVLb3n3ux
    XwSng1PvSHoWwP5p
    • Use a Phillips screwdriver to fully loosen the eight captive screws securing the back cover.

  4. BsC3oIpopaQDQcON
    BsC3oIpopaQDQcON
    pANaxGFhRHT1dFcj
    1HavHh64px6L2sg3
    • Plastic clips secure the back cover to the frame. You'll hear and feel them release as you work.

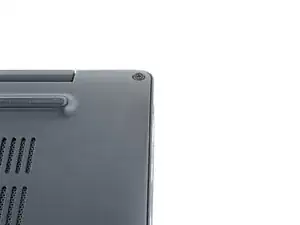
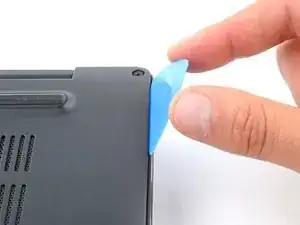
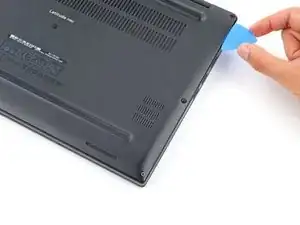
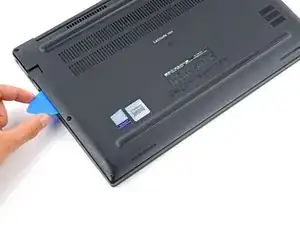
    • Insert the long side of an opening pick between the top right corner of the back cover and frame.

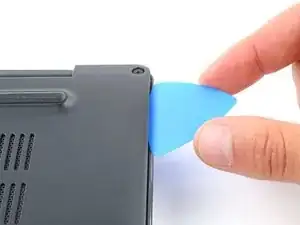
    • Pry the back cover up to release the clips securing the top right corner.

  5. oxqS61jibxnAdhth
    oxqS61jibxnAdhth
    tUmEATLiqUUNtYYW
    Zq51LW5mCBtFKmTF
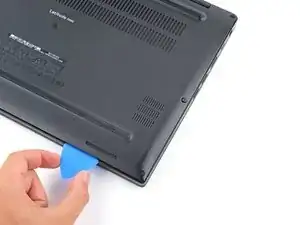
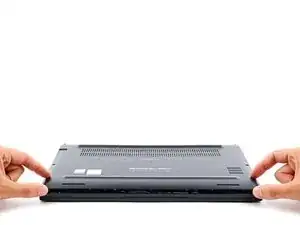
    • Slide the opening pick down the right edge and around the bottom right corner to release the clips.

  6. sZRF3JmgpPdwarJA
    sZRF3JmgpPdwarJA
    spUpebP2lSEFYbyq
    ijAcmIoxgTvABmoH
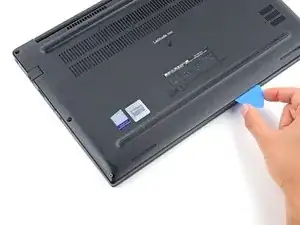
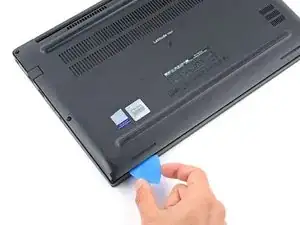
    • Slide the opening pick along the front edge and up to the top left corner to release the remaining clips securing the back cover.

  7. 34H5a1DYHpRGT1Oj
    34H5a1DYHpRGT1Oj
    u214Yu31dPTxLsJt
    lwHMcKKeFflBgNJo
    • Remove the back cover.

    • During reassembly, lay the back cover on the frame and press down firmly around the perimeter to engage all the clips.

  8. nSR4PYrMP1ojYFJQ
    nSR4PYrMP1ojYFJQ
    EgAseLpdRf6kVb5p
    • Grip the plastic tab on the battery connector and pull straight up to disconnect it.

    • During reassembly, align this connector over its socket and press down until it clicks into place. If it doesn't connect, re‑align it and try again.

  9. 6SHSGLeNfDVZaVCZ
    6SHSGLeNfDVZaVCZ
    61XVIN6kldTdVZwC
    lP2y1vOHeluNALf1
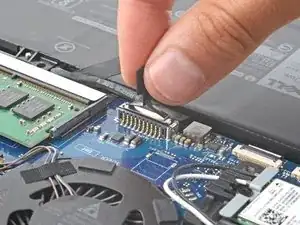
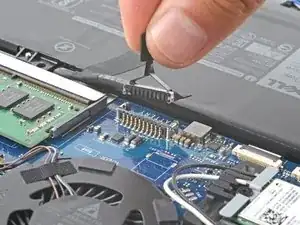
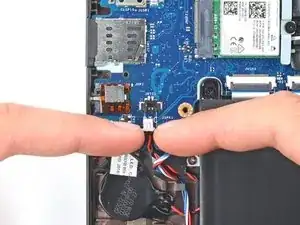
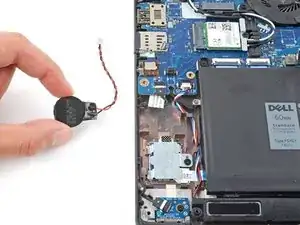
    • Use clean fingernails to pull the CMOS battery connector out of its socket on the motherboard's bottom left corner.

    • If your fingernails aren't long enough, use a spudger to push on alternating sides of the connector to "walk" it out of its socket.

  10. RULVVZRhEYRK5E3u
    RULVVZRhEYRK5E3u
    PGarpQU2m2ZLwetS
    • Adhesive secures the CMOS battery to the frame.

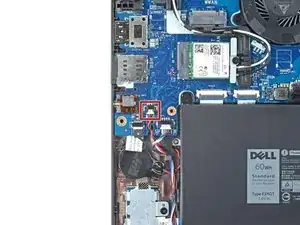
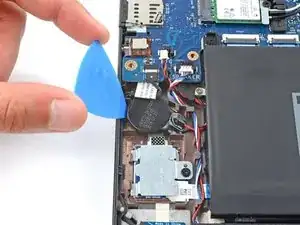
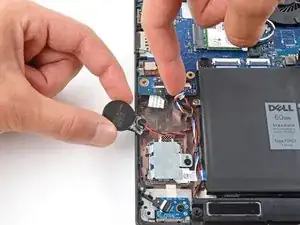
    • Insert an opening pick between the left edge of the CMOS battery and the frame.

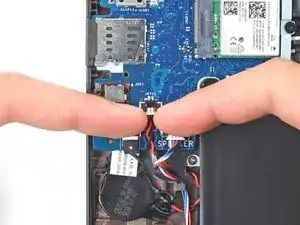
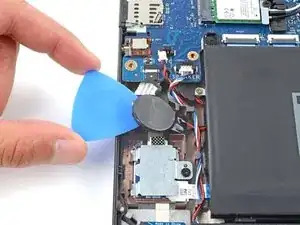
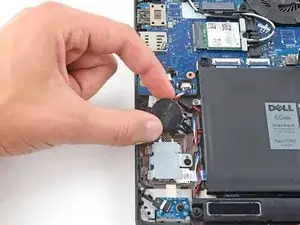
    • Use your pick to pry up the CMOS battery and separate the adhesive securing it.

    • If you're having trouble, heat an iOpener and apply it to the battery for two minutes. Alternatively, you can use a hair dryer to heat the battery.

  11. YKfYxahsdoSdTGwa
    YKfYxahsdoSdTGwa
    YEjZoaBqMv4VkhQe
    HCBAKgReJ5MoundB
    • Remove the CMOS battery, using your fingers to guide its wires out from under the speaker wires.

    • During reassembly:

    • Reconnect the CMOS battery.

    • Apply double-sided tape such as Tesa Tape to the battery and press it into place on the frame.

Conclusion

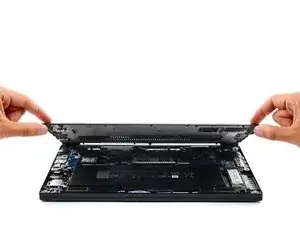
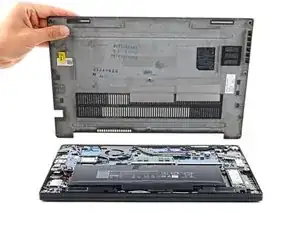
To reassemble your device, follow these instructions in reverse order.

Take your e-waste to an R2 or e-Stewards certified recycler.

Repair didn’t go as planned? Try some basic troubleshooting, or ask our Answers community for help.

Spencer Day

Member since: 14/09/22

49372 Reputation

0 comments