Introduction

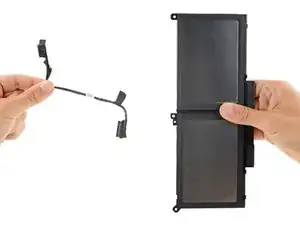
Use this guide to replace a dead or malfunctioning battery in your Dell Latitude 4790 laptop.

If your battery is swollen, take appropriate precautions.

  1. rXn3Ph1eZtNG6JV1
    rXn3Ph1eZtNG6JV1
    HFqT4WkFUlepG16O
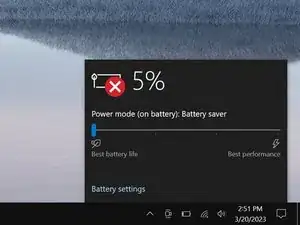
    • Allow your laptop's battery to drain below 25% before starting this repair—a charged battery may catch fire if damaged.

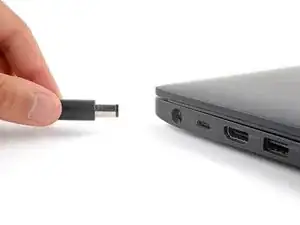
    • Unplug all cables and fully shut down your laptop.

  2. NcTiMBuYfW2cSSrR
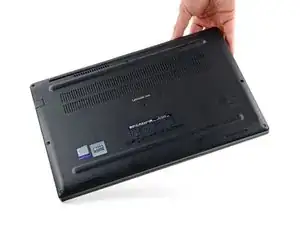
    • Flip your laptop over so the rubber feet strips are facing up.

  3. gj3hyTxJVLb3n3ux
    gj3hyTxJVLb3n3ux
    XwSng1PvSHoWwP5p
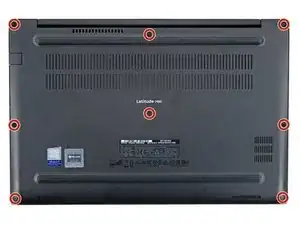
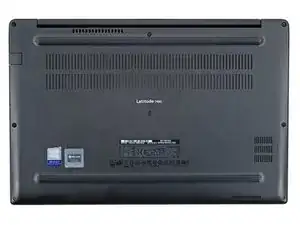
    • Use a Phillips screwdriver to fully loosen the eight captive screws securing the back cover.

  4. BsC3oIpopaQDQcON
    BsC3oIpopaQDQcON
    pANaxGFhRHT1dFcj
    1HavHh64px6L2sg3
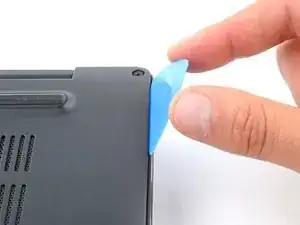
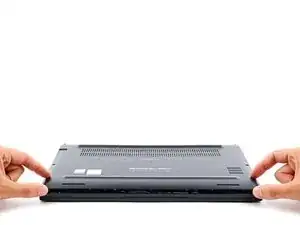
    • Plastic clips secure the back cover to the frame. You'll hear and feel them release as you work.

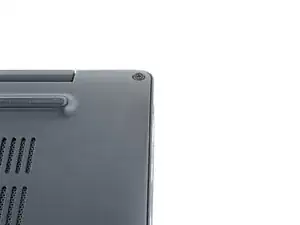
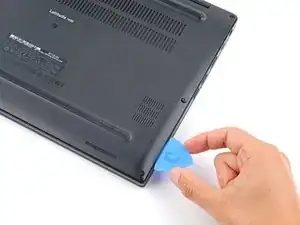
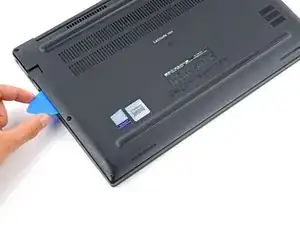
    • Insert the long side of an opening pick between the top right corner of the back cover and frame.

    • Pry the back cover up to release the clips securing the top right corner.

  5. oxqS61jibxnAdhth
    oxqS61jibxnAdhth
    tUmEATLiqUUNtYYW
    Zq51LW5mCBtFKmTF
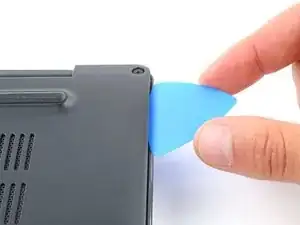
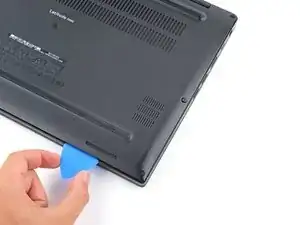
    • Slide the opening pick down the right edge and around the bottom right corner to release the clips.

  6. sZRF3JmgpPdwarJA
    sZRF3JmgpPdwarJA
    spUpebP2lSEFYbyq
    ijAcmIoxgTvABmoH
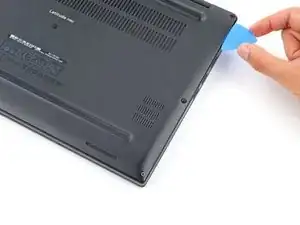
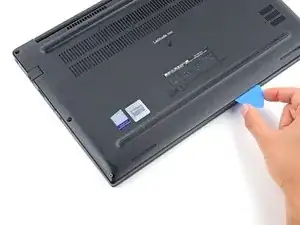
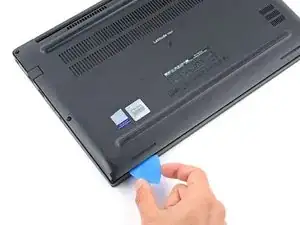
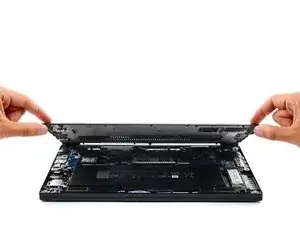
    • Slide the opening pick along the front edge and up to the top left corner to release the remaining clips securing the back cover.

  7. 34H5a1DYHpRGT1Oj
    34H5a1DYHpRGT1Oj
    u214Yu31dPTxLsJt
    lwHMcKKeFflBgNJo
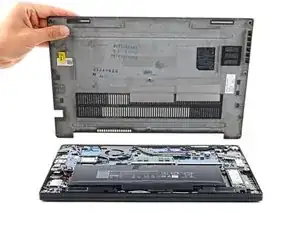
    • Remove the back cover.

    • During reassembly, lay the back cover on the frame and press down firmly around the perimeter to engage all the clips.

  8. nSR4PYrMP1ojYFJQ
    nSR4PYrMP1ojYFJQ
    EgAseLpdRf6kVb5p
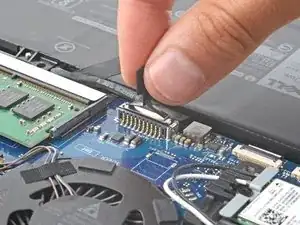
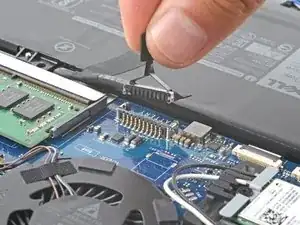
    • Grip the plastic tab on the battery connector and pull straight up to disconnect it.

    • During reassembly, align this connector over its socket and press down until it clicks into place. If it doesn't connect, re‑align it and try again.

  9. SSWaBTISoftSVAfp
    SSWaBTISoftSVAfp
    xCkrrHodkTCTlXwR
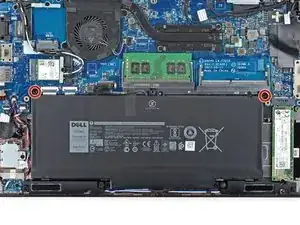
    • Use a Phillips screwdriver to remove the two 5.7 mm‑long screws securing the battery.

  10. PRoaHNQrhIEltTnA
    PRoaHNQrhIEltTnA
    LQ1CIt3J5F3GKGlT
    Jb5mNmeeN6PS5lRY
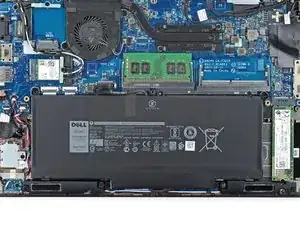
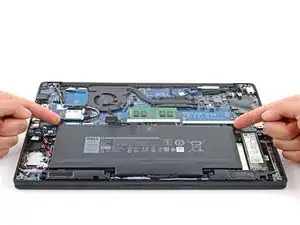
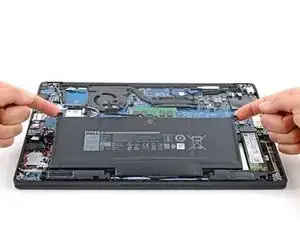
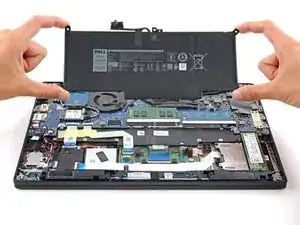
    • Lift the top edge of the battery.

    • Slide the battery's bottom edge out of its recess in the frame and remove the battery.

  11. b6pG1LQdPhoaWmIB
    b6pG1LQdPhoaWmIB
    PTVTpqx5knLJgZvx
    u4QIAkmFZQDTwT2E
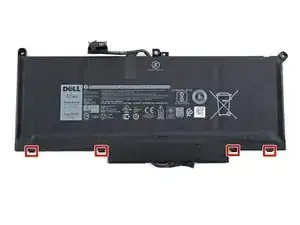
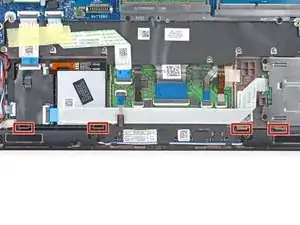
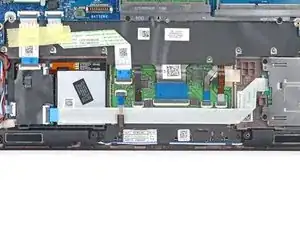
    • During reassembly, slide the four plastic tabs on the bottom edge of the battery into their recesses on the frame before securing the battery.

  12. eonXpbysLiANQQeS
    eonXpbysLiANQQeS
    l6DbqRNmexZAffEw
    cDQGpYlimuiSccN2
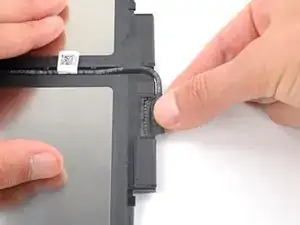
    • If your replacement battery doesn’t come with a cable preinstalled, you’ll have to transfer your original cable to the new battery.

    • Take care not to puncture or bend the battery—it can leak dangerous chemicals and/or catch fire.

    • Flip the battery over and lay it on a clean working surface.

    • Use one hand to secure the battery.

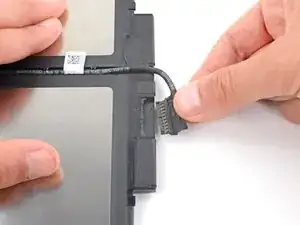
    • Use your other hand to firmly pull the battery connector out of its socket on the bottom edge of the battery.

    • Remove the battery cable from its recess between the two battery cells.

    • During reassembly, transfer the battery cable to your new battery, making sure the cable is snug between the battery cells.

Conclusion

To reassemble your device, follow these instructions in reverse order.

For optimal performance, calibrate your newly installed battery after completing this guide.

Take your e-waste to an R2 or e-Stewards certified recycler.

Repair didn’t go as planned? Try some basic troubleshooting, or ask our Answers community for help.

Spencer Day

Member since: 14/09/22

49372 Reputation

0 comments