Introduction
Use this guide to replace the thermal paste on your Dell Inspiron 15 5584's CPU.
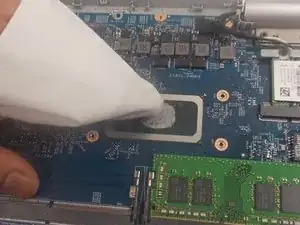
The processor, also known as the CPU, provides instructions and processing power for your device to function. It allows your computer to run applications and programs, as well as create the interface you interact with. Thermal paste, the silver-grey substance found above the CPU, allows for the cooling of the processor by dissipating heat. Without thermal paste, or with old thermal paste, the device will eventually overheat, and become nonfunctional.
Before using this guide, make sure to wear gloves and use the proper cleaning tools. It is important to note that, while thermal paste is skin safe, it is extremely toxic if consumed, rubbed into the eyes, or any open orifice. If consumed, contact your closest poison control center.
You can find detailed instructions here for reapplying thermal paste.
Tools
Parts
-
-
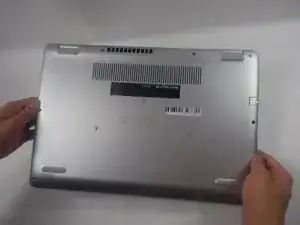
Turn over the laptop so that the bottom is facing upwards, and the Inspiron logo is upside-down.
-
-
-
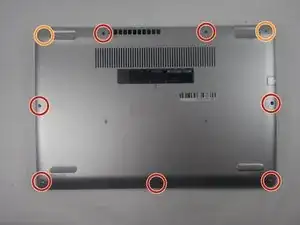
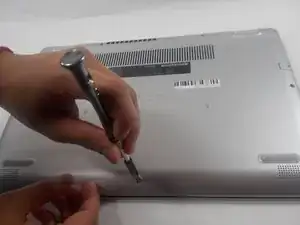
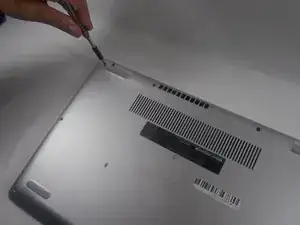
Remove the seven 7 mm screws from the bottom using a Phillips #0 screwdriver.
-
Loosen the two captive back corner screws using a Phillips #0 screwdriver.
-
-
-
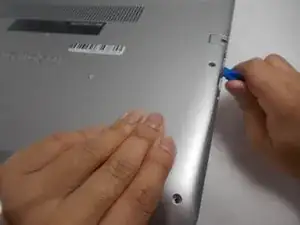
Slide an iFixit opening tool underneath the right side USB port and the keyboard.
-
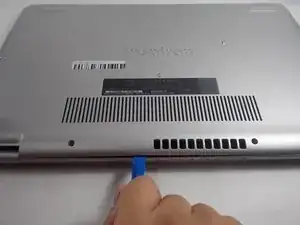
Gently trace the iFixit opening tool along the entire outer rim of the laptop, carefully applying an upwards pressure.
-
-
-
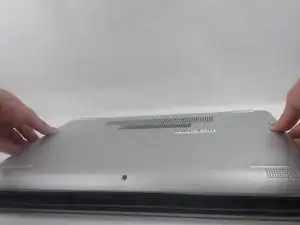
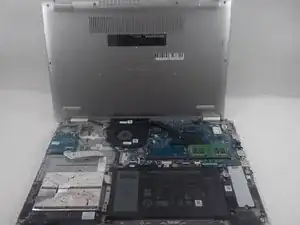
Gently pry off the bottom cover from the laptop.
-
Use the iFixit opening tool to loosen any spots you may have missed from Step 3.
-
-
-
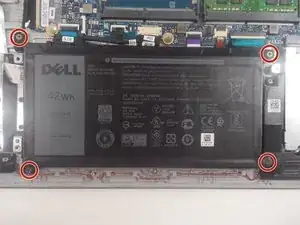
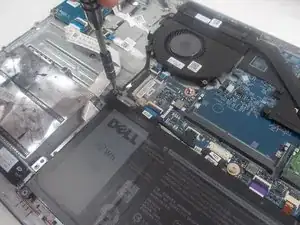
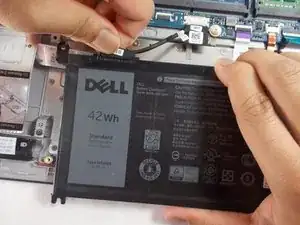
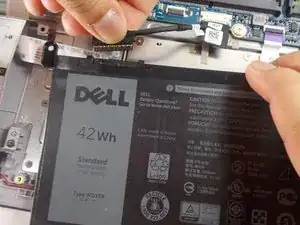
Detach the motherboard connector tab from the top left of the battery.
-
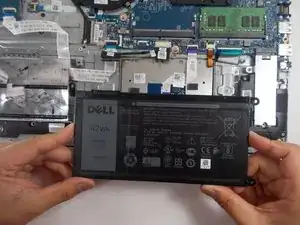
Remove the battery from the device.
-
-
-
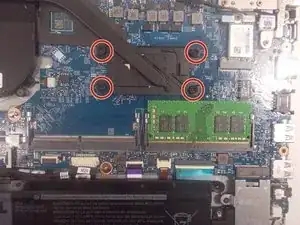
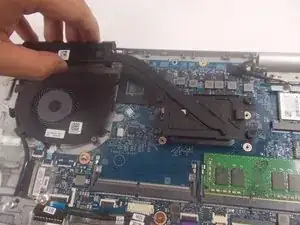
Loosen the four captive 3.5 mm screws securing the heat sink to the motherboard using a Phillips #0 screwdriver.
-
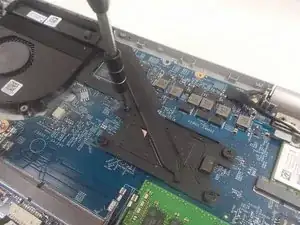
Remove the CPU plate cover from the motherboard and safely place it off to the side.
-
-
-
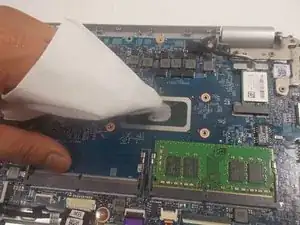
Place a small amount of rubbing alcohol on either a paper towel or cotton swab.
-
Use the paper towel or cotton swab to completely remove the thermal paste from the CPU.
-
To reassemble your device, follow these instructions in reverse order.
