Introduction

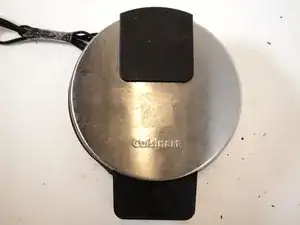
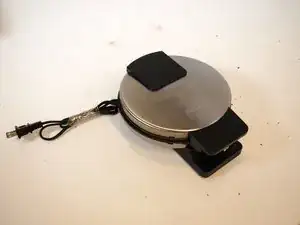
This disassembly guide will illustrate how to completely disassemble the Cuisinart WMR-CA(CR). This can be a messy process if the device is used. Do not disassemble while plugged in. All screws can be removed with a #2 Phillips head screwdriver.

  1. cOsNGZG6Qla3yEo5
    cOsNGZG6Qla3yEo5
    EvNeEqmS4SJBxsnk
    • Cuisinart WMR-CR(CA) fully assembled. This is the starting position.

  2. Kdt3XUka3Z1KBoEf
    Kdt3XUka3Z1KBoEf
    FnHcPwJdYsqqlwoc
    uYd66D3RZU2ATSbC
    • Flip the waffle maker over so that its bottom side is facing up.

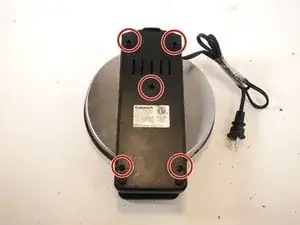
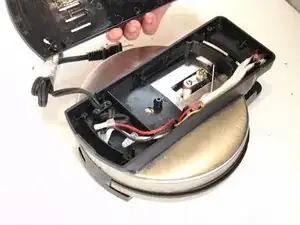
    • There are five 10 mm black screws holding the plastic plate down. Remove these screws to expose the central wire hub.

  3. kZUf2kGGQO2CQp5p
    kZUf2kGGQO2CQp5p
    AwHVBYRLowpF5Gov
    ROP1VHLWMusWagKJ
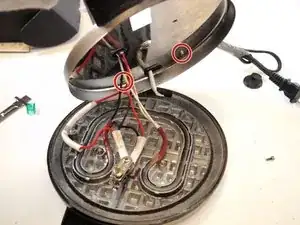
    • Take off the plastic plate to expose the central wire hub on the bottom of the waffle maker.

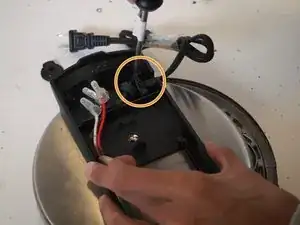
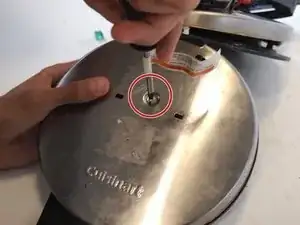
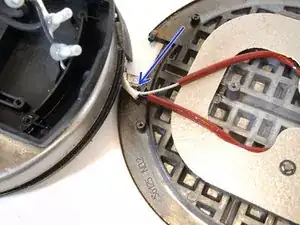
    • Remove the central 10 mm gray screw as shown to detach the hub and stainless steel frame from the bottom side heating element.

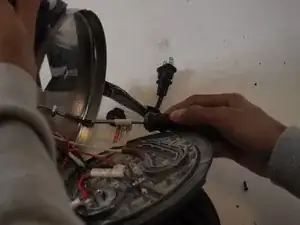
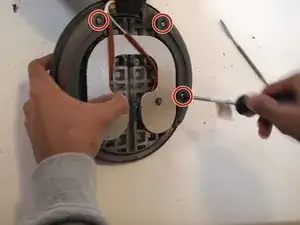
    • Additionally, remove the two 10 mm black screws holding down the AC power supply cord.

    • The plate can be greasy!

  4. MCdZedDCAtMX3qfV
    • Lift up the stainless steel frame on the bottom side.

    • The frame will come off easily. There should be no resistance.

  5. EudAIjOlJZEeWRrj
    EudAIjOlJZEeWRrj
    4ZVEphaYSeCoCFk5
    1NvHk56hF5cjBsFw
    • Remove the two 9 mm gray screws that hold the plastic hub to the frame as shown.

    • These can be tricky as the element and heating plate get in the way. Press these down as much as possible. The hinge will not break.

  6. kIaTNYZQwYW4vht1
    kIaTNYZQwYW4vht1
    sQuM6NWeTlwoNXPK
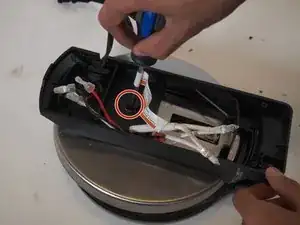
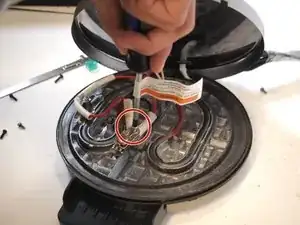
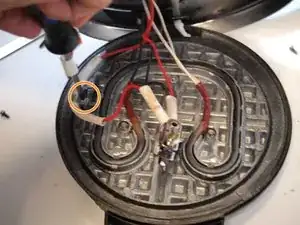
    • Remove the 25 mm gray screw from the regulating thermostat.

    • Additionally, remove the 9 mm gray screw holding down the red wire as shown.

  7. uV1bAOTc1i61QPKf
    uV1bAOTc1i61QPKf
    fSedwiqJDdy1luEE
    • Congratulations the bottom side of your Cuisinart WMR-CA(CR) is fully disassembled.

    • Flip over to the top side.

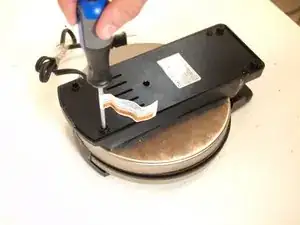
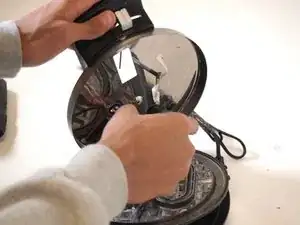
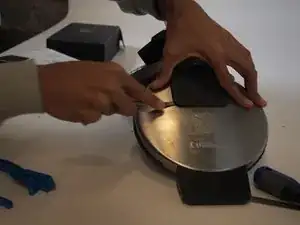
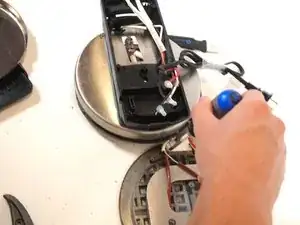
    • Use a metal spudger, Jimmy, or some other thin pry tool to loosen up the plastic plate on the top side.

    • Once loosened, pull down and up to remove the plate, exposing the top side frame screw.

    • It may require a decent bit of force to remove this plate if there is a lot of sticky grease underneath. Just pull down and up until it goes. It won't break.

  8. 5axIdMIyrHnRI2PM
    5axIdMIyrHnRI2PM
    hWKptnemAViPtNG3
    B5fkBQsGEJmLuGJ2
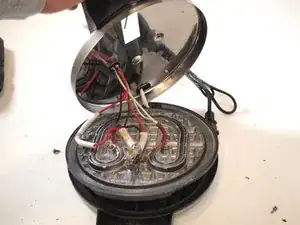
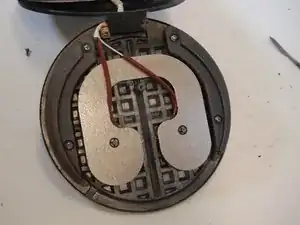
    • Remove the 9 mm gray screw holding the top side frame plate.

    • Once this screw is removed the frame plate should easily come off with no resistance.

    • This exposes the top side heating element and plate.

  9. 4hU64cY4noM6ixKJ
    4hU64cY4noM6ixKJ
    5OKWCXfqUmSMg2BR
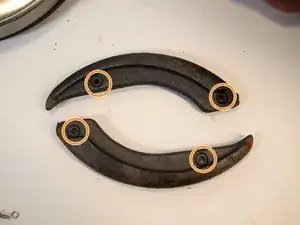
    • Remove the four 9 mm gray screws holding the top side press plates down.

    • Yes, there are four screws.

    • The press plates look like half moon shaped blocks of iron. Only found on the top side.

  10. OoTlFUCOTSBsNnbM
    OoTlFUCOTSBsNnbM
    46vhpB44rSNHjUgE
    • Remove the last 9 mm gray screw holding the top side press to the bottom side press.

    • Congratulations! You have fully disassembled the Cuisinart WMR-CA(CR)

  11. rqsK5cyqKTyFZEWi
    • This device works such that an AC voltage source delivers power to the circuit to perform conduction in order to bake waffle batter.

    • When the power is turned on the element is always heating as the circuit is closed.

    • The two light bulbs, one behind green plastic and one behind red plastic, are connected to the regulating thermostat. Red meaning "ready to bake", and green meaning "ready to eat". Once the cooking surface reaches the desired temperature the red light turns on indicating "ready to bake".

    • Depending on the desired browning level, which is determined by the setting the user inputs (1-5), will influence when the light switches from red to green using the regulating thermostat.

    • The batter causes the cooking surface to cool which changes the light from green to red due to the temperature change. After the batter has been cooking for awhile and the thermostat reads the specific temperature depending on the browning level, the indicator light will turn green.

    • To prevent too much overheating and and damage to the waffle iron between waffles, the thermostat switches will cyclically interrupt the power to the elements to maintain the temperature a bit below that for the selected browning level. This prevents damage and keeps the red light on while a waffle is not being cooked.

    • The regulating thermostat works such that there are two small pads that are touching. While touching, the thermostat switch is closed, turning on the red light. The browning level biases how close these pads are together to reduce or increase the time and temperature change it takes for them to expand apart and close the switch - indicating green.

Conclusion

To reassemble your device, follow these instructions in reverse order.

Isaac Medina

Member since: 13/09/23

243 Reputation

0 comments