Introduction
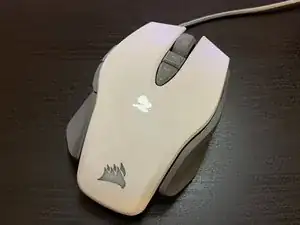
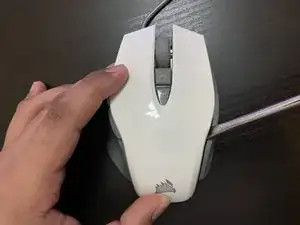
This guide will help you fix your Corsair M65 RGB Elite’s (Model Number: CH-9309111-NA) scroll wheel or completely replace it with a new tactile switch. This model is known to have this issue as the middle button is a tactile switch, which isn’t up to par with mouses nowadays that have micro switches that are rated for 20 million clicks.
One of the main culprits of the scroll wheel button not working may be due to accumulation of dust, which can be solved with the use of WD40 — or even better if accessible: Permatex dielectric grease.
If the switch needs to be fully replaced, steps 8 and 9 will consist of soldering and desoldering of the tactile switch on a PCB (Printed Circuit Board). The switch size of this particular mouse is measured 6.00 mm by 6.00 mm with a depth of 5.00 mm vertical (with two pins).
Before tearing down the mouse, double-check the scroll wheel button by connecting your mouse to other devices, running your hardware troubleshooter, and by updating the mouse drivers. Once identifying it’s not a software issue, you may proceed to fix the button physically after disconnecting the mouse from any ports.
-
-
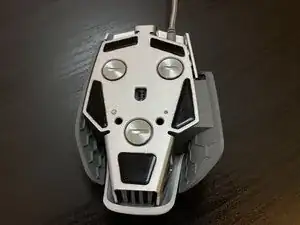
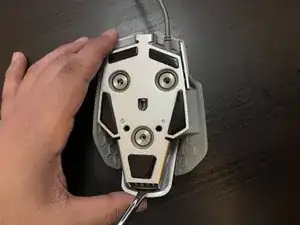
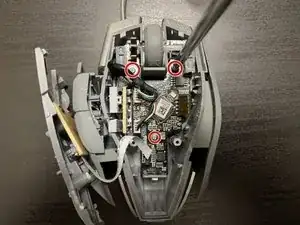
There are 2 screws in the base of the M65 elite, either side of the lowest weight screw. Use a long Phillips PH00 to remove these, as they will make removing the inside cover easier
-
-
-
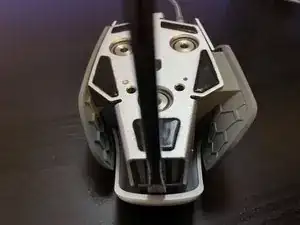
Pry in between the aluminum and plastic parts of the lower part of the mouse chassis using a spudger.
-
Work around the left and right click areas with the spudger to further loosen and remove the mouse shell.
-
-
-
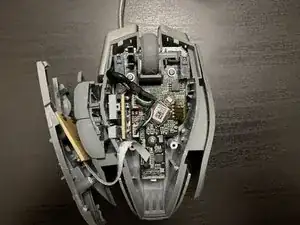
Pry in between the aluminum and plastic parts of the upper section of the second mouse chassis using a spudger.
-
Carefully make your way around the chassis with the spudger.
-
-
-
Remove the ribbon cable by lifting up the black section with tweezers or needlenose pliers. The cable will slide right out. Remember the inside side of the cable is all white and the outer side should have blue text on it.
-
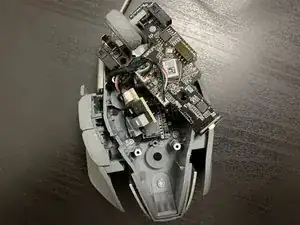
Now you can work on the half that has all the components.
-
-
-
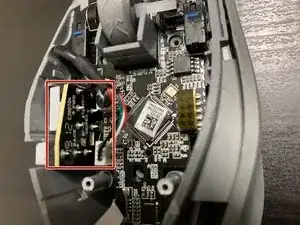
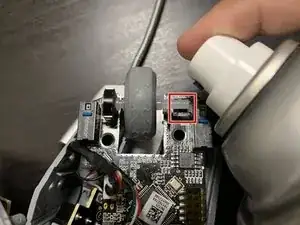
Spray WD-40/Permatex dielectric grease on the switch/button to lubricate and remove oxidation.
-
Press the tactile switch multiple times after spraying.
-
-
-
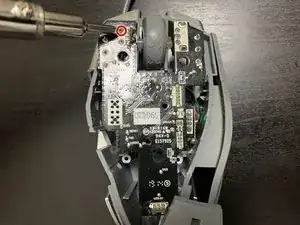
Desolder the faulty tactile switch.
-
For soldering help, check out the guide on soldering/desoldering connections.
-
Remove the faulty switch when loosened.
-
-
-
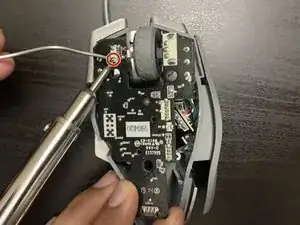
Solder the new tactile switch.
-
Make sure to heat the solder on to the copper.
-
Clean the solder tip with a brass sponge/normal sponge if necessary.
-
When you're finished, make sure to turn off the iron and allow it to cool off on a soldering iron stand.
-


To reassemble your device, follow these instructions in reverse order.

5 comments
do not spray WD40 on electronic switches… clean them with alcohol
Please do not follow step 3 or you’ll break the cover. You don’t have to pry that plastic cover off. Just undo the two screws at the bottom and it easily comes off.
Also, if your left click feels mushy or has a lot of pre-travel where you can’t spam your clicks, just tighten those two screws at the bottom and that should solve those issues.