Introduction
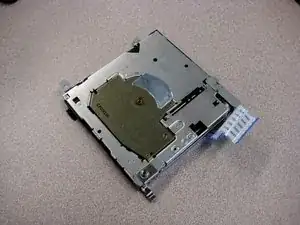
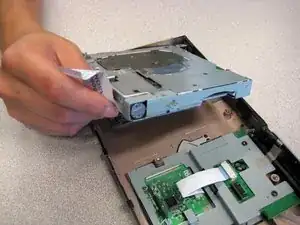
A guide on how to remove the Floppy Drive.
Tools
-
-
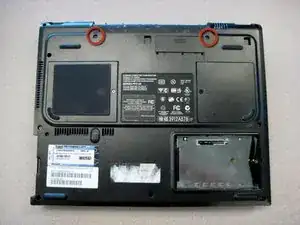
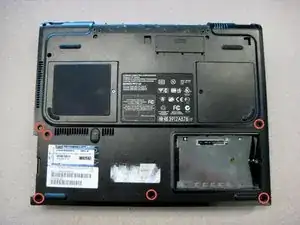
Using a TR8 Torx screwdriver, remove the two T8 Torx screws that secure the LED cover to the base enclosure.
-
-
-
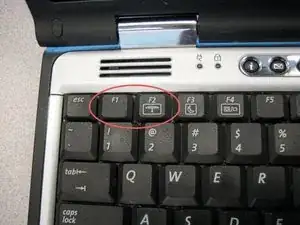
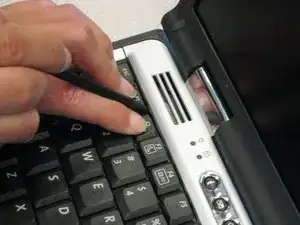
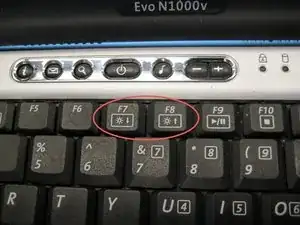
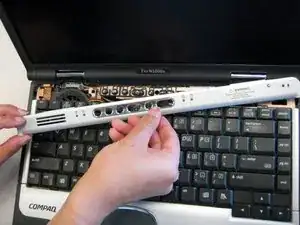
While holding the F1 and F2 keys, insert a spudger between the keys into the notch in the LED cover. Lift up.
-
-
-
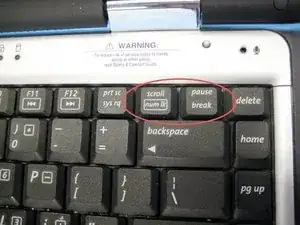
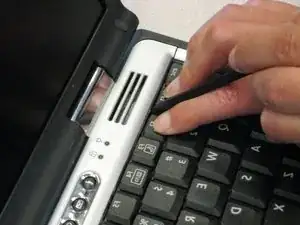
While holding the Scroll and Pause keys, insert a spudger between the keys into the notch in the LED cover. Lift up.
-
-
-
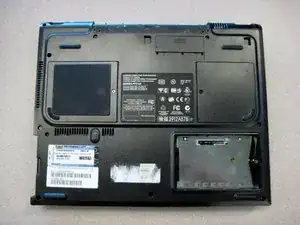
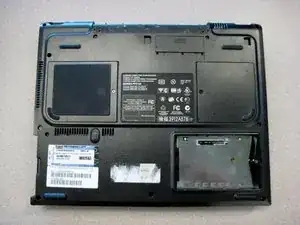
Remove the battery.
-
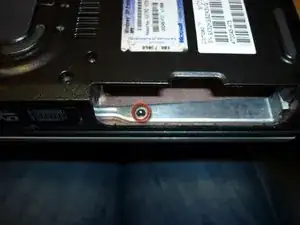
Remove the screw from the metal support on the case edge with a Torx T8 screwdriver.
-
Flip the laptop over again so the top is facing up.
-
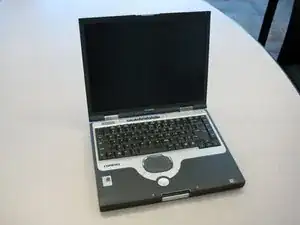
Open the laptop screen and face it towards you.
-
-
-
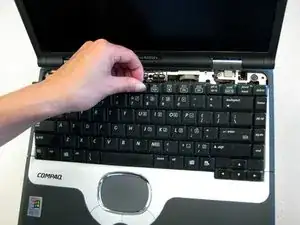
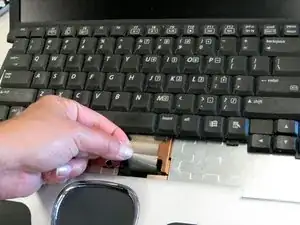
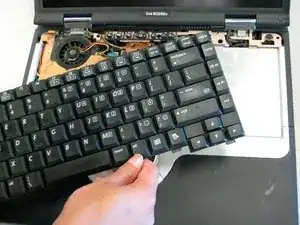
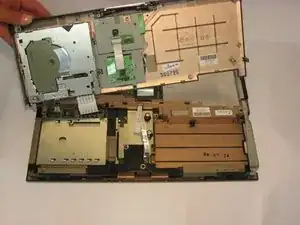
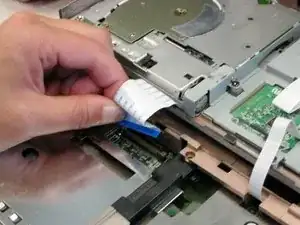
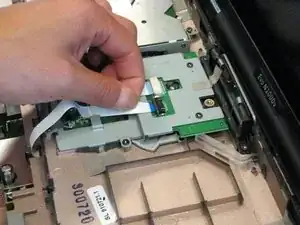
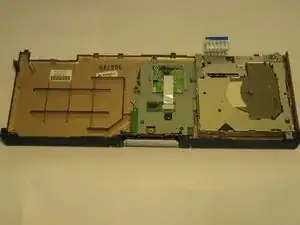
Lift the the palm rest up from the front edge of the laptop and swing it towards the screen.
-
Conclusion
To reassemble your device, follow these instructions in reverse order.
