Introduction

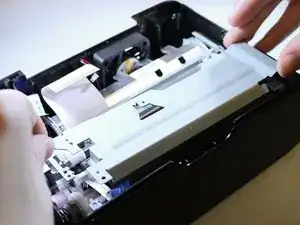
This guide shows how to replace the printing mechanism for the Canon Selphy CP1200. This replacement may be necessary if the printing mechanism is faulty or is printing poor quality pictures while other device components are working and troubleshooting has failed. It is also a preliminary step for replacing both the battery leads and cooling fan.

  1. HIBLwb6O3LYN6dHk
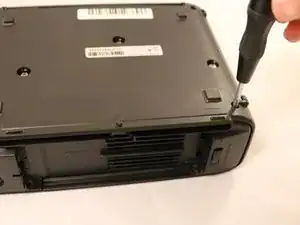
    • Unscrew the four 6mm PH000 corner screws.

    • This will require a screwdriver with a long, narrow shaft.

  2. ENUas2kHYGUiDvWS
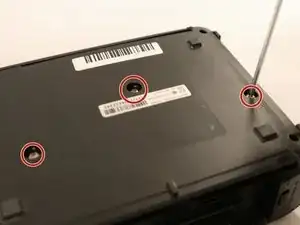
    • Unscrew the three 4mm PH1 screws on the bottom of the printer.

  3. CZuJBjccIJRAlPLL
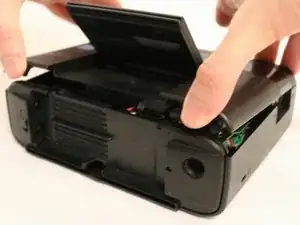
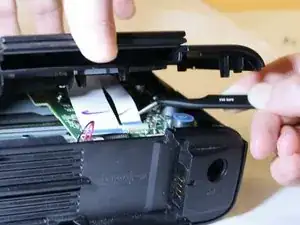
    • Gently pry open the top of the case from either the front or back.

    • A plastic opening tool may help.

    • Be careful in lifting the top assembly as it is attached to the motherboard at this point.

  4. 1NAAOyALXaTHLXG1
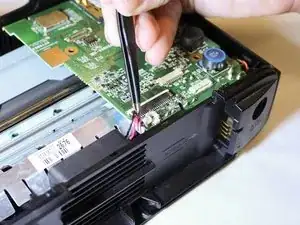
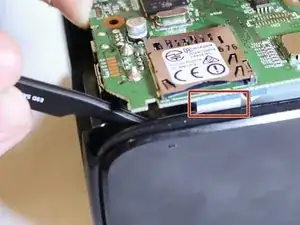
    • Keeping the top assembly elevated, detach the ribbon cables connecting the LCD and buttons to the motherboard from the motherboard.

    • Tweezers may be useful given the limited space between the top assembly and motherboard.

    • The top assembly, containing both the LCD and buttons, will now be completely free

    I have one but the lcd have Been broken can you give me the number of the lcd please

    Mrgames-kw -

  5. CrrYZVPdJKB2J5tl
    • Detach the fan cable from the motherboard.

  6. J36KmuOyMcKDhED5
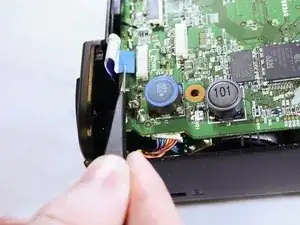
    • Detach the ribbon cable leading to the DC in port and battery leads.

    • Tweezers may be useful.

  7. Yytwc1RL5pZrggZj
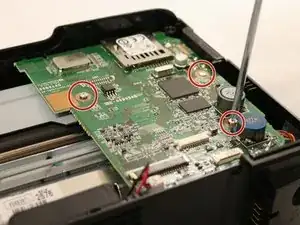
    • Unscrew the three 3mm PH000 screws from the motherboard.

    As at this point the whole printmechanism-motherboard assembly is already loose in the case, you can also consider taking out the whole thing completely before removing these screws. It is much easier to remove the cables at the bottom when you have a bit more space. You have to bend the plastic case a bit so the USB ports are free, but other than that you should have not have a problem.

    (do step 10 first though, if possible)

    Joffrey Wallaart -

  8. QbxVcWLHAoIcLHwo
    • Disconnect the bundled cables leading to the printing mechanism.

  9. LeABdWCKYPuqBwOC
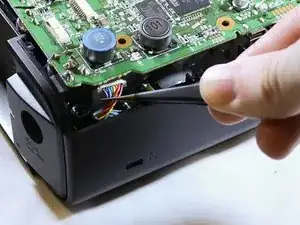
    • Gently lift the motherboard and detach the ribbon cables leading to the print mechanism.

    • Tweezers may be useful due to the limited amount of space.

  10. mVk4KLBhdG3KuUT4
    mVk4KLBhdG3KuUT4
    kOBb2WNgdlJ11YFJ
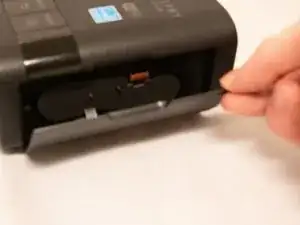
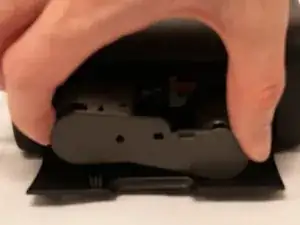
    • Open the side door and depress the ink cassette release.

    • Slide out and remove the ink cassette.

  11. CyIJYaOS3wGJtmI2
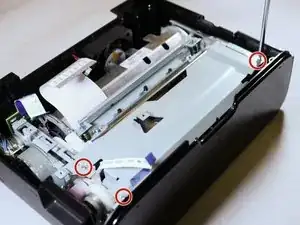
    • Unscrew the three 3mm PH000 screws securing the metal plate to the printing mechanism.

  12. AdDhiY41Hx5WCrdT
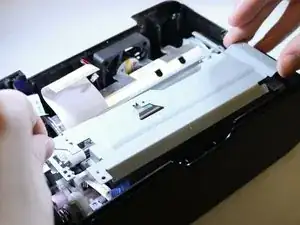
    • Lift out the print mechanism of the printer case.

    Where to buy print mathematical mechanism part…please help…sir

    sunil maurya -

    When I re-assembled the printer, I found it easier to assemble the motherboard and printing unit outside of the case and then putting that assembly back in the case in one go. This gives a lot more room to reinsert the flat cables. (my unit was a CP1300 though, but I think they are identical)

    Other than that, great guide. Thanks for posting!

    Joffrey Wallaart -

Conclusion

To reassemble your device, follow these instructions in reverse order.

W Sherer

Member since: 16/01/19

635 Reputation

One comment

Gut, hat geklappt!
Antonina Aroutjunova -