Introduction
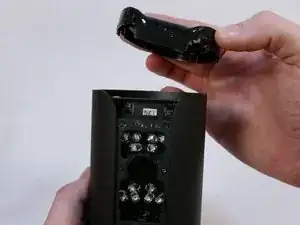
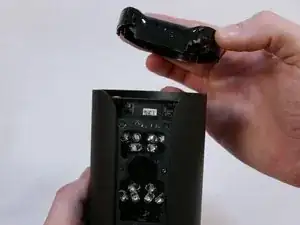
This guide will show you how to replace the top casing.
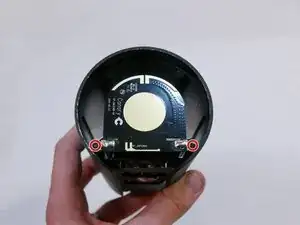
Removing the top casing gives access to the two screws that hold the motherboard in.
The top casing is the most stubborn of all components and may fly off unexpectedly if you do not use care when removing it.
A spudger is required to remove the top casing.
Tools
-
-
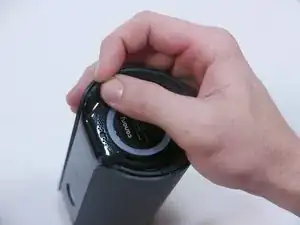
Grip the rubber ring with your fingers and pull up.
-
Rotate the Canary as you pull out one tab at a time.
-
-
-
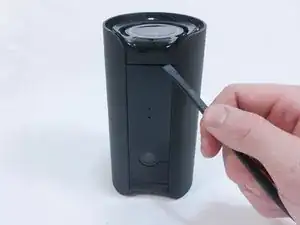
Use the flat end of the spudger to carefully pry off the bottom casing.
-
Alternate pushing up on the left and right sides until the clips holding the case in are visible.
-
-
-
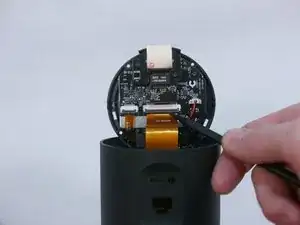
Use the pointed end of the spudger to flip up the small retaining flap on the ZIF (zero insertion force) connector.
-
Pull the ribbon cable out towards the device.
-
-
-
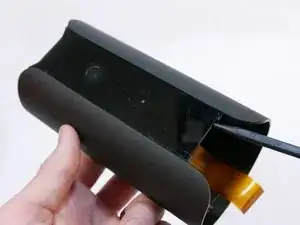
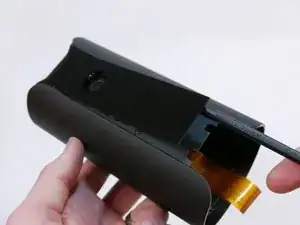
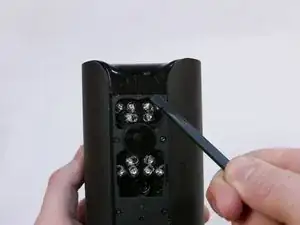
There are two empty nooks underneath the bottom of the panel close to each side of the case.
-
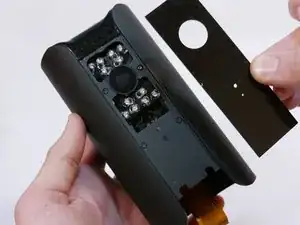
Place the pointed edge of the spudger in one of the nooks under the panel and pry upwards.
-
-
-
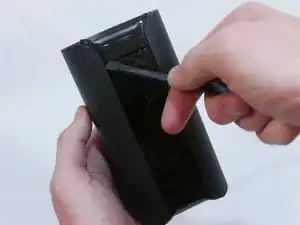
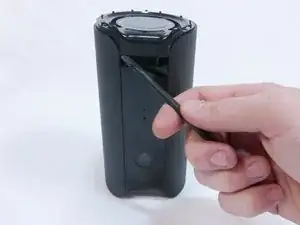
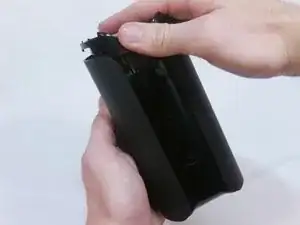
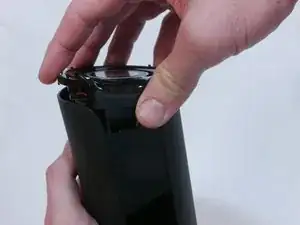
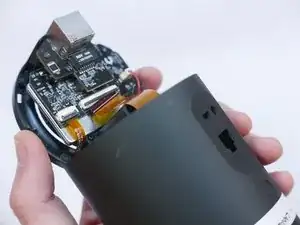
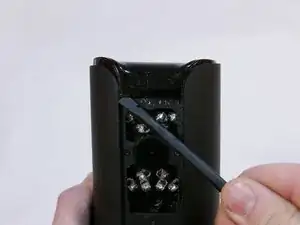
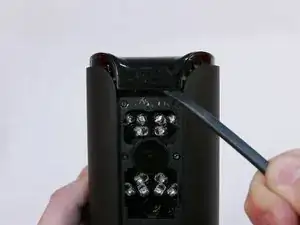
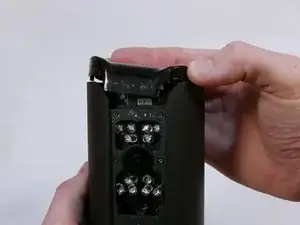
Use the flat end of the spudger to carefully pry off the top casing.
-
Alternate pushing up on the left and right sides until the inner clips are released.
-
To reassemble your device, follow these instructions in reverse order.
