Introduction
This is a prerequisite-only guide! This guide is part of another procedure and is not meant to be used alone.
Tools
-
-
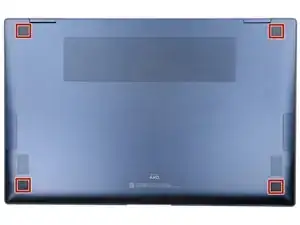
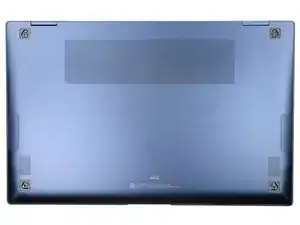
Close the screen and lay your laptop down with the rear case facing up to access the four rubber feet.
-
-
-
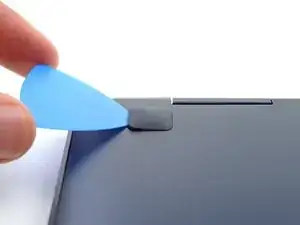
Insert an opening pick between the rear case and the rubber foot.
-
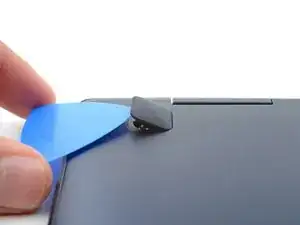
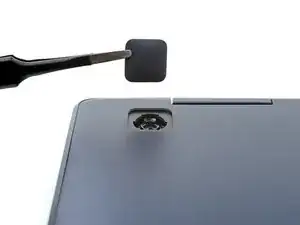
Pry up with the pick and dislodge the foot from the rear case.
-
Use tweezers or your fingers to remove the rubber foot.
-
Repeat this process on the remaining rubber feet.
-
-
-
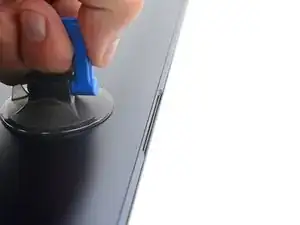
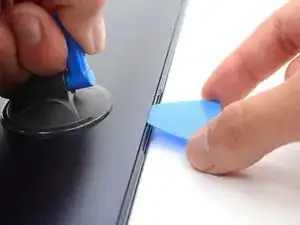
Apply a suction handle to the middle of the rear case's bottom edge, as close to the edge as possible.
-
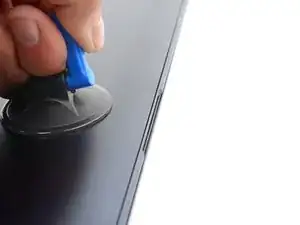
Pull up on the handle with a strong, steady force to create a small gap between the rear case and the frame.
-
Insert an opening pick into the gap you created.
-
-
-
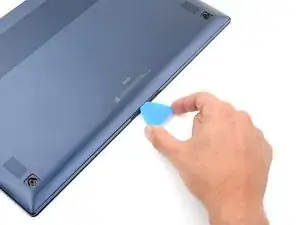
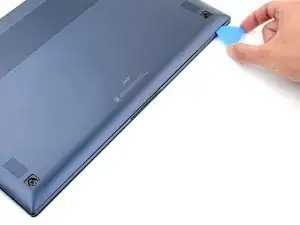
Slide the opening pick along the bottom edge to release the clips securing the rear case.
-
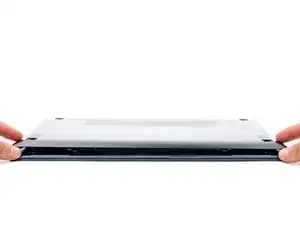
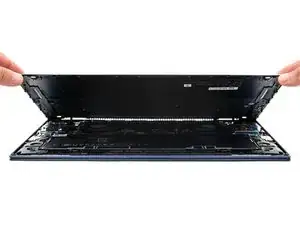
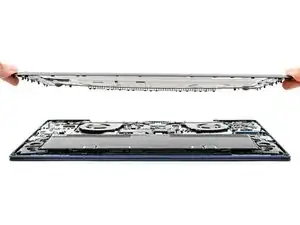
Continue sliding the pick along the perimeter of the laptop until all the clips securing the rear case have been released.
-
-
-
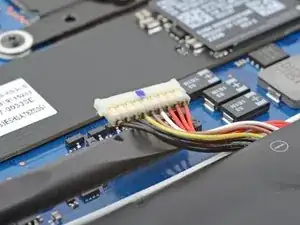
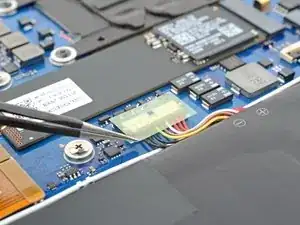
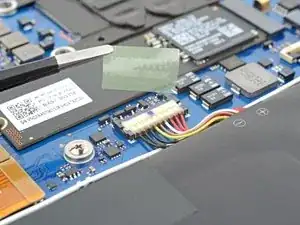
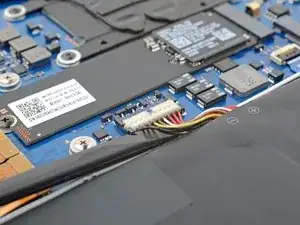
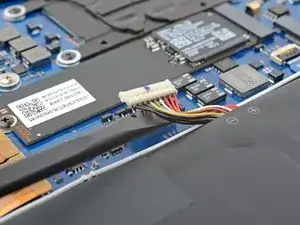
Insert the flat end of a spudger under the battery cables, as close to the connector as possible.
-
Gently pry up and disconnect the battery connector from its socket.
-
To reassemble your device, follow these instructions in reverse order.
