Introduction

Use this guide to disconnect the battery in your Lenovo IdeaPad 3-15IIL05.

  1. UFQKSEKFTrUTCNlT
    UFQKSEKFTrUTCNlT
    ojdIYlNghLUb5IQL
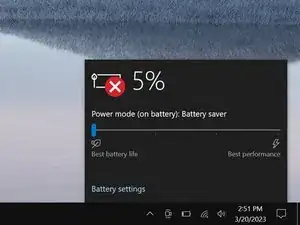
    • Allow your laptop's battery to drain below 25% before starting this repair—a charged battery may catch fire if damaged.

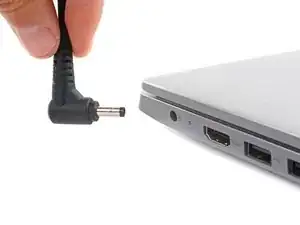
    • Unplug all cables and fully shut down your laptop.

  2. ZnNFJseZKtCCNknG
    ZnNFJseZKtCCNknG
    eZmKXWwvJ6IvIHcf
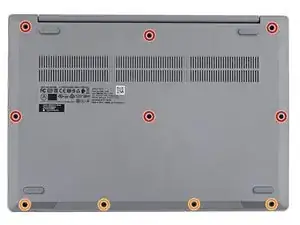
    • Use a Phillips screwdriver to remove the ten screws securing the back cover:

    • Six 7.6 mm-long screws

    • Four 4.7 mm-long screws

  3. vJrWOuSrVqlAFV6B
    vJrWOuSrVqlAFV6B
    jEbo4pcgOIDZY5YB
    rCBwuvSACAAnTFbB
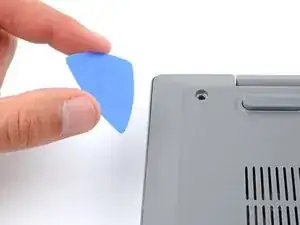
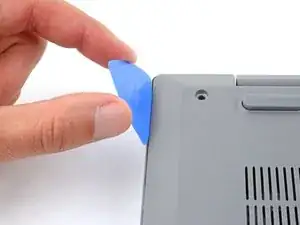
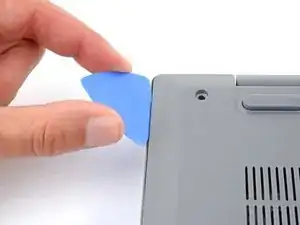
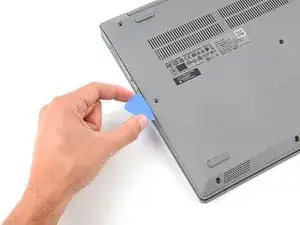
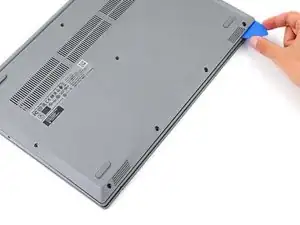
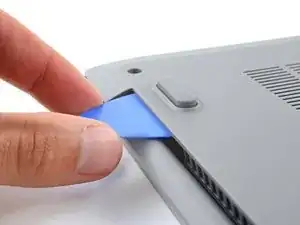
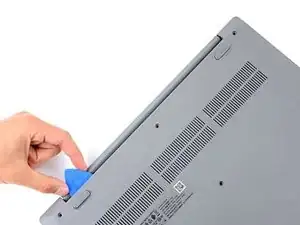
    • Plastic clips secure the back cover to the frame. You'll hear and feel the clips release.

    • Insert the flat side of an opening pick between the top left corner of the back cover and frame.

    • Angle the pick down to about 45 degrees.

  4. 3csgksnXIZZcMQWI
    3csgksnXIZZcMQWI
    QONT3j2WHmZAVcjt
    4imbqtXfyxesCIsx
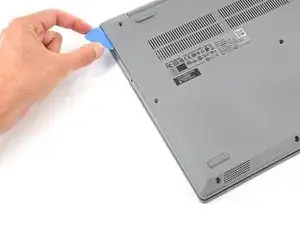
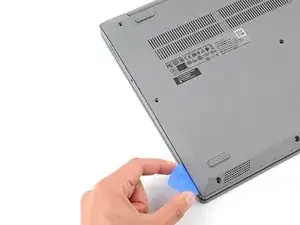
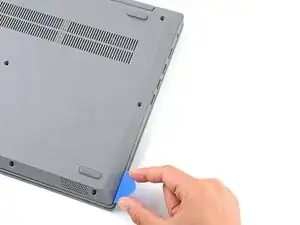
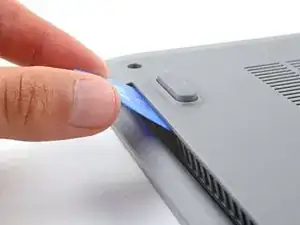
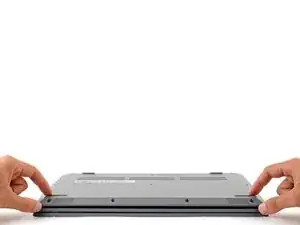
    • Keep the opening pick angled down at about 45 degrees while sliding it along the front and side edges to help release the clips.

    • Slide the pick to the bottom left corner of the laptop to release the left clips.

  5. DnacqGMNkpTik4Nj
    DnacqGMNkpTik4Nj
    IkHZmHOWb4ZBXHYB
    YOeTAIKJCe1fATdJ
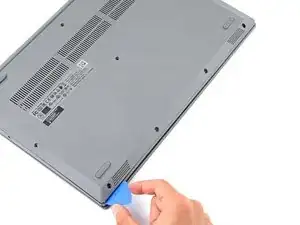
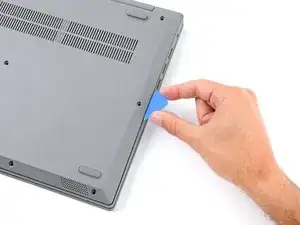
    • Slide the opening pick to the bottom right corner to release the bottom clips.

  6. GnJWLcXNdQsGWnTj
    GnJWLcXNdQsGWnTj
    knIyBFJeR5qFRlyW
    bgrY2QAoxffIW3Ea
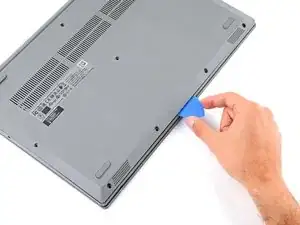
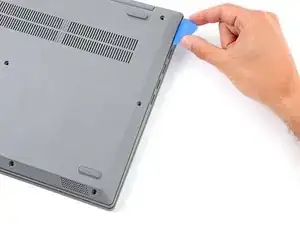
    • Slide the opening pick to the top right corner to release the right clips.

  7. TOsBUZB6TCRTC2Gx
    TOsBUZB6TCRTC2Gx
    ewUZJCnTsxRfG1ZV
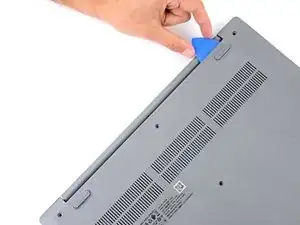
    • Insert the flat end of an opening pick between the back cover and frame, to the left of the right hinge.

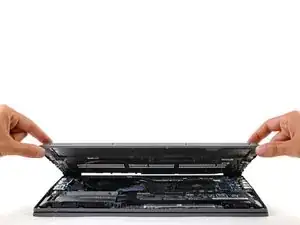
    • Pry the back cover up with the pick to release the top right clips.

    • Leave the pick inserted next to the right hinge.

  8. xIcallXGvWWaCmrF
    xIcallXGvWWaCmrF
    hIB2xArvAUXiigHY
    y5yOnggMQPgT6tII
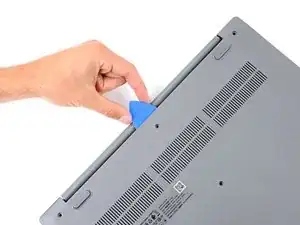
    • Angle the pick up to about 45 degrees.

    • Slide the opening pick to the top left corner to release the remaining clips.

  9. FbVPgaOLKIQw5kng
    FbVPgaOLKIQw5kng
    ja2qAcnTWVnFDAcK
    KgaOckqbtfxXMHwF
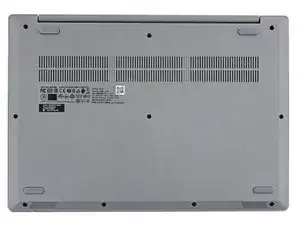
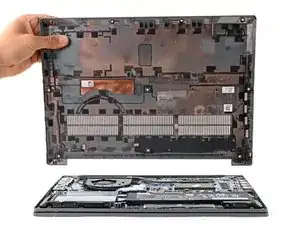
    • Remove the back cover.

    • During reassembly, lay the back cover on the frame and press firmly around the perimeter to engage all the clips.

  10. KrvgHYgkp3hIJ2Wi
    KrvgHYgkp3hIJ2Wi
    lDgGqHIYEayl1Ju3
    gSK5MRhMJplf4fMN
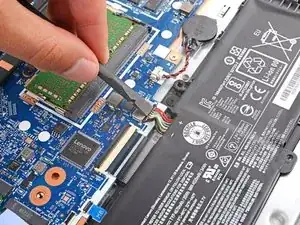
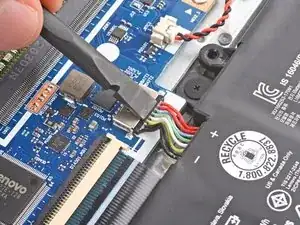
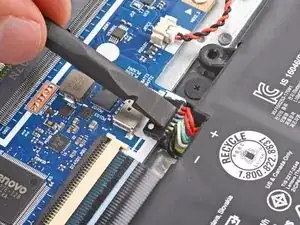
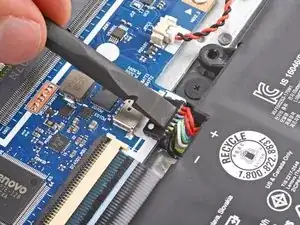
    • Use the flat end of a spudger to gently push the battery connector out of its socket on the motherboard.

Conclusion

To reassemble your device, follow these instructions in reverse order.
Spencer Day

Member since: 14/09/22

49372 Reputation

0 comments