Introduction

This guide demonstrates how to disconnect the battery in your Asus ROG Ally. This should be done before all major repairs.

  1. IIaUFJ63RLGmQ4Ui
    IIaUFJ63RLGmQ4Ui
    G1oNRVqSWLPJQuue
    • Throughout this repair, keep track of each screw and make sure it goes back exactly where it came from.

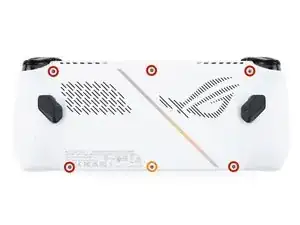
    • Use a Phillips #0 screwdriver to remove the five 17.2 mm‑long screws securing the top edge and bottom corners of the back cover.

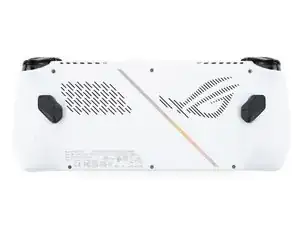
    • Use a Phillips #0 screwdriver to fully loosen the remaining captive screw at the center of the bottom edge. This should create a small gap between the back cover and chassis.

    • Don't try to remove this screw.

  2. huPyGW1EUkBGsSTE
    huPyGW1EUkBGsSTE
    M6IvvHetKHCpTy4U
    qi5vI6QX1xftg3B1
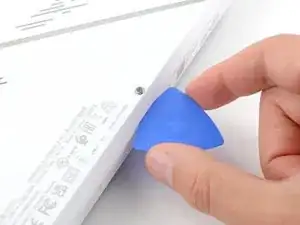
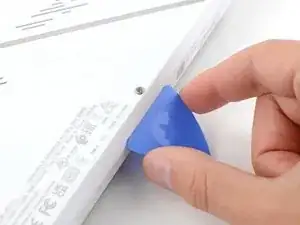
    • Insert the flat edge of an opening pick between the bottom edge of the back cover and chassis, near the captive screw.

    • Angle the pick upward and push it under the back cover.

  3. fFjsjRQ13SIhxyu3
    fFjsjRQ13SIhxyu3
    lY53VEwZPpoX4qpK
    q2nIrM1nNHBw6RmS
    • Plastic clips secure the perimeter of the back cover. You should feel and hear them release during this step.

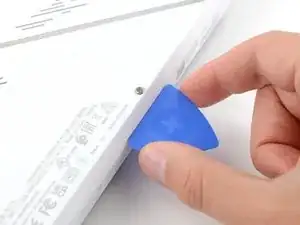
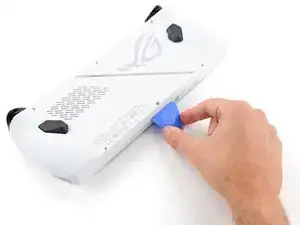
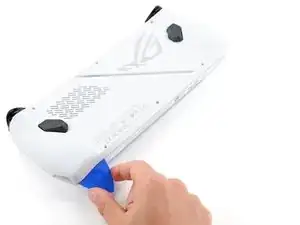
    • Slide the opening pick along the bottom edge and around the corners of the back cover to release the clips securing it.

    • Keep the pick at an upward angle under the back cover to help release the clips.

  4. ahsmjIA4qJNspYWG
    ahsmjIA4qJNspYWG
    B5LPMX4LkZDJYRC3
    TZXfUcBeqUFOe1ZG
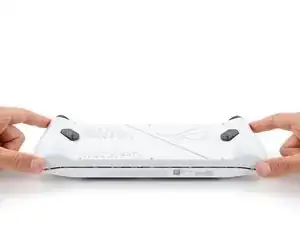
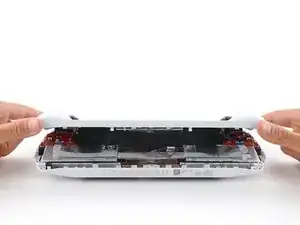
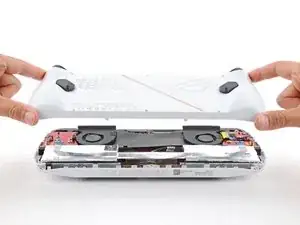
    • Lift the bottom edge of the back cover off the chassis to release the remaining clips.

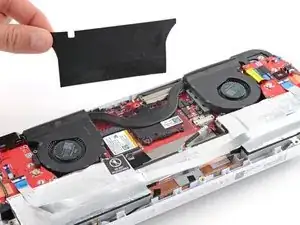
    • Remove the back cover.

    • During reassembly, lay the back cover onto your device and firmly push down around the perimeter to engage the clips.

  5. jQPeBj2BVKbLBN1V
    jQPeBj2BVKbLBN1V
    Y2sVM6bPZY5DAexF
    KpdHtIuZHElCKIhY
    • Use your fingers to peel up and remove the black plastic cover between the fans.

    • Put the cover aside—you'll use it during reassembly.

  6. ywTPiJrPDp4C6LFv
    ywTPiJrPDp4C6LFv
    5Imk2CG6LxgBGjXQ
    jQW5Ksl6jsM5MwFV
    • A metal locking bar secures the top edge of the battery connector

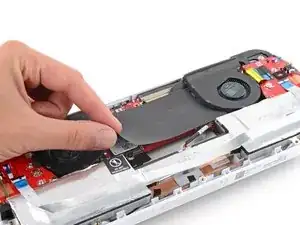
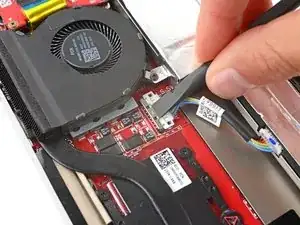
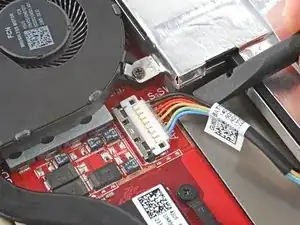
    • Use the flat end of a spudger to gently push the locking bar away from the connector to unlatch it.

  7. PTJH4CBci1dIii3b
    PTJH4CBci1dIii3b
    ykPZfc1YrAbFXKyf
    B4Ai3WpAhwyLZIPB
    • Make sure the locking bar is not covering the battery connector at all, or you may damage the socket and the locking bar.

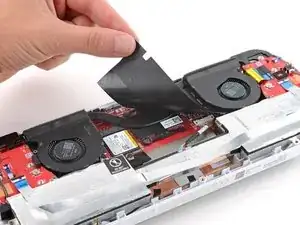
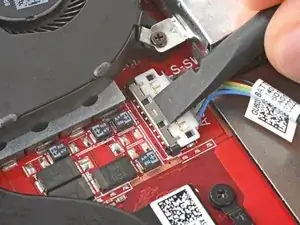
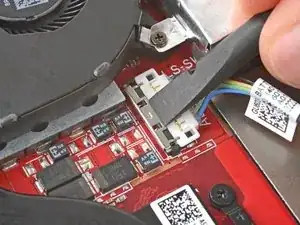
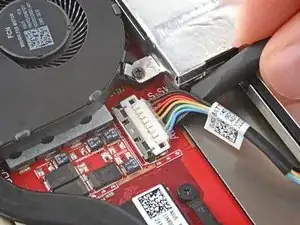
    • Insert the flat end of a spudger under the center of the battery connector.

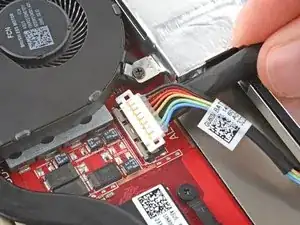
    • Lift the connector straight up and out of its socket to disconnect the battery.

    • During reassembly, use your fingers or the flat end of a spudger to firmly push the connector onto its socket until it clicks into place.

Conclusion

To reassemble your device, follow these instructions in reverse order.

Spencer Day

Member since: 14/09/22

49372 Reputation

0 comments