Introduction

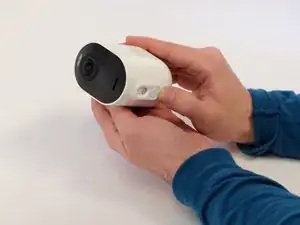
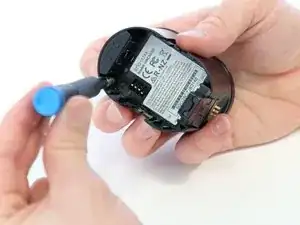
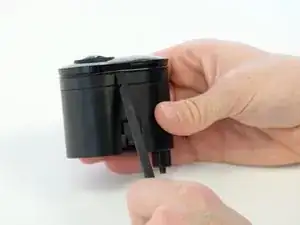
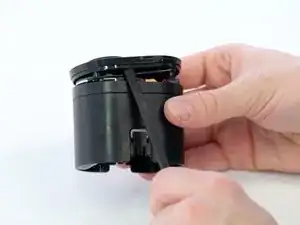
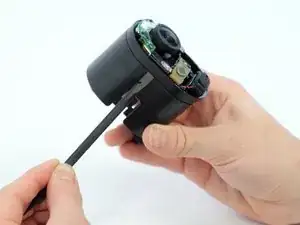
If your Arlo Ultra 2 speaker is non-functional or broken, you may wish to replace it using this guide. The camera speaker enables two-way conversation and siren capability. If it is non functioning, when talking through the speaker or when playing the siren, the sound may sound distorted or inaudible. If the speaker is disconnected, visit the troubleshooting page.

  1. tGJfNEWPSbxoPi2X
    tGJfNEWPSbxoPi2X
    PidEApPVGUOSeON5
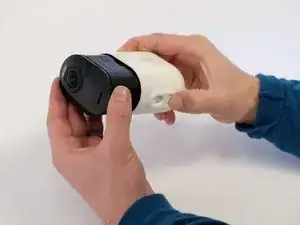
    • Press the button on the bottom of the camera to release the case.

    • Pull the white case off of camera.

  2. henS5WWQgYbAE4kZ
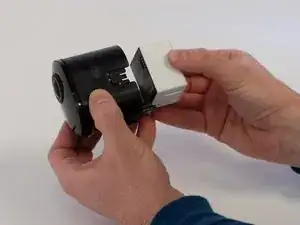
    • Pull the white cube shaped battery from the back to remove it from camera.

  3. NYkGk2yQTUZfJdDx
    NYkGk2yQTUZfJdDx
    5cRMNQb2j3JqGQfB
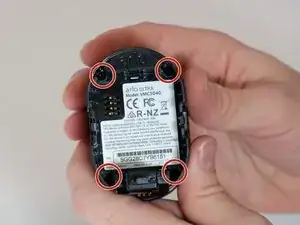
    • Use a Phillips #0 screwdriver to remove the four 20.0 mm screws from the battery cavity. They are found in each corner.

  4. 5gkFKMNKKpIEMCGd
    5gkFKMNKKpIEMCGd
    1m6nZpDHfxr1sSwd
    • Using the spudger, loosen and remove the camera faceplate.

  5. QQWwfYcyofSaKCvt
    QQWwfYcyofSaKCvt
    QsQSfNLUfmtXBgd5
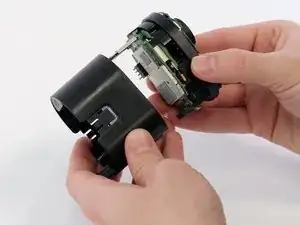
    • Using the spudger, loosen and remove the back casing to expose the camera hardware.

  6. epIYOVCOwBTEC1yn
    epIYOVCOwBTEC1yn
    cFeDhKnFnLOEoSaX
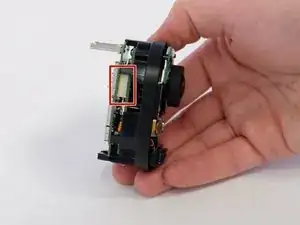
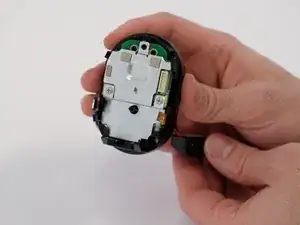
    • Very gently, pry the circuit boards apart from the white connector, removing the upper circuit board.

  7. JfHxAMqmblrZgMyF
    JfHxAMqmblrZgMyF
    NBmJI6eC3QctEGHg
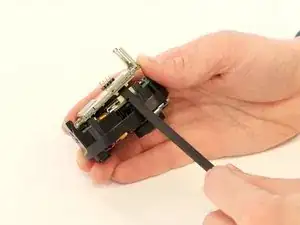
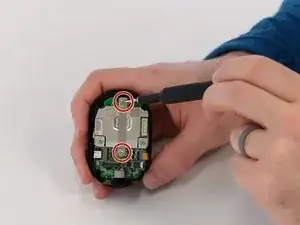
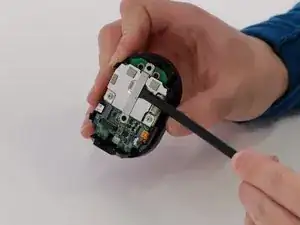
    • Use a Phillips #00 screwdriver to remove two 5.0 mm screws from the metal bracket.

    • Use a spudger to separate the long metal bracket.

    • There is an arrow etched into the bracket. It points towards the top of the camera. This is important when reassembling the camera.

  8. DTYrUibaSyLIydOW
    DTYrUibaSyLIydOW
    QJUEpcTdqrWUgJmr
    wtRiCWbaYNLDEPfL
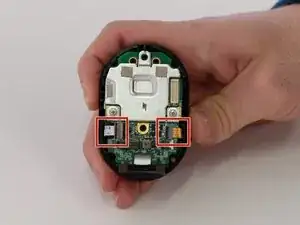
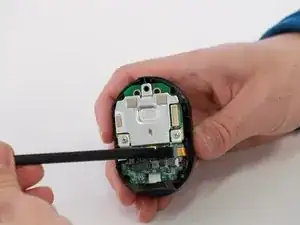
    • Use the tip of a spudger or your fingernail to flip up the small locking flap on each ZIF connector. Then, you can safely pull the cables out.

    • Be sure to pry up on the hinged flap, not the connector socket.

  9. YwXMlbXBE4wDcoMN
    YwXMlbXBE4wDcoMN
    TAApmeyva6YNkuDs
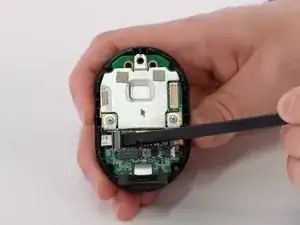
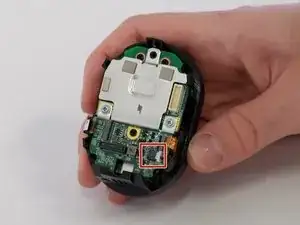
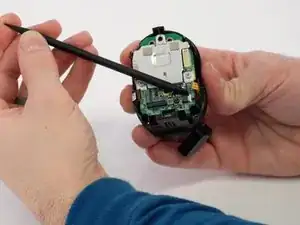
    • Use a spudger to carefully push on each side of the speaker cable connector until it's out of its socket.

  10. ANbsbGwVdkk2Itux
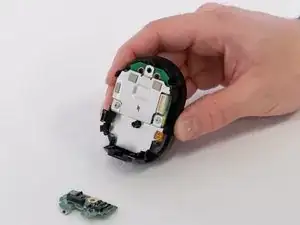
    • Remove the small green circuit board.

  11. Y3UsBiIwvpShcKS5
    Y3UsBiIwvpShcKS5
    VK3EQZwCoDMs3BNZ
    1jBDcH5qlIxG2TUO
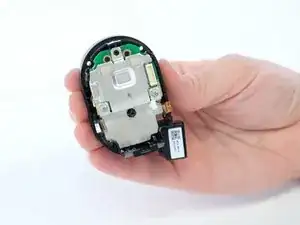
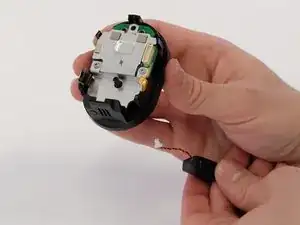
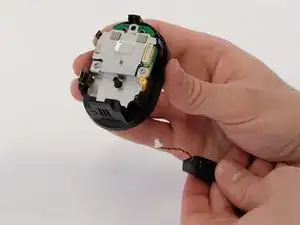
    • Feed the speaker cable through the opening to remove the speaker.

Conclusion

To reassemble your device, follow these instructions in reverse order.
Xavier Feaster-Rivera

Member since: 23/01/23

449 Reputation

0 comments