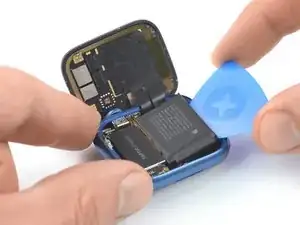
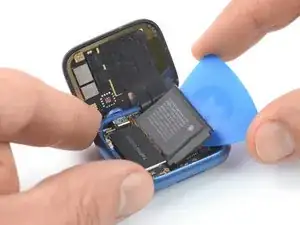
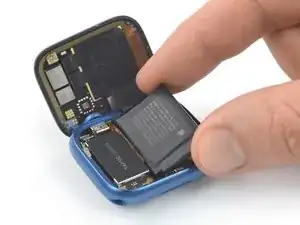
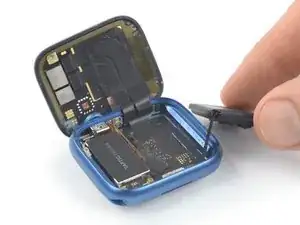
Introduction

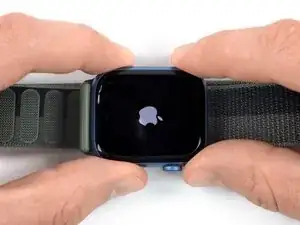
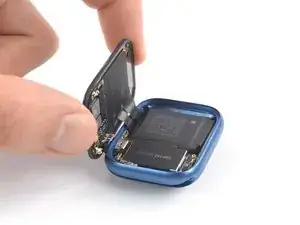
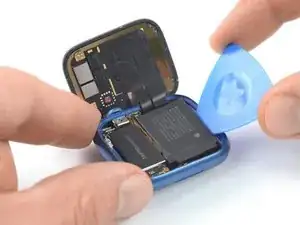
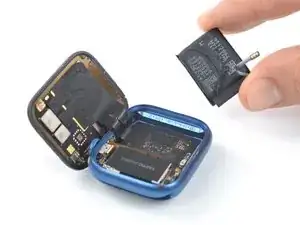
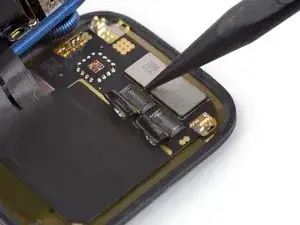
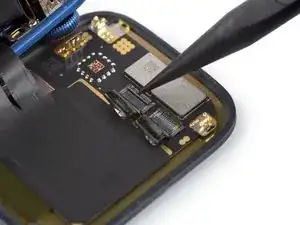
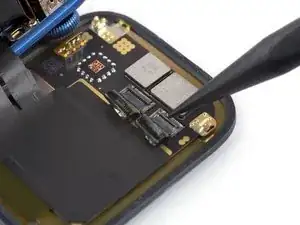
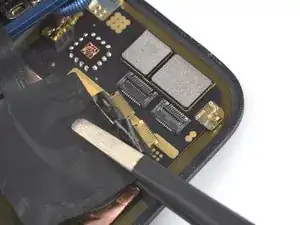
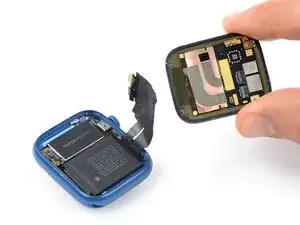
Use this guide to replace a broken, cracked, or defective screen on your Apple Watch Series 7.

It is possible to replace the screen of the Apple Watch Series 7 without removing or disconnecting the battery first. However, this can lead to a malfunction of the NFC antenna under certain circumstances. If you are unsure about your repair, we recommend that you first follow the battery guide and then continue with Step 23 of this guide.

Replacing the display can cause issues with Apple Pay. If possible, to reduce the likelihood of problems, delete all your Apple Pay account info before the replacement, and then re-enter it with the new display installed.

This guide shows the procedure on the cellular/LTE version of the watch, but the standard GPS-only version is similar.

You’ll need replacement adhesive to reattach components when reassembling the device.

  1. g4NHgj5wrfnjMahA
    g4NHgj5wrfnjMahA
    xTZ1GA2PKFUCnbIo
  2. 4OVBD2XiStA1SS3u
    4OVBD2XiStA1SS3u
    ECZpAvNs3nXFmeyJ
    4VtQl5SckbBLUgWb
    • Because the gap between the screen and watch body is so thin, a sharp blade is needed to separate the two. Read the following warnings carefully before proceeding.

    • Protect your fingers by keeping them completely clear of the knife. If in doubt, protect your free hand with a heavy glove, such as a leather shop glove or gardening glove.

    • Be careful not to apply too much pressure, as this might cause the knife to slip and cut you, or damage the watch.

    • Wear eye protection. The knife or glass may break, sending pieces flying.

    • Attach or remove the watch band as needed to provide more control as you make repairs.

  3. ktCYvAZvdBaAVjn4
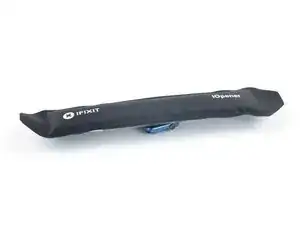
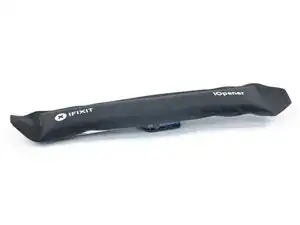
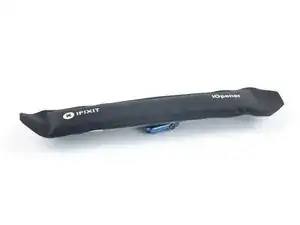
    • Prepare an iOpener and apply it to the screen for at least two minutes to loosen the adhesive underneath.

    • A hair dryer, heat gun, or hot plate may also be used, but be careful not to overheat the watch—the display and internal battery are both susceptible to heat damage.

    • You may need to reheat the iOpener and repeat this procedure several times until the display adhesive softens.

    Can confirm that if you want this to work, pop the iopener in for around 45seconds and then let it sit on the watch for 6 minutes, 2 minutes is just not enough.

    Jeremiah Yoder -

  4. JipUtGkRFXqSHQrB
    JipUtGkRFXqSHQrB
    ZLeEA6yhvDCVTJpU
    YmBHDecko5KBBjKh
    • Be aware that a sharp tool easily scratches your watch housing when not handled with care. To avoid undesired scratches, take your time and work carefully rather than hastily.

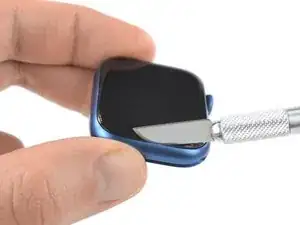
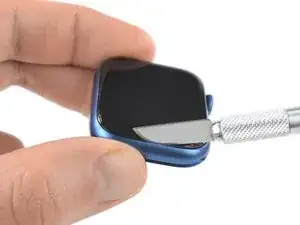
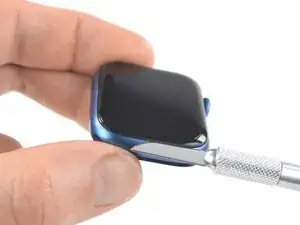
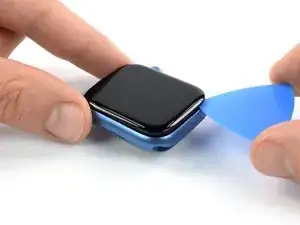
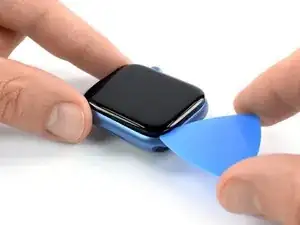
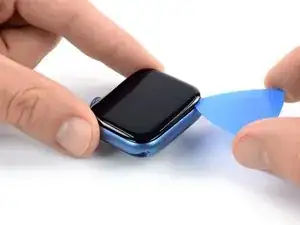
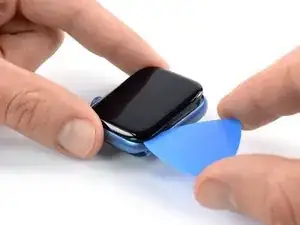
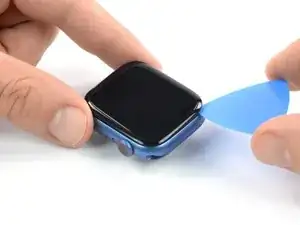
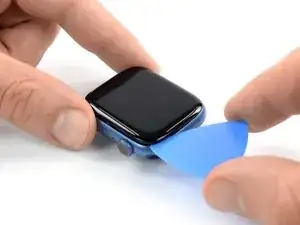
    • Place the edge of a curved blade into the thin gap between the display and the outer case. Start at the short side of the display, most distant to the digital crown.

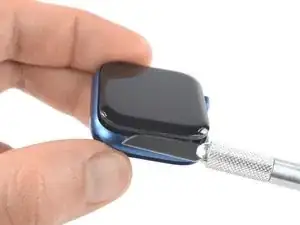
    • Once inserted, tilt the blade to pry the display open slightly and create a gap between the screen and the watch body.

    • The Apple Watch Series 7 display is equipped with a plastic bezel on its rear side. If you want to reuse your display, avoid using too much pressure with the knife or you may separate the bezel from the screen.

    Tried this for almost an hour, and I could not lift the display off at all. Broke the screen and chipped pieces of the screen as well.

    Excalibert89 -

    Yeah prolly gonna suggest an actual spudger for this step, or to be more detailed. Kept reheating the IOpener every 10mins keeping the watch under it for 5mins etc and it never budged after 3 hours of fiddling. Eventually broke the fine edge of the blade and scratched the casing, now the blade can't catch the groove and $8 down the drain.

    Jeremiah Yoder -

  5. dkxlAeM1MViCRxTa
    dkxlAeM1MViCRxTa
    KwdaeFiZmnXQhTuZ
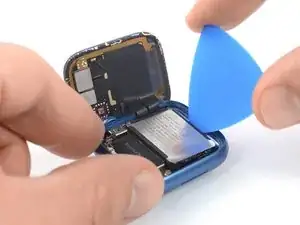
    • Insert an opening pick in the gap your created.

    • Slide the opening pick along the short edge of the watch to slice the adhesive.

  6. XCnXYLRNRhCAJO1U
    XCnXYLRNRhCAJO1U
    TZXuIMSMmZOAgOOP
    • Slide the opening pick around the corner and along the long edge on the opposite side of the watch crown to slice the display adhesive.

  7. TeDnSZwQFWKIs4tE
    TeDnSZwQFWKIs4tE
    aRkX5qdXC6OLZW5C
    • Slide the opening pick around the corner to slice the remaining adhesive on the short edge of the watch next to the watch crown.

    • Don't try to remove the display. It is still connected to the watch assembly.

  8. v1aVyJreRCFADCLQ
    v1aVyJreRCFADCLQ
    yeDQkyadMLhYJkvO
    ACIxpnQp1MGnYusv
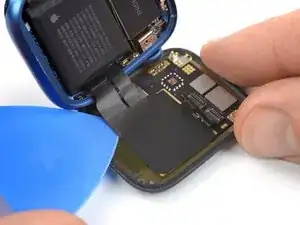
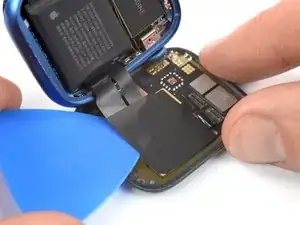
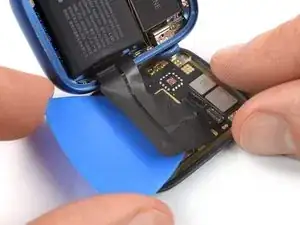
    • Be careful not to strain the display cables when you fold the display to the side.

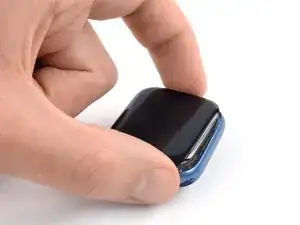
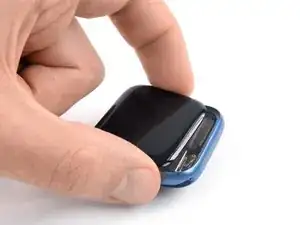
    • Lift the display and carefully pull it towards the watch crown.

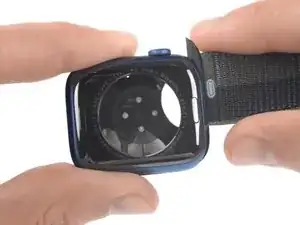
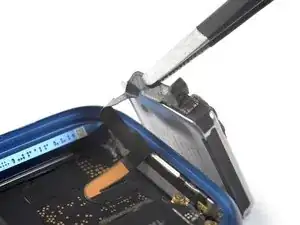
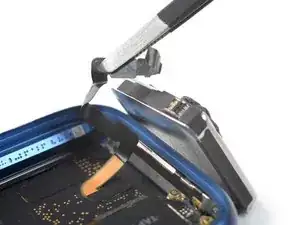
    • Swing the display open to an upward position.

  9. VyDE3wmee41pjg6H
    • Prepare an iOpener and apply it to the rear side of your Apple Watch for at least two minutes to loosen the adhesive underneath the battery.

    • A hair dryer, heat gun, or hot plate may also be used, but be careful not to overheat the watch—the display and internal battery are both susceptible to heat damage.

  10. gSfxDPUGElpgbcEV
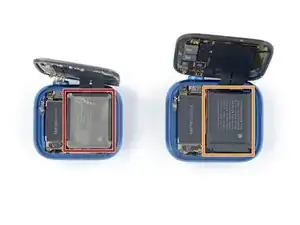
    • From this point, the battery removal procedure for the 41 mm watch differs slightly from the 45 mm version.

    • If you're replacing the battery for a 41 mm watch, continue with this step.

    • If you're replacing the battery for a 45 mm watch, continue with this step.

  11. RttH2uSMWFwIaYFM
    RttH2uSMWFwIaYFM
    iSHC2aFvZuCXYp2Q
    NuSTkHYiYUUfO5rZ
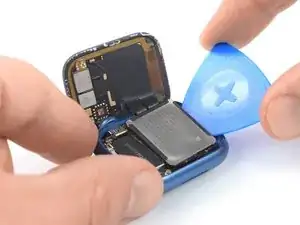
    • The following six steps show how to remove the battery from a 41 mm Apple Watch Series 7.

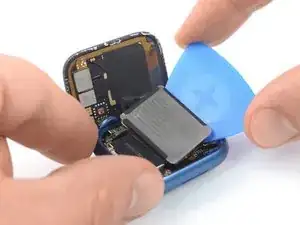
    • Insert an opening pick between watch body and the long edge of the battery.

    • Use constant, steady pressure to slowly pry up the battery.

    • Take care not to puncture or bend the battery with your tool—a punctured or bent battery may leak dangerous chemicals or cause a fire.

    • Don't try to remove the battery all the way yet. It is still connected to the motherboard.

  12. xNiLJSTp4Md13HVQ
    xNiLJSTp4Md13HVQ
    MCMLecZHMoVYSlef
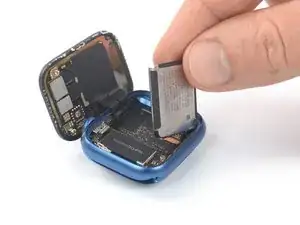
    • The battery flex cable is long enough to allow you to place the battery outside the watch housing, but avoid straining or folding the the cable sharply when you lift the battery out of its recess.

    • Carefully lift and swing the battery out of its recess and place it next to the watch body.

  13. boidQ3fyKO32DsYx
    boidQ3fyKO32DsYx
    OV2eRr45Ok4WPbmq
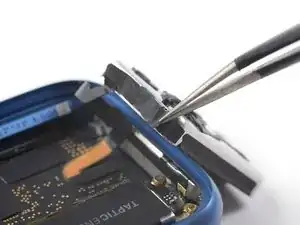
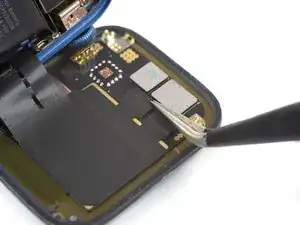
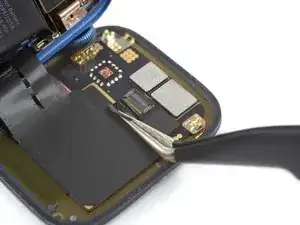
    • Use a pair of tweezers to peel the black protective tape off the ZIF connector.

    • Make sure to only peel the tape off the connector but avoid to remove it completely. Otherwise you have to replace the tape during reassembly.

  14. N6tFL2RAOifS5B5Y
    N6tFL2RAOifS5B5Y
    AmyGyKSfH1MvMbik
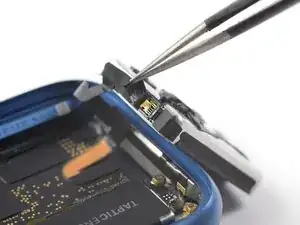
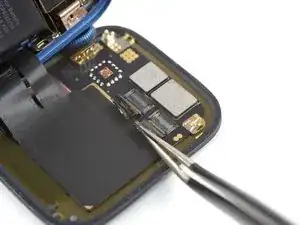
    • Use one arm of your tweezers or the pointed end of a spudger to pry up the lock bar on the ZIF connector securing the battery cable.

  15. xF6ZPQxUPBVMrNPC
    xF6ZPQxUPBVMrNPC
    gkkBGNy2iWQ1waBa
    • Use a pair of tweezers to pull the battery cable out of the battery ZIF connector.

    • During reassembly make sure to push the cable all the way back into the ZIF connector before locking the it. Reapply the black tape on top of the connector to secure the battery cable or replace it with new one. Otherwise the battery cable may slip out of the connector and your watch won't turn on.

  16. FxWyObDAcnriZJmV
    • Remove the battery.

    • Do not reuse the battery if it has been deformed or damaged, as doing so is a potential safety hazard. Replace it with a new battery.

    • If you're reusing your old battery during reassembly, you can reuse the existing adhesive to secure the battery during reassembly.

    • Secure a new battery with pre-cut adhesive or double-sided adhesive tape. In order to position it correctly, apply the new adhesive into the device at the places where the old adhesive was located, not directly onto the battery. Press the new battery firmly into place.

  17. duLCjR4D244XJhNc
    duLCjR4D244XJhNc
    IGLVUbaD4eHAHvbL
    AsdVio13lAUBQhim
    • The following six steps show how to remove the battery from a 45 mm Apple Watch Series 7.

    • Insert an opening pick between watch body and the long edge of the battery.

    • Use constant, steady pressure to slowly pry up the battery.

    • Take care not to puncture or bend the battery with your tool—a punctured or bent battery may leak dangerous chemicals or cause a fire.

    • Don't try to remove the battery all the way yet. It is still connected to the motherboard.

    Not a very good approach. Damaged back cover flex cable using triangular opening pick.
    Battery is well glued to motherboard and opening pick has just too little contact point.

    Better to start with metal prying tool from taptic engine side adding some drops of isopropyl alcohol from time to time.

    And of course take your time.

    Valdek Kangert -

  18. DyeoCt4lTyWACBSE
    DyeoCt4lTyWACBSE
    6dxFhjCpdlPWUhuL
    • The battery flex cable is long enough to allow you to place the battery outside the watch housing, but avoid straining or folding the the cable sharply when you lift the battery out of its recess.

    • Carefully lift and swing the battery out of its recess and place it next to the watch body.

  19. lYo6s1rkQuuoAbng
    • Use a Tri-Point Y000 screwdriver to remove the 1.1 mm-long screw securing the battery connector bracket.

  20. ZNZMkTEmaNOvvKL4
    ZNZMkTEmaNOvvKL4
    ZwhVRtZuTlGOKYPA
    • Use a pair of tweezers to remove the battery connector bracket.

  21. JoJNLfRdeUwtMNoO
    JoJNLfRdeUwtMNoO
    wjJkgvMGWrUnPjCf
    • Use a spudger to disconnect the battery cable by prying the connector straight up from its socket.

  22. xJuSmDp4xCOCaaVb
    • Remove the battery.

    • Do not reuse the battery if it has been deformed or damaged, as doing so is a potential safety hazard. Replace it with a new battery.

    • If you're reusing your old battery, you can reuse the existing adhesive to secure the battery during reassembly.

    • Secure a new battery with pre-cut adhesive or double-sided adhesive tape. In order to position it correctly, apply the new adhesive into the device at the places where the old adhesive was located, not directly onto the battery. Press the new battery firmly into place.

    • During reassembly apply new adhesive where necessary after cleaning the relevant areas with isopropyl alcohol (>90%).

  23. 1sjWgmkSMVFdAHZR
    1sjWgmkSMVFdAHZR
    GVLDqpUcdSUOqqcy
    dbKjjgD4wE1vTWOO
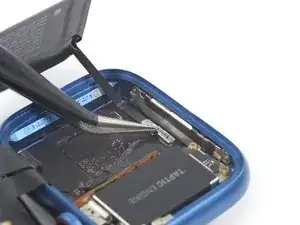
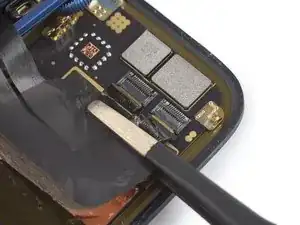
    • Use a pair of tweezers to carefully peel the black protective tape off both display connectors.

    • During reassembly, this is a good point to power on your watch and test all functions before sealing it up. Be sure to power your watch back down completely before you continue working.

  24. 4QtcfRwsk4bfIDoO
    4QtcfRwsk4bfIDoO
    dFTOZYTGM2hJthtF
    FAZ4iEsFsBXkrBVu
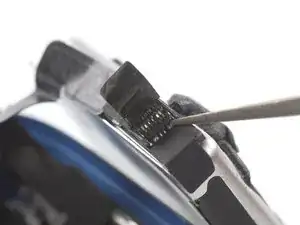
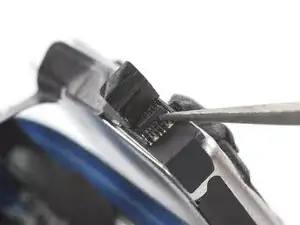
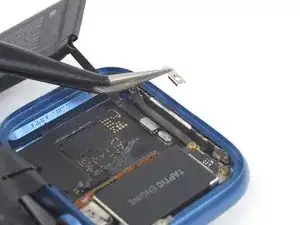
    • Use a spudger or one arm of your tweezers to pry up the lock bar on the ZIF connectors securing the display cables.

  25. ngGGTpvoPsmJtQpr
    • Prepare an iOpener and apply it to the screen for at least two minutes to loosen the protective tape on its rear side.

    • A hair dryer, heat gun, or hot plate may also be used, but be careful not to overheat the phone—the display and internal battery are both susceptible to heat damage.

  26. Qsjf5GdQ21V2A2xp
    Qsjf5GdQ21V2A2xp
    liCWiAmZWqJqEFfn
    EY4BYxmtjSJQCEaW
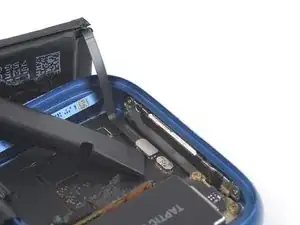
    • Carefully slide an opening pick underneath the display cables to separate them from the screen.

  27. lGnHEvfVJVZvs1Tl
    lGnHEvfVJVZvs1Tl
    Qo2NRR1GnT35KSUW
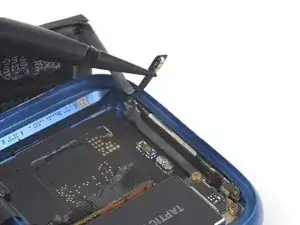
    • Use a pair of tweezers to pull both display cables out of the ZIF connectors.

    • Avoid pulling on the watch assembly, or you may rip the display cables.

    • If not damaged you can reuse the old tape during reassembly. Otherwise replace it with new tape.

  28. RA1yvxwsoUsjgxIG
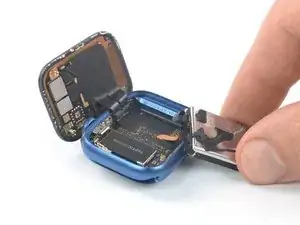
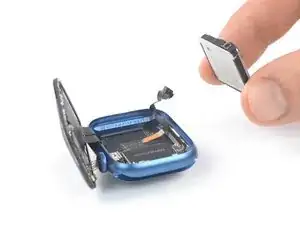
    • Remove the screen.

    • Apply new adhesive where it's necessary after cleaning the relevant areas with isopropyl alcohol (>90%).

    Hello,

    does the display also contain an NFC chip, and how can it be transferred to the new display? I couldn't find any instructions anywhere. Thank you.

    Fíla -

Conclusion

If possible, turn on your device and test your repair before installing new adhesive and resealing.

To reassemble your device, follow these instructions in reverse order.

Take your e-waste to an R2 or e-Stewards certified recycler.

Repair didn’t go as planned? Check out our Answers community for troubleshooting help.
Dominik Schnabelrauch

Member since: 23/11/16

201162 Reputation

2 comments

Hat alles funktioniert, habe einen 2 Komponenten Kleber verwendet.
Max Weber -

does apple add any warnings or tries to sabotage the devices like it does with iphones by removing true tone, etc or it is like new if screen is replaced

mark -