Introduction
This guide will teach you how to replace the 12V battery in a 2nd-generation Prius. The 12V battery is an essential component of the hybrid car that allows the accessory mode and the hybrid battery system to start up. The 12V battery can be depleted over time or be drained accidentally, making it necessary to replace the battery earlier than expected. When the battery stops working, accessory features such as radio, headlights, and dashboard lights will not start up. Because of the hybrid features of the car, if the 12V battery loses power, the hybrid control system will also stop working, causing error messages and severe safety issues such as braking problems and a switch to gasoline-only driving, which is not intended for this vehicle and will affect driving.
It is a good idea to replace the battery before it is completely drained, with the car often showing early signs such as dimming headlights, flickering car lights, or startup failures.
Before you begin this repair, turn off your car, put it in park with the emergency brake, and make sure that the car has cooled off if it has been driven recently. In addition, this is a large battery so be very careful disconnecting the battery terminal.
Tools
-
-
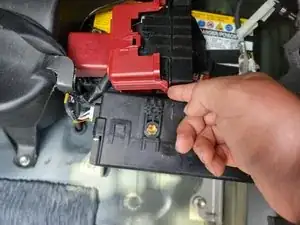
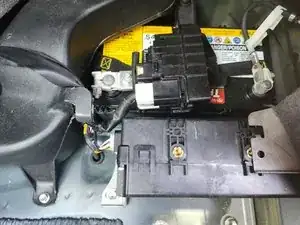
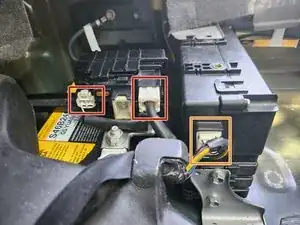
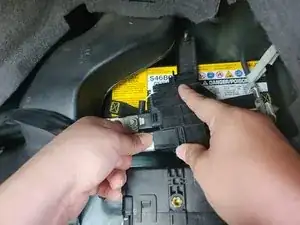
Disconnect the three connectors from the boxes.
-
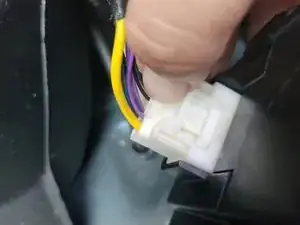
Firmly squeeze the connectors' tabs and pull away from the connection box.
-
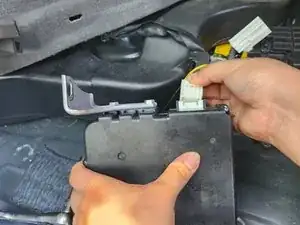
Remove the connector in the same manner, or proceed to the next step and disconnect it from the unbolted control box for easier access.
-
-
-
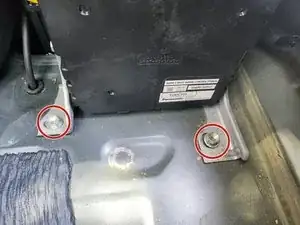
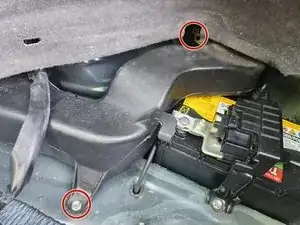
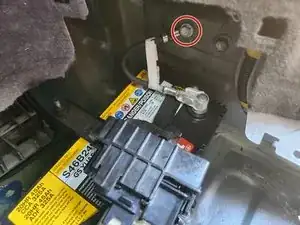
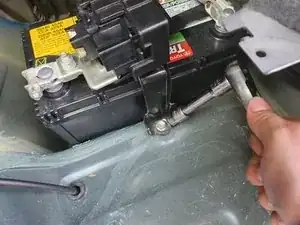
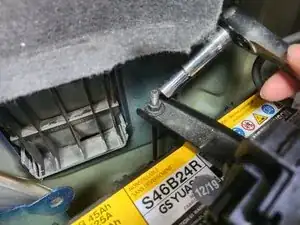
Use a socket wrench to remove the two 10 mm bolts holding the battery exhaust pipe.
-
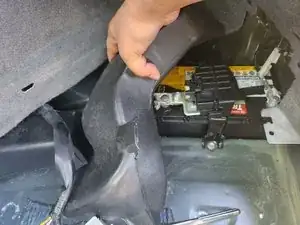
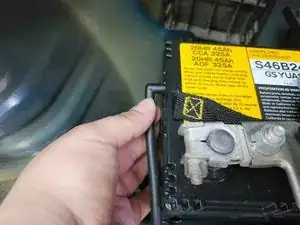
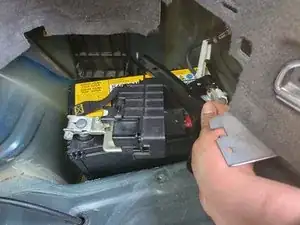
Pull out the exhaust pipe and the battery vent.
-
-
-
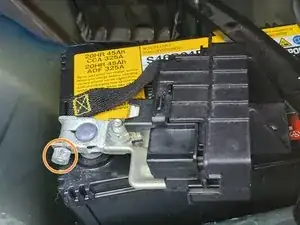
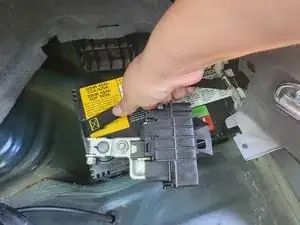
Disconnect the terminal connectors from the battery using a socket wrench.
-
Remove the negative connection held by a 10 mm bolt.
-
Loosen the 10 mm bolt so that the positive terminal brackets open up.
-
To reassemble your device, follow these instructions in reverse order.
