Introduction

Use this guide to replace or upgrade the front springs in your 86-93 Volvo 240. When working on suspension components work on one side at a time and keep the other side completely assembled for reference.

  1. 2ITpwQjUe1mCUaFB
    2ITpwQjUe1mCUaFB
    MnbcZn2DtrCjgaZc
    htRKImZeGJLCEtrM
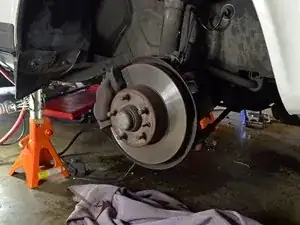
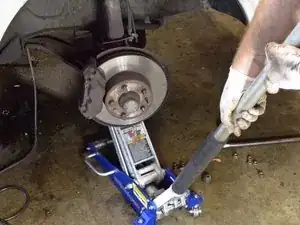
    • Jack up the front of the car and place it on jack stands.

    • Never work on or underneath a car that is only supported by a jack. The jack may slip or fail, resulting in serious injury or even death.

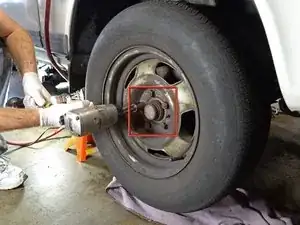
    • Use an impact wrench or tire iron to remove the five 19 mm lug nuts from the front wheel.

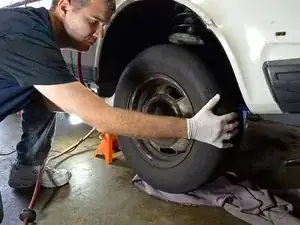
    • Pull the front wheel off the wheel lugs and set it aside.

    We might need to re-arrange this.

    we jacked the car up and then cheated and used a impact gun

    if you don't have an impact gun you'll have to do it on the ground

    Scott Dingle -

  2. 4tVDwaLQnrY3IYIW
    4tVDwaLQnrY3IYIW
    eq4xmOOrR2mGImNm
    m4deFpg36h5khxky
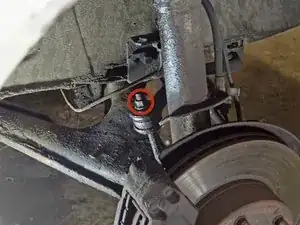
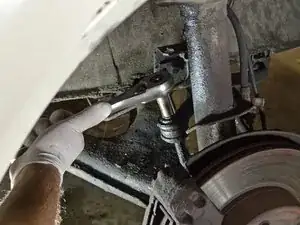
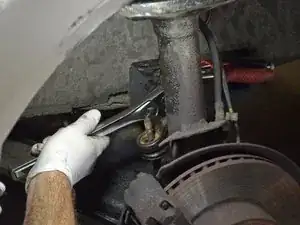
    • Use a socket wrench or impact gun to remove the 15 mm nut on the front sway bar endlink.

  3. x46nEWLfFKjxJSHu
    x46nEWLfFKjxJSHu
    SbRJiNFsAhYyhM66
    OvHPmM2IsTWZg3hC
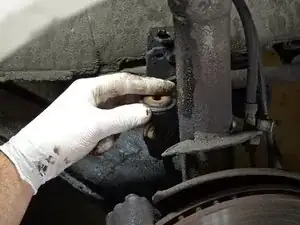
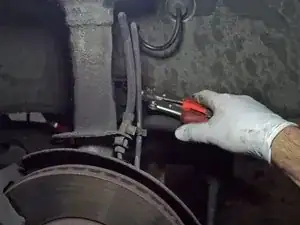
    • The front brake lines are attached to the body by a small bracket near the strut.

    • Grab the front edge of the bracket with a pair of locking pliers.

    • Without the locking pliers to hold the bracket in place, it may twist back and forth. This twisting could fracture the rigid brake lines.

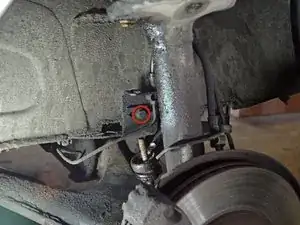
    • Remove the 12 mm bolt that holds the bracket in place with a socket wrench.

  4. 2ruIOgZ1BVyK2iXH
    2ruIOgZ1BVyK2iXH
    mmmVwvLT3Yy4bEZb
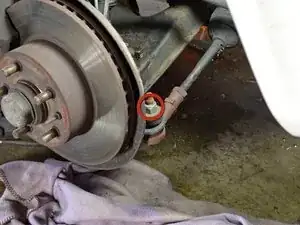
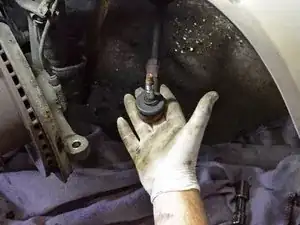
    • Use a socket wrench or impact gun to remove the 19 mm tie rod end nut.

  5. jxfGi6mfQnIWNQqQ
    jxfGi6mfQnIWNQqQ
    143ZqueNVRemk1jj
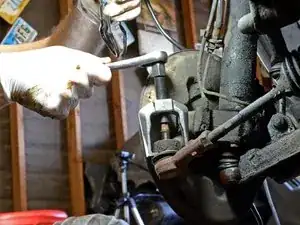
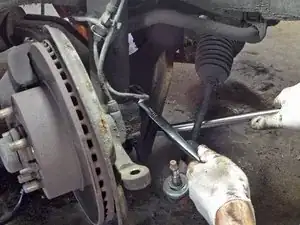
    • Place a tie rod end puller over the exposed threads of the tie rod end and turn the puller with a socket wrench to push the tie rod end out of the steering knuckle.

  6. XNJhQtLL3vRYbUpT
    XNJhQtLL3vRYbUpT
    AFTfnEJ3niifugZ6
    cifYGLtqnJmbqkYW
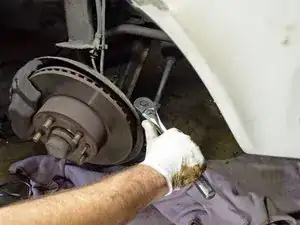
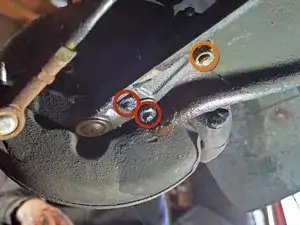
    • The ball joint is held to the control arm by three 18 mm bolts.

    • Remove the bottom two nuts with a breaker bar or long wrench.

    • Place a breaker bar over the gold nut on the bottom of the control arm.

    • The breaker bar alone will not be able to loosen the nut, since the bolt is free to rotate.

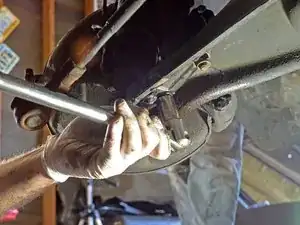
    • Place an 18 mm box end wrench over the bolt on top of the control arm.

    • Turn the breaker bar and the wrench in their respective counterclockwise directions to loosen and remove the third ball joint-to-control arm bolt.

    I have just finished replacing the shocks and mount. Instead of above, I found it convenient to remove the 4 bolts holding the ball joint plate to the strut pole. Don't forget to replace the old bolts with new OR at least use LocTite if you want to re-use the old bolts. DO NOT use a lot of the LocTIte, only a couple of drops, one on each side of the bolt. Use a big trolley jack and make it a good one. See the one in Step 9 - this is best for the job. If you can get the job done in a DIY garage then do it there. Consider the cost as a learning fee for yourself.

    Mick O'Connor -

  7. oVHrMsIUKTJSiVVq
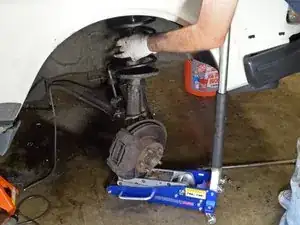
    • Place a jack underneath the ball joint to support it once you remove the 3 ball joint-to-control arm bolts.

  8. 2qciYaGBPNKDKRAr
    2qciYaGBPNKDKRAr
    e5IQMEURXtrctjJZ
    trp6YyjUyKyaoPVN
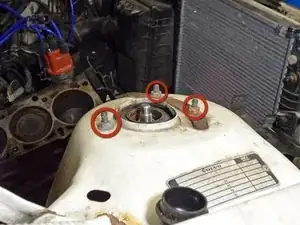
    • Open the hood and locate the three strut mounting bolts on the strut tower.

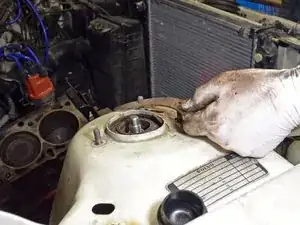
    • Make an alignment mark on the shoe at the dimple in the top of the strut tower before removing the mounting nuts.

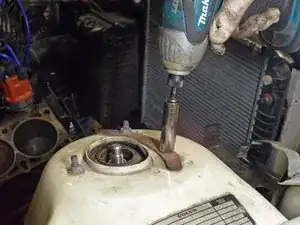
    • Use a ratcheting socket wrench or impact wrench with a 13 mm deep socket to remove the three nuts.

  9. FosahdlYD2e6j2dc
    • Slowly lower the jack and guide the strut assembly down and out of the car.

  10. luX2LgHRtoCBpbBN
    luX2LgHRtoCBpbBN
    rEWmCH1mivbJIesG
    U3EPkwBrwbfXYZJK
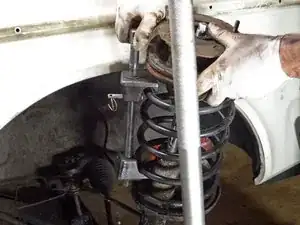
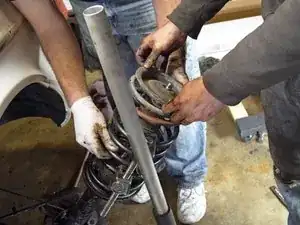
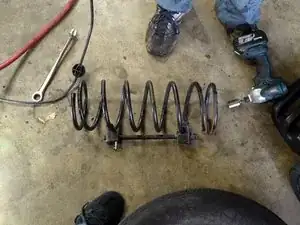
    • Place spring compressors on opposite sides of the spring.

    • Make sure you are using spring compressors that are meant for MacPherson struts. Internal-type spring compressors will not work.

    • Alternate tightening the spring compressors evenly until you are able to move the entire spring up and down.

  11. m6AgYIhqd1fbVJIx
    m6AgYIhqd1fbVJIx
    hVFuuZnFEp6Qq41Y
    ZNu16pwfLpnhF4PW
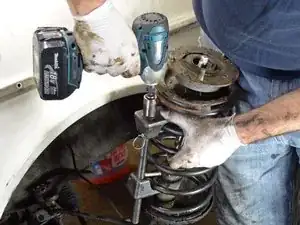
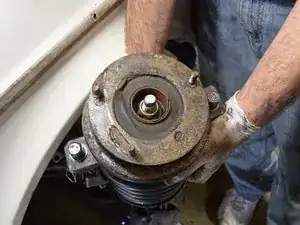
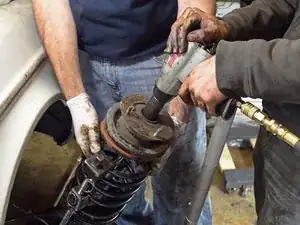
    • Use an impact wrench to remove the 24 mm nut at the top of the strut assembly.

    • Remove the strut mount from the strut assembly.

  12. YhpiMXAPyYnsLM2B
    YhpiMXAPyYnsLM2B
    eKIhOUJqMHvOiVWV
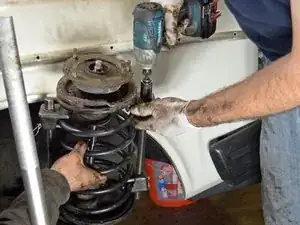
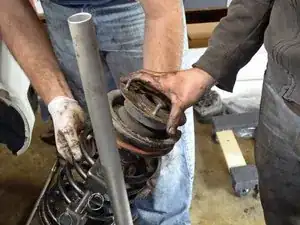
    • Remove the upper spring seat and pull the spring off the strut assembly.

    • If you are installing new springs you will need to remove the spring compressors. Loosen each spring compressor evenly, alternating from side to side until they are off the spring completely.

    • When installing new springs you will need to compress them with the spring compressors before placing them on the strut assembly.

    • If you are reinstalling the same springs you may keep the compressors in place until it is time to reassemble the suspension.

Conclusion

To reassemble your device, follow these instructions in reverse order.
David Hodson

Member since: 14/04/10

150358 Reputation

0 comments