Ubuntu 19.10 and later
Windows tool: Rufus
The best application for making a bootable Ubuntu live USB from Windows is Rufus. The official ubuntu.com website recommends using Rufus instead of UNetbootin. Step-by-step instructions for creating a bootable Ubuntu live USB from Windows are at How to create a bootable USB stick on Windows.
Rufus persistent storage partition is supported in 19.10 and later.

All current versions of Ubuntu
Linux tool: mkusb
The mkusb tool to create boot drives can create a bootable live Ubuntu USB with persistent storage space. mkusb guidus is a GUI application that uses dd under the hood. To install mkusb open the terminal and type a few command lines:
If you install mkusb into a live Ubuntu system (typically booted from USB), then you should add the repository universe in order to get some programs that are used by mkusb.
sudo add-apt-repository universe
The following three command lines install mkusb
sudo add-apt-repository ppa:mkusb/ppa
sudo apt update
sudo apt install mkusb usb-pack-efi
Insert a USB flash drive into a USB port.
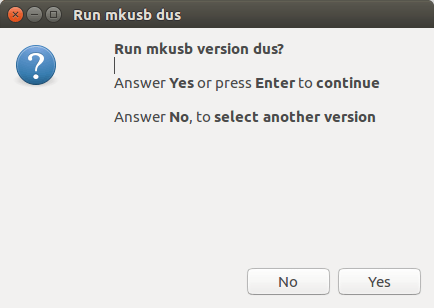
Next run mkusb. It will ask you if you want to run the version called dus.

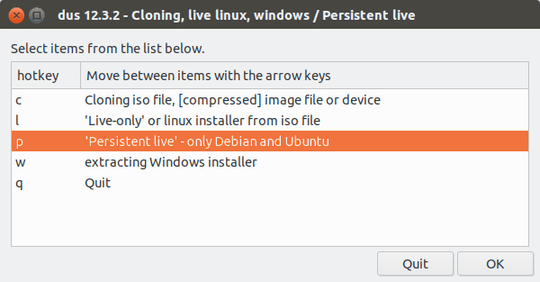
Then dus will start and after some steps you will get to a Persistent live screen that looks like this.

Browse to the Ubuntu .iso file, select it, and press the OK button.
It will then ask you to select a device to write to. This will overwrite all data on the selected device, so make sure you select the USB flash drive that you just inserted. You can open the Disks application to check the USB flash drive device, which looks something like: /dev/sdX where X is replaced by the device letter of the USB flash drive that was inserted.
After a few more steps you will be asked to select the percentage of available space for persistence. This is the space that will be available for the Ubuntu OS you're going to install on the USB stick, including its persistent storage space. The remaining storage space on the USB drive will be used for a new usbdata partition that's formatted as NTFS, which can be accessed from Linux, Windows and macOS.


1I think this question can be re-opened after changing the question to be more specific. – sudodus – 2019-10-21T15:59:22.557