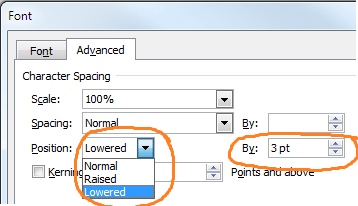
But if you put an image in the correct location, set it's Text Wrapping to Square, Tight or Through and make your way to the Picture Position settings, you can configure Vertical Alignment to be Centered relative to Line.
I think this is as close as you can hope to get for "built in" features - this does, however, do some rather strange things to the layout if there are lines directly above or below - so test it does what you expect first.
Edit
Now at home, so here's the long Word 2007 version - with pictures!
As per munnaBhai's answer, you may wish to stick this in a template if you plan to use it a lot.
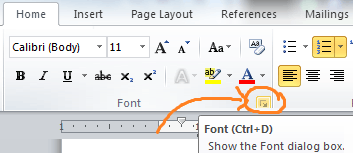
First, insert the image file in the location you wish to appear and then select it.
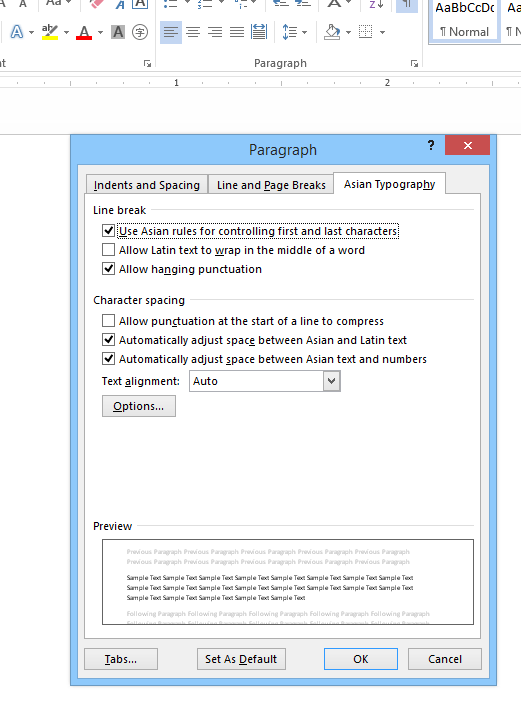
Next open the "Advanced Layout" window:
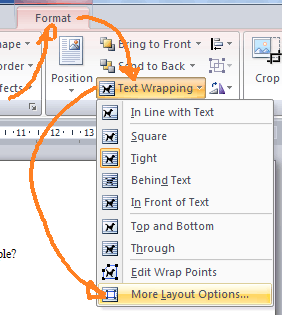
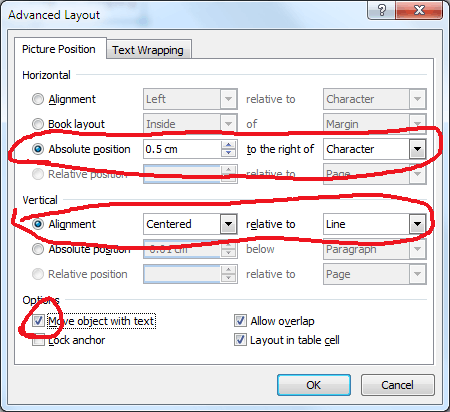
Set the text wrapping to Tight, then switch to the picture position tab:

Make the image move with your text, vertically centred to the line and horizontally linked to the character before it.
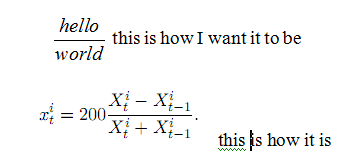
Final result (this image isn't great quality, I've taken it from a screenshot from your question). It's not perfect, but it's as close as I think you can get with the built in Word functionality:


1This is the only answer that actually works, though it sucks that you have to manually enter the height of the image. Also Ctrl+D isn't the Font dialog box - it is duplicate. – Timmmm – 2015-03-30T14:39:13.077
1This one works better for me. Ctrl+D works when text is selected but not image. Try Ctrl+Shift+F. – xiaomy – 2016-09-13T05:38:33.620
On Word for Mac, looks like Command+Shift+F doesn't work for images. As a workaround, rise the text following the steps above :) – cassiomolin – 2017-06-13T19:16:07.373
In Word for Mac: select the image and e.g. empty space before or after the image and then Cmd + D – chAlexey – 2018-09-20T15:39:24.593