Say hello to Microsoft Paint 3D!
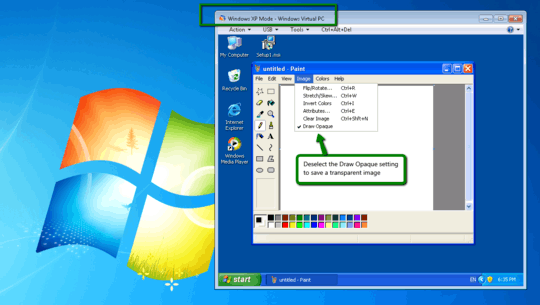
Although this does not directly address the specific question of how to do this in the version of Paint found in Windows 7, it does address the question of how to do this in Paint in general, which is exactly how the question was posed.
They have heard your plead all the way to Washington. As part of the creator's update to Windows 10, Microsoft has introduced Paint 3D, which is a modern Windows app. As opposed to the old classic Paint "program". The classic Paint is now deprecated and may be removed in future updates of Windows 10.
So here is how you draw a star on a transparent background in Paint 3D.
Start Paint 3D and click on New if you are presented with the welcome screen, or just click outside of the modal window to continue.
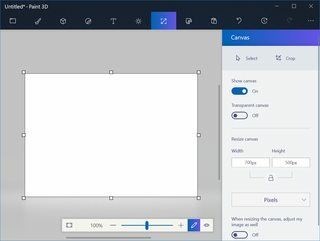
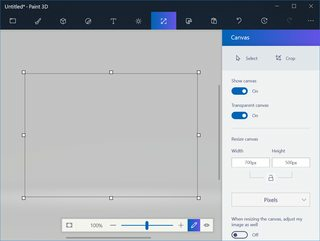
Click on the Canvas tab. Flip the Transparent canvas switch to On.
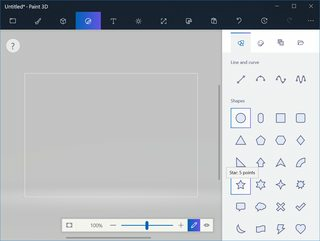
Click on the Stickers tab. Select the five point star shape.
Draw your star.
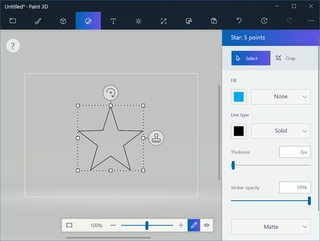
Set the fill color to yellow, and set its type to solid. Set the line type to none.
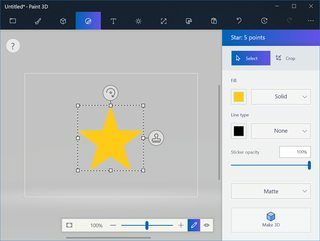
Click outside of the selection area to deselect the star. A proud new star is born!
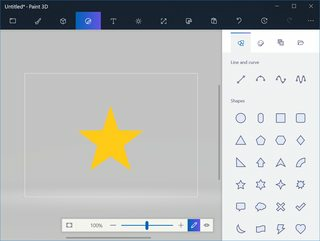
Now click on the left most tap, the "expand menu" tab.

Click on "export file", then "2d - png". The reason that "2d" is in the file type name is because Paint 3D, as the name suggests, supports 3D objects. Since you want a flat image, and PNG format gives you that, Microsoft has decided to prefix the name with "2d". This is just regular old PNG that you know and love, and it does support transparency which is what you want.
Note that there is also an option to "save" or to "save as". You can save the file this way too. The only difference being that it also offers the option to save your work as a project so you can come back to it later, which is something that the classic Paint does not support. In the old Paint, once you have saved the file and closed the program, you can no longer step back and undo your changes. Paint 3D supports layers, so you can use that to easily make adjustments later.
Now close the program. Unless you want to work on it later, click on "don't save".
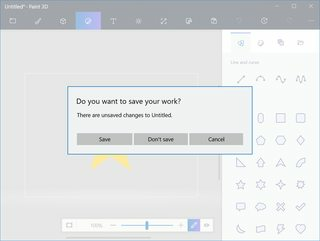
As you can see here, the background is transparent.



2This should be useful – xameeramir – 2016-05-20T14:01:14.417
@student yes, in simple cases magic wand can be used, but if you have for instance image with shades of black and white and want to replace white component with transparent, so that it becomes just black with variable transparency, then magic wand cannot help you. – Dialecticus – 2016-05-20T14:32:23.233
1just for clarity to the asker here, GIMP and GimpShop are two different things – None – 2012-11-02T15:39:56.773