Introduction
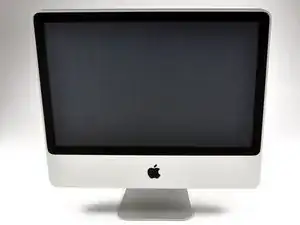
We picked up the new iMac 20" from our local Apple store on March 3rd.
Tools
-
-
It's here!
-
We turned it on (only briefly, of course); the LCD display is beautifully clear, even though its resolution (1680x1050) is smaller than the 1920x1200 resolution found in the MacBook Pro 17" Unibody.
-
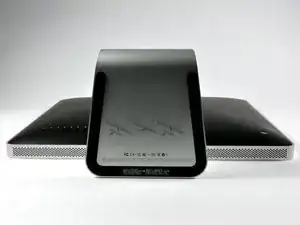
The speakers are also surprisingly loud and clear, given that the sound seemingly comes out of nowhere...
-
Feel free to comment on specific steps as we go. We'll do our best to accommodate any special requests for pictures.
-
-
-
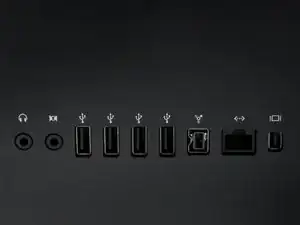
The ports:
-
Optical digital audio out / in
-
Four USB 2.0 ports
-
FireWire 800, 7 watts
-
Gigabit Ethernet
-
Mini DisplayPort (with support for DVI, dual-link DVI, and VGA)
-
-
-
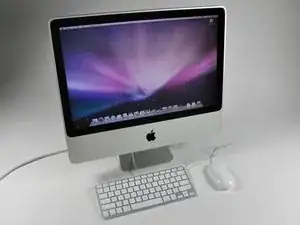
Look at those lovely cords. Yay for cords. Going wireless will add an extra $50 to your iMac's pricetag -- $20 for the mouse and $30 for the keyboard.
-
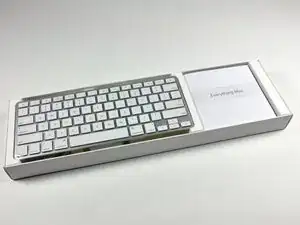
Apple should really have an Aluminum mouse. The included white plastic Mighty Mouse looks like something thrown in as an afterthought.
-
Our keyboard has no number pad, but in their online store Apple offers a "keyboard with numeric keypad" as a no-cost alternative to the standard one.
-
Apple confirmed that nothing from the PC world was used in the creation of this iMac, as evident by the "Everything Mac" slogan.
-
-
-
It has begun.
-
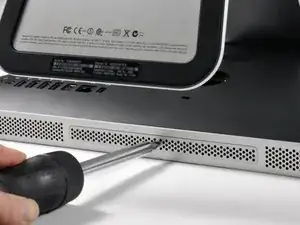
Unscrewing the single exterior screw -- the RAM cover. We brainstorm on what magical wonders may lie underneath...
-
Behold: RAM!
-
-
-
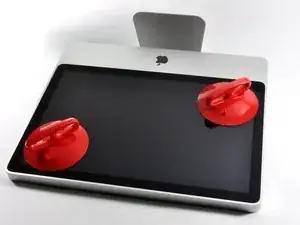
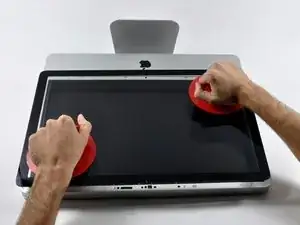
We use only the best parts around here. Our suction cups come straight from Maranello, Italy (in Ferrari red, of course).
-
-
-
Fourteen magnets hold the front glass panel in place. Our suction cups were very handy for this operation.
-
The glass panel comes off with a gentle pull straight up.
-
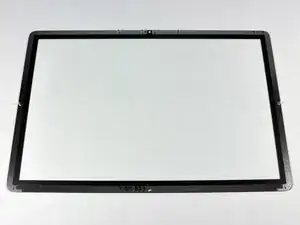
The rear of the glass has a metallic bezel, as well as seven alignment posts. The magnets that help hold the glass in place are in the iMac's aluminum front bezel.
-
-
-
The display is less glossy now.
-
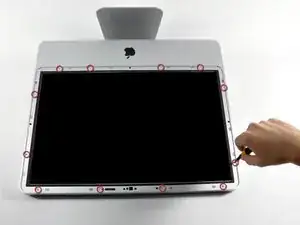
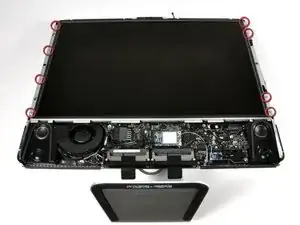
Twelve screws are exposed:
-
Eight 12.8 mm T8 Torx screws.
-
Four 24.6 mm T8 Torx screws.
-
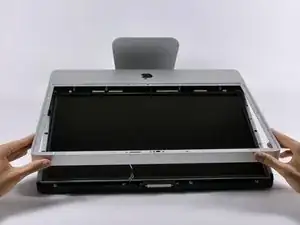
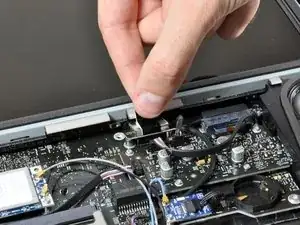
The front bezel then simply rotates up. The microphone cable must be disconnected before the bezel is entirely free.
-
-
-
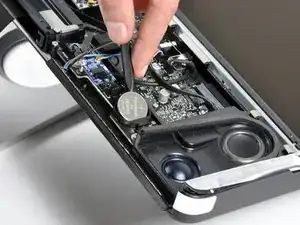
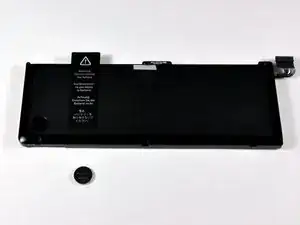
We wanted to see how the iMac clock battery (190 mAh) stacks up with the 17" Unibody's behemoth (12,820 mAh), so we put them next to each other:
-
-
-
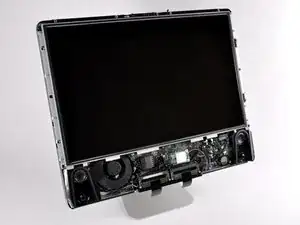
Most components are buried beneath the LCD assembly. This isn't a new design for Intel iMacs, but is certainly not as convenient as the rear-accessible iMac G5.
-
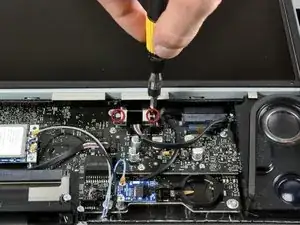
Unscrewing the two T6 screws securing the display data cable.
-
After removing the two screws, we pulled the connector straight up, wiggling back and forth as necessary.
-
-
-
The LCD panel is held in place with eight 11.8mm T8 Torx screws.
-
There are five cables (four inverter cables and one temperature sensor) to disconnect before the LCD panel can be removed from the iMac.
-
This display is an AU Optronics M302EW02. The manufacture date shown on the back of the LCD is 09/04, that's probably the 4th week of 2009.
-
-
-
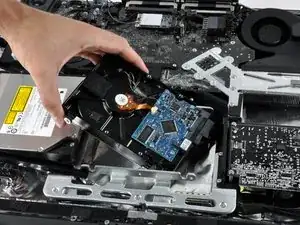
Removing the desktop 320GB SATA hard drive.
-
After disconnecting the temperature sensor cables, we rotated the long black clip toward the drive to unlock it, then swung it to the side.
-
We then unplugged the SATA cables and pulled out the hard drive without removing any additional screws.
-
-
-
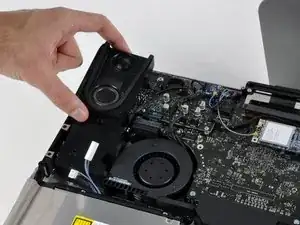
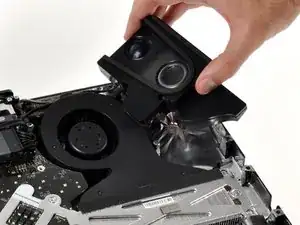
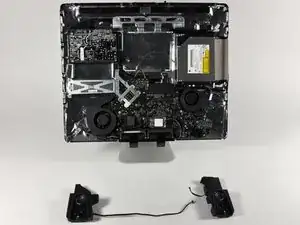
Each speaker is attached by one screw and one connector cable.
-
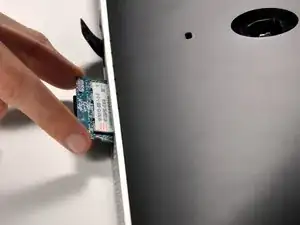
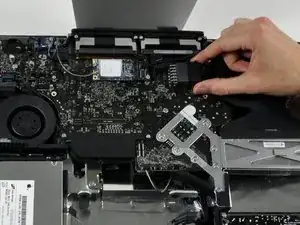
The Bluetooth board is the blue board in the top center.
-
The 802.11n card is on the right with two antenna wires running to it from below the logic board.
-
-
-
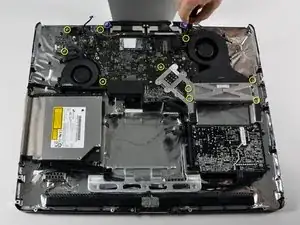
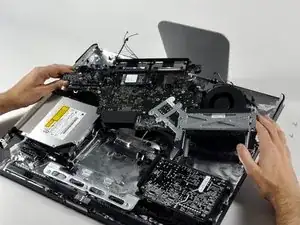
Removing the logic board.
-
First off, let's disconnect 13 connectors.
-
Next, we remove 10 T10 Torx screws... (Second image)
-
...and 2 T8 Torx screws.
-
-
-
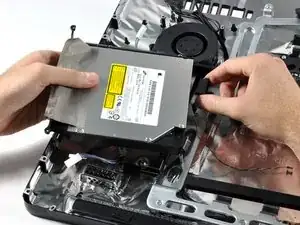
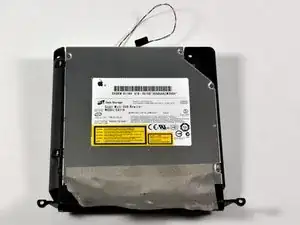
Apple's flat-panel iMacs have always been an interesting cross between a laptop and a desktop. This iMac features a laptop-style optical drive and RAM, but a desktop hard drive.
-
This is a 12.7mm SATA 8x double-layer SuperDrive.
-
-
-
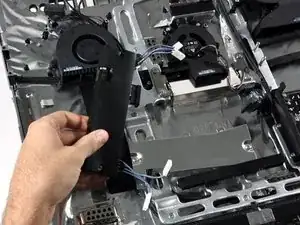
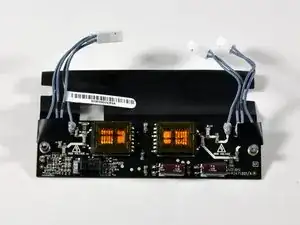
As we mentioned earlier, this iMac still uses an LCD with a CCFL backlight. This particular display features four backlights, each of which require their own high-voltage AC power.
-
All four are powered by a single large inverter.
-
-
-
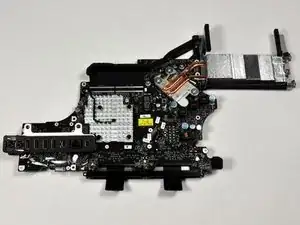
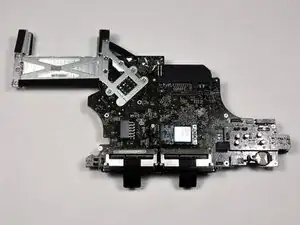
The large and awkward logic board.
-
The ports are all soldered directly to the logic board, and connect at a slight angle to fit the curvature of the iMac's rear housing.
-
-
-
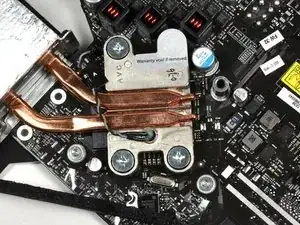
The heat sink directly above the 2.66 GHz Core 2 Duo processor.
-
The processor appears to be socketed, but unfortunately there's a "Warranty void if removed" sticker that must be removed to access it.
-
-
-
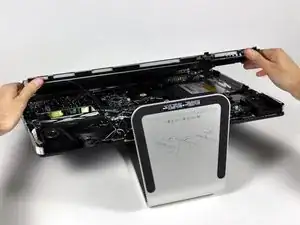
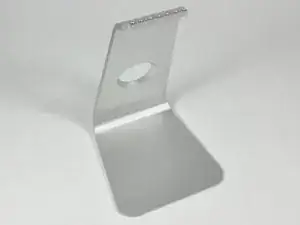
On the 20" iMac the stand is very integrated into the computer. Removing the stand requires you to first remove almost all internal components.
-
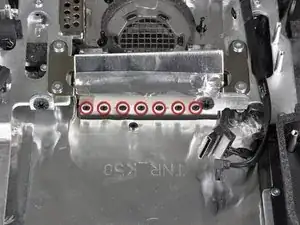
The stand is fastened to the housing with 7 T10 Torx screws.
-
-
-
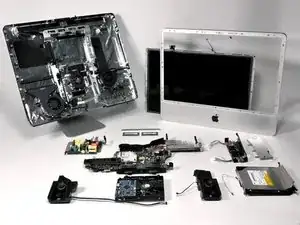
It was a lot prettier when we started.
-
There you have it! Be sure to check back often for more teardowns, guides, and quality parts and tools.
-
11 comments
I'd like to see a guide for the replacement of the video card on the iMac Intel 20" using the iMac you used in this guide "iMac 20" Teardown". It is the exact same model I have.
These are really great guides!! I appreciate you doing them!!
Phuztone -
does anyone know if you can upgrade the processor in this model??
yes, but 2007 only with T9300 or T9500
Can you tell me if I can use D.C. Power instead of 110 ac?
riouxlm -


Do you have any idea how many buses that these USB ports share? Also, what do you do with the machines you disassemble after you reassemble them?
ogun7 -