Introduction
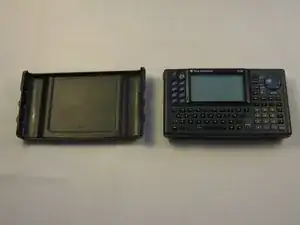
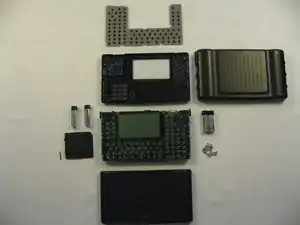
Provided is an exploded view of the TI-92 calculator. All dis-assembled components are the back-side of the parts.
Tools
-
-
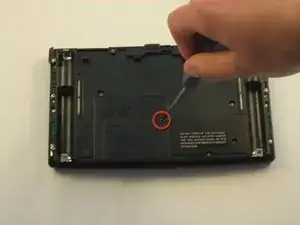
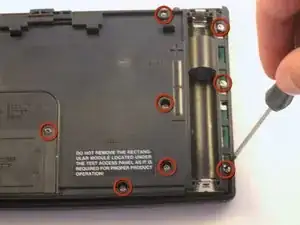
Remove all visible screws.
-
Note that there are more screws than shown in this picture (16 in total). You MUST remove them ALL.
-
-
-
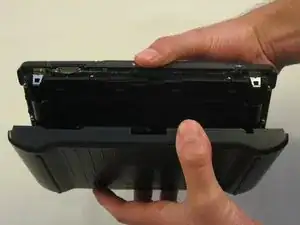
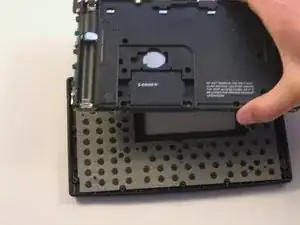
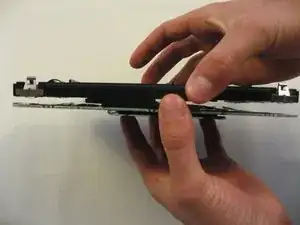
Keeping the front faceplate FACE DOWN on the work surface, lift the circuit board AND the plastic backing up and away from the faceplate.
-
-
-
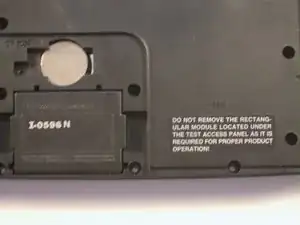
These two components are loosely attached by the rectangular module just below the back-up battery.
-
-
-
The warning label next to this module reads "Do not remove the rectangular module located under the test access panel as it is required for proper product operation!"
-
-
-
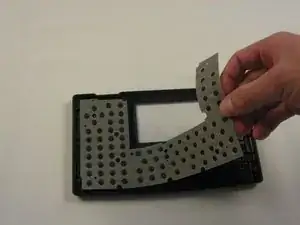
The rubber mat in back of the faceplate may be removed, exposing all 77 individual plastic keys.
-
-
-
The device has now been separated into as many component parts as intended by the manufacturer.
-
