Introduction
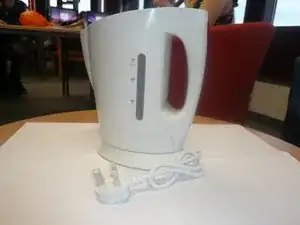
This guide explains how to take apart the standard Tesco Value Kettle, so you can see its internal parts.
Tools
-
-
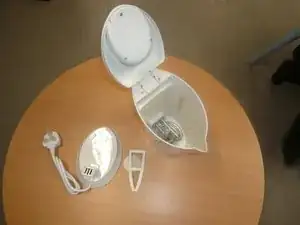
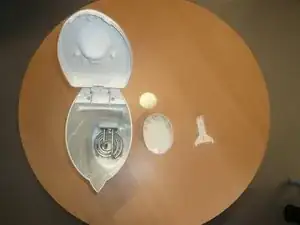
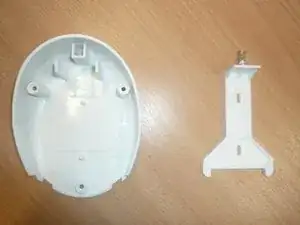
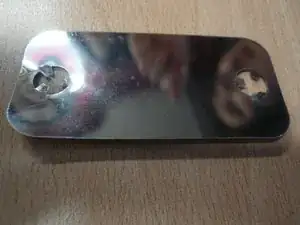
Remove the screw from the bottom side of the lid.
-
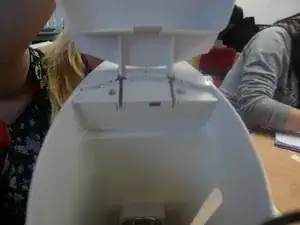
Disassemble the lid and remove the plastic piece inside.
-
-
-
Remove the screws on the underside of the kettle to release the socket cover.
-
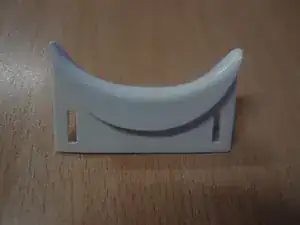
Separate the handle from the kettle.
-
-
-
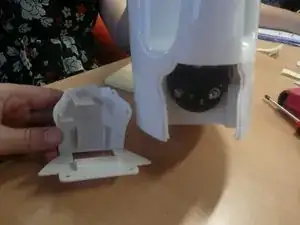
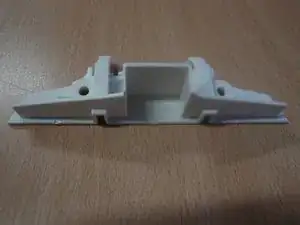
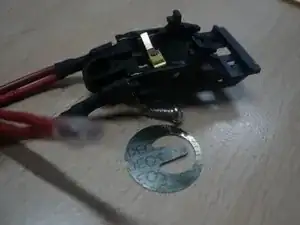
Gently remove the switch cover.
-
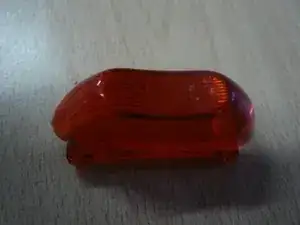
Remove the circular piece attached to the switch base by gently pulling it away.
-
-
-
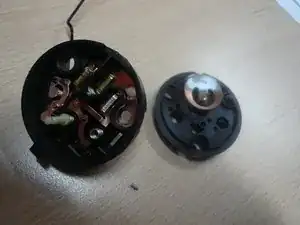
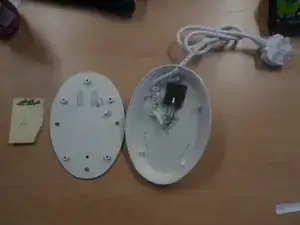
Remove the screws from the socket at the back of the kettle.
-
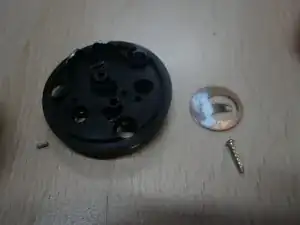
These screws also hold the socket together, so once they have been removed, it can be opened.
-
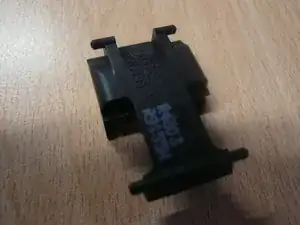
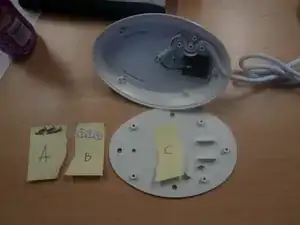
The components within the socket are clipped in. Remove the components by gently pulling.
-
-
-
Remove the heating element.
-
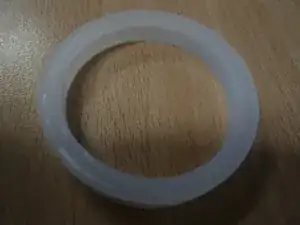
Remove the gasket.
-
Remove the plate beneath the heating element by bending the metal in the holes as shown in the picture. Remove the plate from the clips.
-
-
-
The plug and cable (G) are held in by clips and can be pulled away.
-
The fuse (F) can be pulled away from inside the pins on the plug (G).
-
-
-
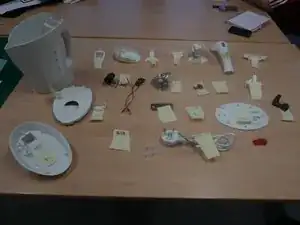
The kettle is now fully disassembled.
-
There should be 26 separate parts, all shown here in this photo.
-