Introduction
This is my first Teardown! Please don’t be negative about it. But, Constructive Criticism is welcome.
Tools
-
-
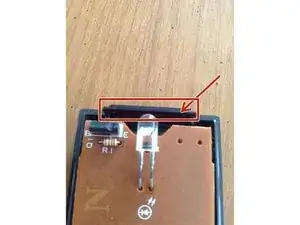
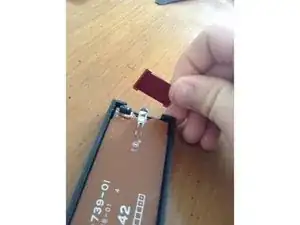
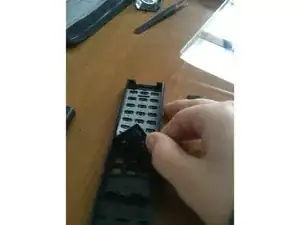
Let’s start by removing the red thing.
-
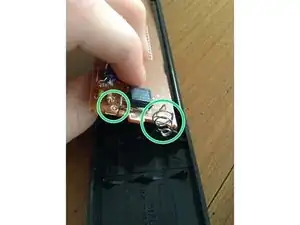
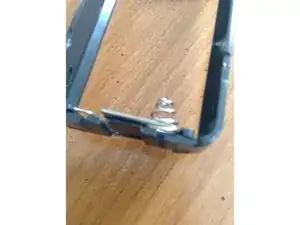
Now pull out the PCB. (It is best to pull by the springs.)
-
-
-
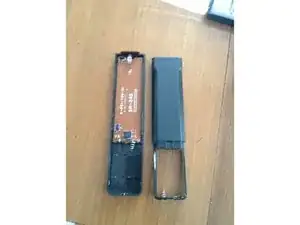
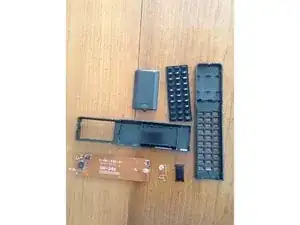
A total of 7 parts. (I was expecting more.)
-
I would give this a repairability score of 8 out of 10.
-
I almost Broke by Spudger =(
-
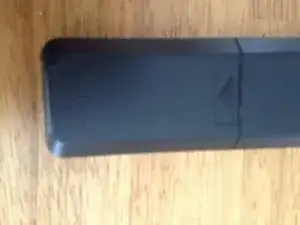
Insanely hard to open.
-
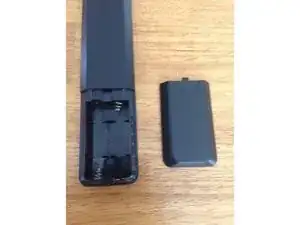
Easy to disassemble... once open.
-
No screws. (No Screws to lose! No need remember which screw goes where.)
-
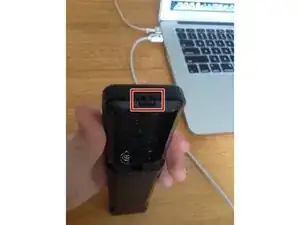
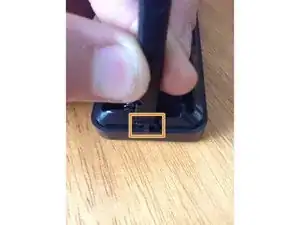
Easy to assemble...unless the tab was broken.
-
4 comments
This is a great first teardown! =) Keep it up!
Thanks! I would do more but I don’t have much junk to disassemble that I don’t need.
Aiden -
Hi @captainsnowball ,
FYI
voilà French exclamation - meaning “There it is!” or “There you are!”
The “red thing” in Step 3 is most probably an IR filter, to filter out visible light to improve IR operation
jayeff -
Ran into this while trying to clean an old RM U204. To anyone else looking to clean a 23 year old stereo receiver remote: the latch at the bottom doesn't work quite the same. The loop is connected to the bottom plastic instead, but starting there also got me to the finish line.
There are four latches on each side, requiring you to pull the top cover outwards. You will not open it without breaking some of them, and plastic prying tools will break against this rock. The plastic is soft, and your screwdriver will very easily damage it.
To Sony: why.
Minic -
