Introduction
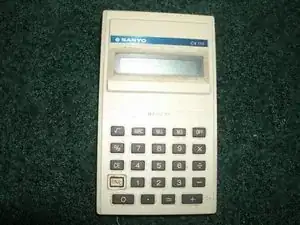
Teardown of an early 1980s Sanyo CX-110 calculator.
Tools
-
-
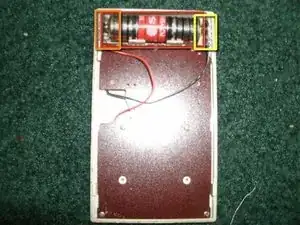
Now that we removed the back of the calculator, here are the battery and the back of the circuit board.
-
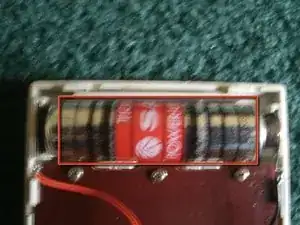
Sanyo Tight-Seal Power-Up Sum-3 1.5V AA battery.
-
Positive contact for the battery.
-
Negative contact for the battery.
-
-
-
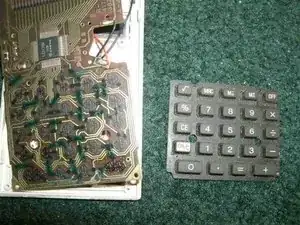
After removing the seven Phillips screws and flipping the circuit board, you will see the "brain" of the calculator—a Sanyo LI3120M chip.
-
The keypad has been removed from the calculator.
-
-
-
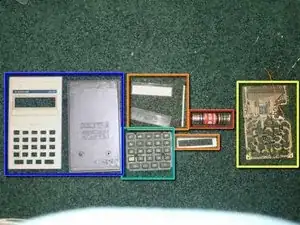
Now that we have completed the teardown, we can lay out all the parts of the calculator.
-
The AA battery.
-
Parts of the LCD display.
-
The circuit board.
-
The keypad containing all the buttons of the calculator.
-
The housing for the calculator.
-
