Introduction
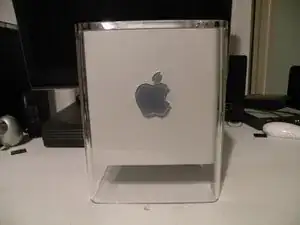
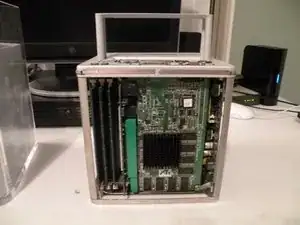
The infamous Power Mac G4 Cube, Apple's original failed attempt at a compact G4-based Macintosh. Released in 2000 at a cost of $1599, the Cube was considered too expensive, and too slow. The Cube, unlike most computers, uses passive cooling, which means no fan. While quiet, it was a big mistake on Apple's part, because the G4 processors run very hot!
The Cube boasted a 450MHz or 500Mhz G4 CPU; not particularly fast given its 1Ghz Pentium III contemporary. The Cube is virtually silent, aside from the original 5400 RPM hard-drives. After a single year of production, Apple put the cube "on ice”. But it lives on in infamy as a popular candidate for Macquariums and as a coveted design piece. An internal fan hookup in the form of a 12V, 2-pin connector is available but was never utilised by Apple. If you want, you can buy a fan, connect it, and figure out a place to fit it; this is a popular mod to cool overheating Cubes.
Conceptually, it was replaced by the Mac Mini in 2005, 5 years later.
Tools
-
-
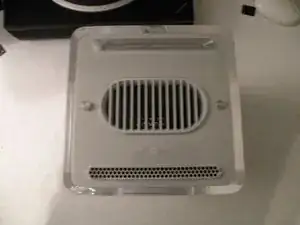
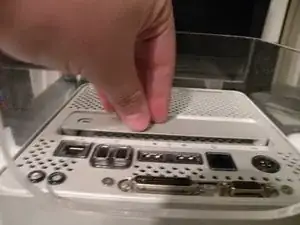
To Start The Dissasembly, Flip The Cube Upside-Down, and unplug it.
-
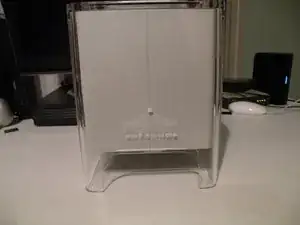
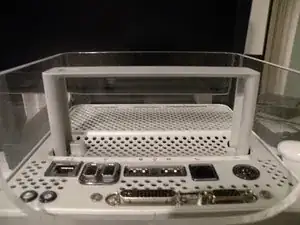
Next, push on the handle, it should pop up.
-
-
-
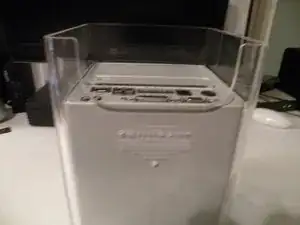
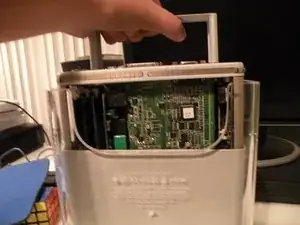
Now, pull up on the cube by the handle, all of the guts should come out.
-
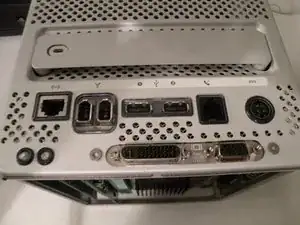
As you might notice, the cube's guts only go in one way, the ports facing the back of the enclosure
-
-
-
Removing the Ram
-
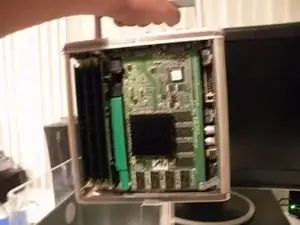
Start by fliping the cube so that the side with the graphics card is facing you, you may want to push the handle back in.
-
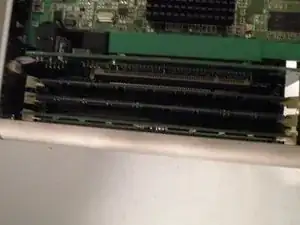
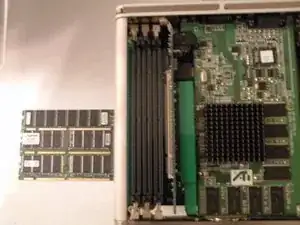
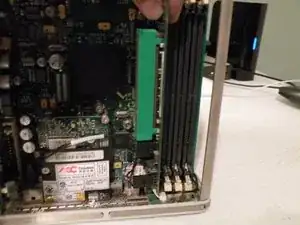
There are 3 RAM Slots, they are Standard PC100 Ram. The cube can support up to 1.5GB of ram, that's a 512MB Stick In All 3 Slots.
-
Remove the ram, just like any other kind of ram.
-
-
-
Airport Card
-
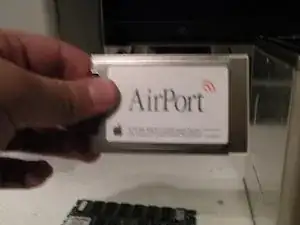
The Cube Uses the standard PCMCIA 802.11b Airport card commonly found in macs from 1999-2004
-
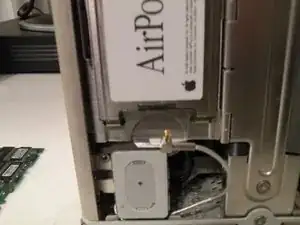
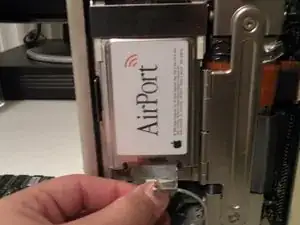
Flip the cube to the side with the airport card attatched. Remove the antenna cable, then grasp the card by the plastic tab, and pull it out of it's socket.
-
-
-
The Graphics Card
-
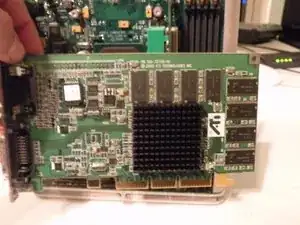
The Cube came standard with a Mac ATI Rage 128 Pro 16MB AGP Card. ATI Radeon (32MB) and nVidia GeForce 2MX (32MB) cards were BTO options.
-
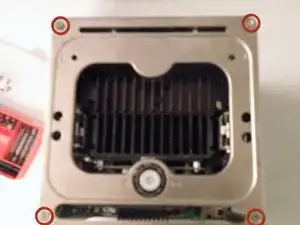
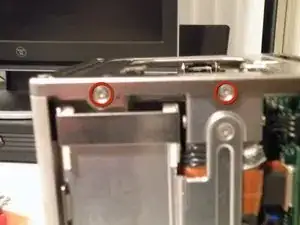
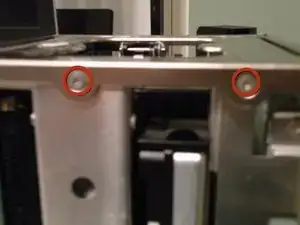
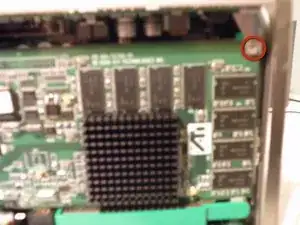
Remove these T10 screws:
-
Then, pull the top piece of metal off of the computer,
-
-
-
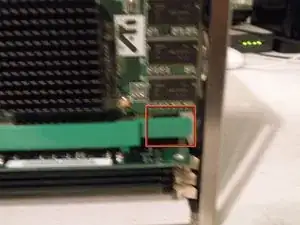
Now to free the card, pull this tab towards you and with some persuasion, the card should come free.
-
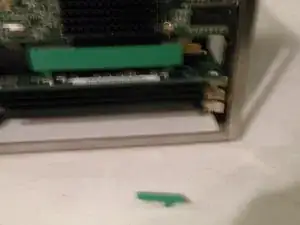
Oops! Oh well, even without the brittle plastic tab, the card isn't going anywhere.
-
Then, remove the card and set it aside.
-
-
-
Removing the AGP Riser card
-
Pull the card out of the PCI Socket, and no, unfortunately, you can't use this to put an AGP card in a PCI slot in a PC.
-
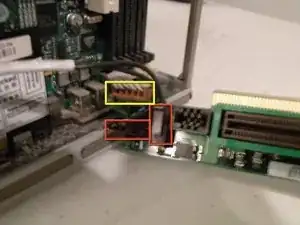
Once the card is free, mind the 3 cables attached to it, remove these 2 cables first.
-
The third cable is glued to the AGP board, unplug it from the logic board instead.
-
-
-
Removing the 56K Modem
-
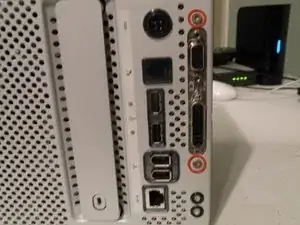
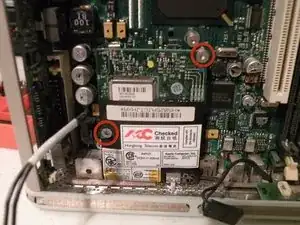
Remove the 2 T10 Torx Screws
-
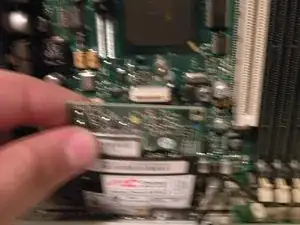
Then, pull the 56k modem out, there is a socket on the back of it, so be careful!
-
-
-
Removing the Voltage Regulator Module.
-
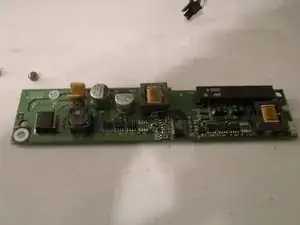
This board is called the DC/DC board, or the Voltage Regulator Module. It takes the power from the power brick and regulates the power to different components of the Cube.
-
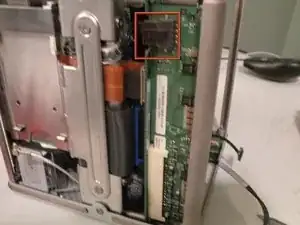
First, disconnect the power connector.
-
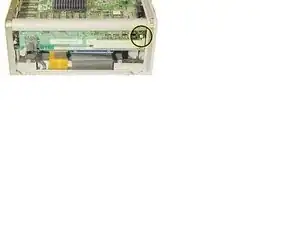
Then release the white clip on the connector socket, which is accessed from the side of the core.
-
With a little persuasion, the board comes out of it's socket(it's hard to show how the board comes out, but in person, it's pretty self explanatory)
-
-
-
The Logic Board
-
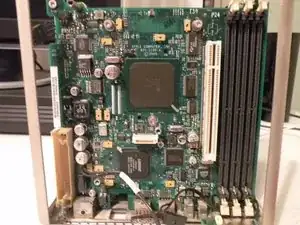
Unfortunately, this as far as I am going to dissect my cube, partially because I still use it frequently, but here is an overview of the cube.
-
450Mhz or 500Mhz PowerPC G4 Processor
-
Shipped with 64MB ram, supports up to 1.5GB of PC100 or PC133
-
One PCI Slot(Converted to AGP via adaptor)
-
No Onboard Audio.(Unfortunately)
-
8 comments
This is great! What a beautiful machine that was.
Awesome teardown, Chris! Thanks for posting it.
Worst pictures I've seen in a teardown in a long time…
Jena -
