Introduction
This guide provides step-by-step instructions on disassembling the Picstart Plus development programmer.
Tools
-
-
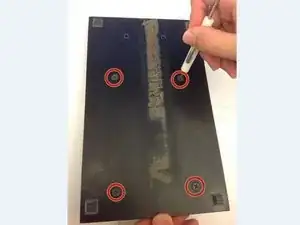
Remove 4 Phillips screws located on the back side of the holding plate.
-
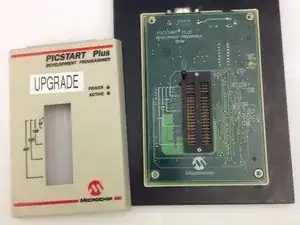
After the screws are removed, remove the case of the development programmer.
-
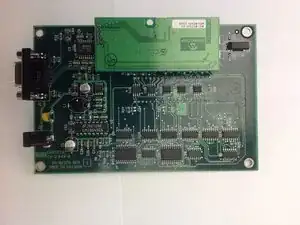
Carefully take out the circuit board with component side facing up. Put the case aside.
-
-
-
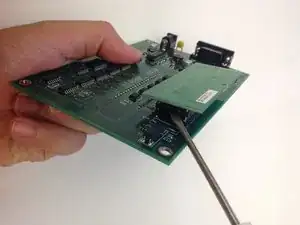
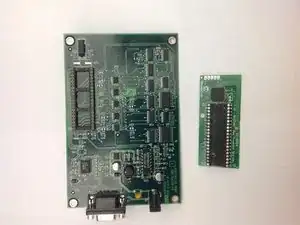
Disconnect the microcontroller module from the main board using a spudger or a similar tool.
-
Set the microcontroller module aside.
-
-
-
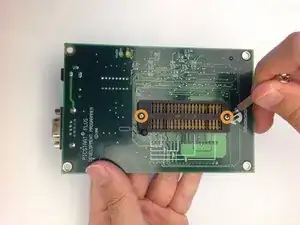
Flip over the mainboard so that the component side is facing down and remove the small Pan head screws that holds the cover of the IC holder
-
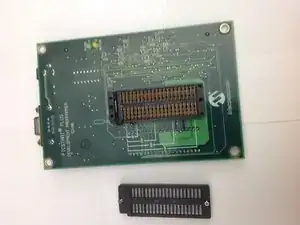
Remove the cover of the IC holder.
-
-
-
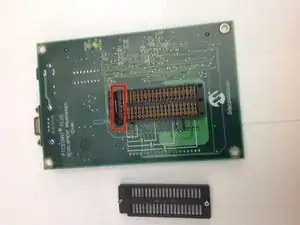
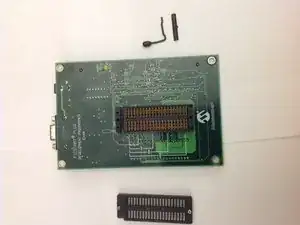
Remove the IC holder lever along with the small metal plate that covers the lever.
-
Set the lever and the lever cover aside.
-
-
-
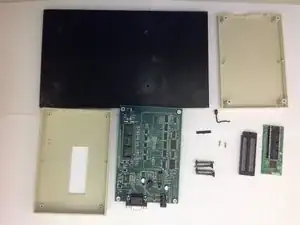
Congratulations! You have completely dismantled the PICSTART Plus Development Programmer!
-
All the extracted components are shown in the picture.
-
