Introduction
˙pǝlqɯǝssɐ ǝq oʇ spǝǝu puɐ sǝɔǝıd uı sǝɯoɔ doʇdɐl ɹɐlnpoɯ sıɥʇ ǝɔuıs 'uʍopɹɐǝʇ ǝsɹǝʌǝɹ ɐ ɟo puıʞ op oʇ ƃuıoƃ ʎllɐnʇɔɐ ǝɹɐ ǝʍ ǝɯıʇ sıɥʇ
Wait a minute, lets flip this around:
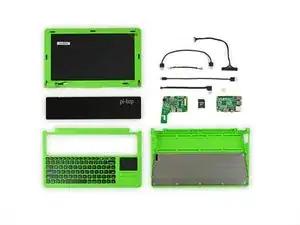
This time we are actually going to do kind of a reverse teardown, since this modular laptop comes in pieces and needs to be assembled.
But this is iFixit - so we stick our nose in, wherever we can before we're going to set the pi-top up!
For more nosey news make sure to follow us on Facebook, Instagram, or Twitter for all of the necessary teardown and repair news.
Tools
-
-
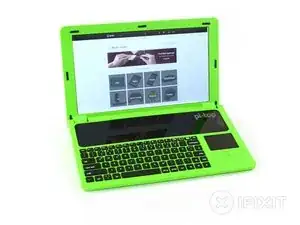
The Pi-top is unpacked and ready to
useassemble! When we're done the pi-top tries to seduce us with the following specs: -
HD 13.3” anti-glare screen with 1920 x 1080 resolution and 256k colors (165.63 ppi)
-
Raspberry Pi 3 with 1.2GHz Quadcore ARM Cortex A53P
-
Two–wire smbus v2.0 interface
-
Programmable keyboard & trackpad with palmcheck
-
Modular rail for add-ons
-
Battery for up to 12hrs of usage
-
-
-
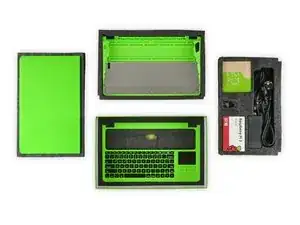
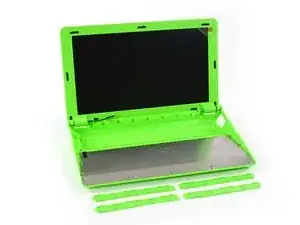
The pi-top comes in a four layer box with foam separators to protect the valuable goods inside–which mostly consist of neon green plastic.
-
But before we assemble the pi-top we try to tear everything down we can find!
-
The teardown of the pi-top is more or less over after unpacking it. There are just a few more things we can stick our nose in and because this is iFixit, we will.
-
-
-
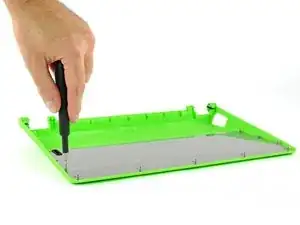
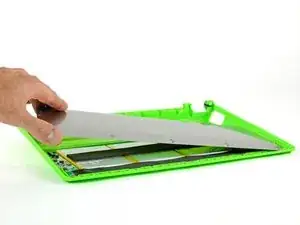
Starting with the bottom end, there are eleven hex screws with ball heads which are holding down the metal plate on top of the battery block and the keyboard unit will snap on to.
-
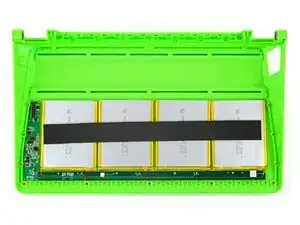
With the help of our 64 Bit Driver Kit we get a glimpse on the battery pack which consist out of four separate batteries cuddling under a black adhesive strip.
-
-
-
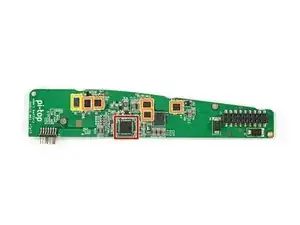
Finally one of the secret circuit boards of the pi-top! Sadly the most exciting thing to find is the easy to release pin connector. Nothing to find here for the adhesive and soldering police!
-
Responsible for the battery management is the Texas Instrumetns BQ40Z60 chip.
-
Texas Instruments MOSFETs
-
12 A Fuse
-
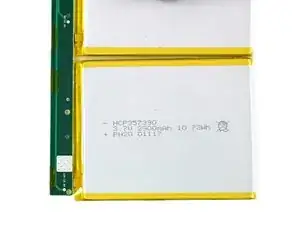
Each of the four batteries claims an 10.73 Wh capacity. All together they shall guarantee you 12hrs of work without charging the pi-top, which is enough to fly from Hollywood to Barcelona.
-
-
-
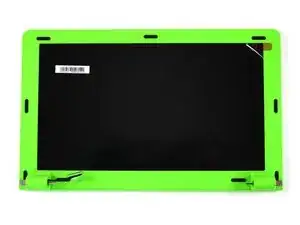
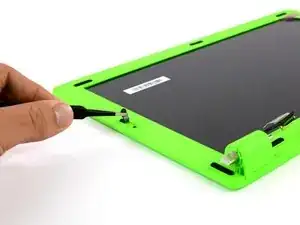
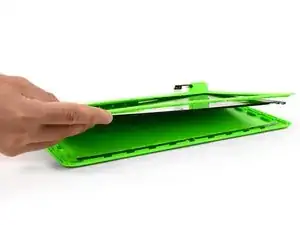
The 13,3" HD Screen is surrounded by a green plastic frame. We can remove it by pulling off the rubber spacers which protect the display from getting scratched by the raspy keyboard when the pi-top is closed.
-
After we removed "18 screws", we can skip our finger gymnastic lesson for today. But fair enough–the rim removes quiet easily after we got rid of the screws.
-
-
-
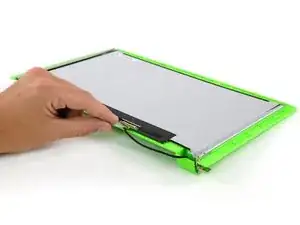
There is one last cable which connects the display to the computing unit. On both ends it has a simple plug-in connection.
-
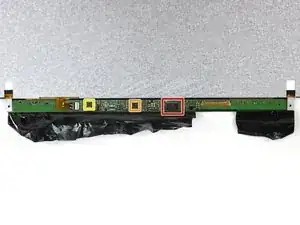
Under a strip of protective film we can find the control board, with:
-
a HIMAX HX8876 timing controller
-
a NovaTek NT50169G power management (likely)
-
a Richtek RT8532GQW backlight white LED driver w/ boost converter
-
-
-
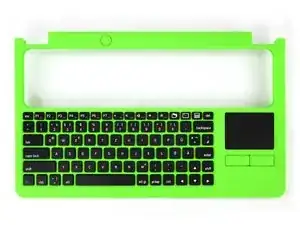
We experience some kind of deja vu opening the plastic coverage of the keyboard. Not 18 but 23 Phillips screws want to be removed until we can get a glimpse on the inside.
-
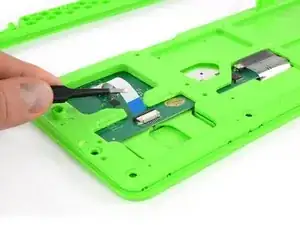
Our childish recklessness to separate the two plastic pieces is stopped by two ribbon cables. Luckily they are opened with just a few movements.
-
-
-
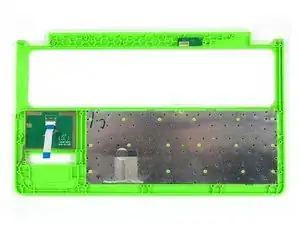
After removing one side of the green plastic frame the whole interior falls in our arms.
-
Well, not the whole interior. While everything of the pi-top was easy to remove so far, the keyboard itself is stamped to the plastic frame.
-
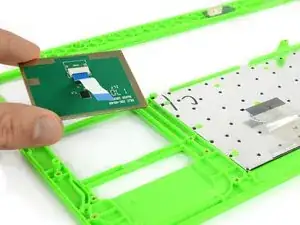
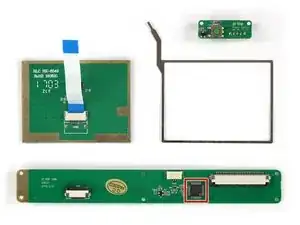
All we can go with on our foray is the touchpad and its frame, the power button and the circuit board with the buttons for left and right click that features a SinoWealth SH68F83 low speed USB microcontroller.
-
-
-
At this point the actual teardown is over–time to reassemble!
-
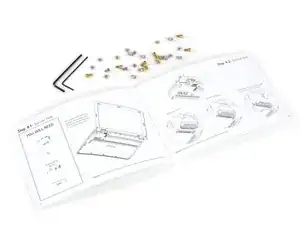
Hidden in the padding of the box we find tools, an assembly instruction and heaps of screws to build a pi-top!
-
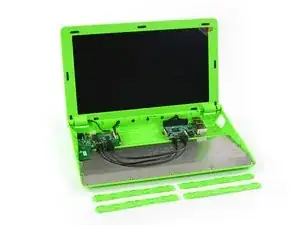
The heart of the pi-top which is rather small than big to be fair, comprises only two circuit boards connected with a few cables and placed above the battery.
-
-
-
Finally the pi-top is
torn downassembled! -
Verdict: The pi-top is not a real Laptop. There isn't much inside that could be bathed in glue. It's a miniature computer on a circuit board with a shell of a gnomish green notebook. Its made for programming and coding fans filled with everything they need. As the raspberry pi itself, the pi-top is simple, easy to tear down and easy to assemble.
-
The opening in the body for USB and Ethernet is too small in our opinion and you will end up in cable tangle.
-
The headphone jack on the raspberry is facing the keyboard and barely accessible with an angled plug.
-
-
-
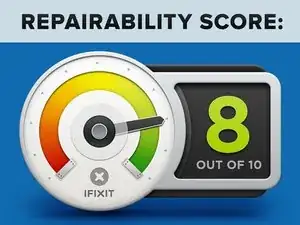
Pi-top Repairability Score: 8 out of 10 (10 is easiest to repair)
-
The design allows access to all components with only little to medium work to get to them.
-
No glue but only screws for a relatively simple opening procedure.
-
The tools you need to assemble the pi-top are included.
-
The tools you need to reach deeper are standard and probably already in your toolbox.
-
The plastic housing doesn't feel too sturdy and might suffer damage being a portable device and experiencing some rough handling from time to time.
-
4 comments
How is “The tools you need to reach deeper are standard and probably already in your toolbox” not a positive?
If you are equipped with our toolsets, you are ready to go ;) But not everyone has the right sized Torx driver at home. They could have continued with the same allen sized screws as they provide the tools for.
Mine stopped turning on, what can I do?
Can you get a replacement display to hub lead? If so where from?

