Introduction

  1. mxDkUXQlLGbWgU2h
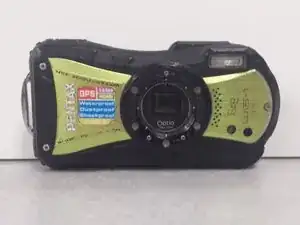
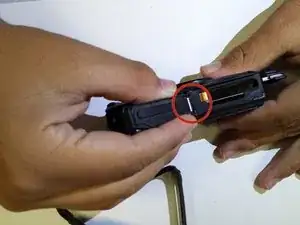
    • Clean the device. You are able to rinse with under running water. It is recommended to ensure that you remove the battery and memory card before working with the device.

    • Prepare a clean workstation and have your tool(s) ready.

  2. 2pVKtbgENUV6IpIb
    2pVKtbgENUV6IpIb
    poRqPynhFGLkvLeG
    TQwhPFShKIfOGOR5
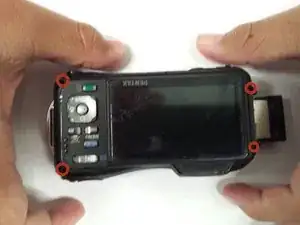
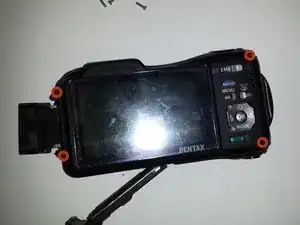
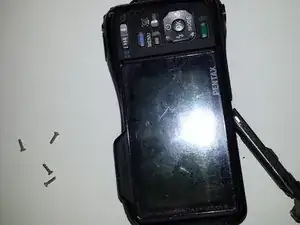
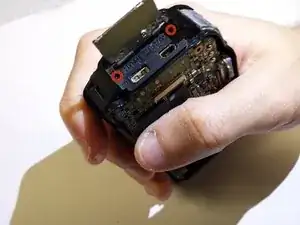
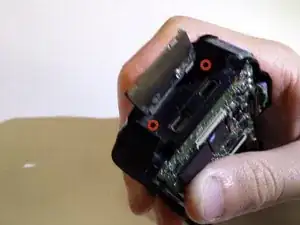
    • Remove 4 Phillips 1/4 inch 00 screws around the border of the display with the screwdriver.

  3. eLepRBiXXrFRHuUl
    eLepRBiXXrFRHuUl
    3DNfy6NnQZaFRaQ2
    sgohGxMHXxRcYXkN
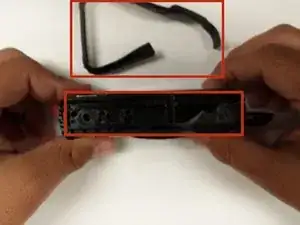
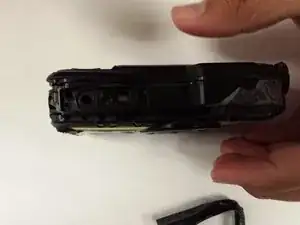
    • Remove the black rubber adhesive around the border of the device by peeling slowly.

  4. hhmRuVtKQIaDahHx
    hhmRuVtKQIaDahHx
    wg5YRxA6C1FdyKTt
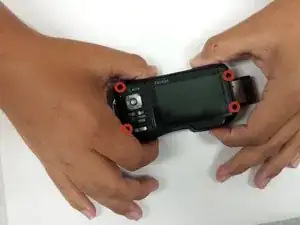
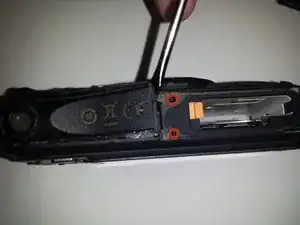
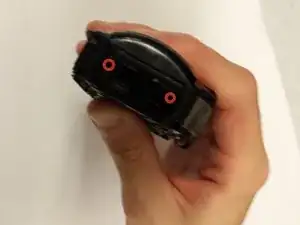
    • Remove 2 Phillips 00 1/4 inch rubber sealed screws off the top of the camera.

  5. fMD3CAqrRoygSMew
    fMD3CAqrRoygSMew
    dWDNdWQ5MZxkjqVe
    vtL6mKcY5KgdZnQa
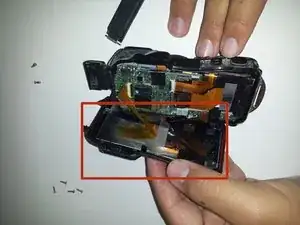
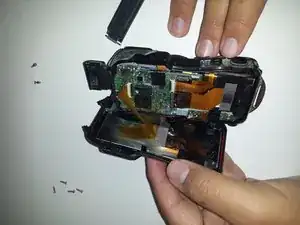
    • Remove the display screen from the casing. When opening, the micro USB cover and the battery cover will fall out with a pin.

  6. Vvnk2lA2nmKJQ46V
    Vvnk2lA2nmKJQ46V
    QSNnldLUlvFGCXLY
    5ZRgFy4edAGYsDrO
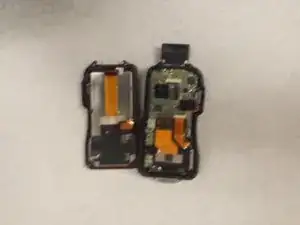
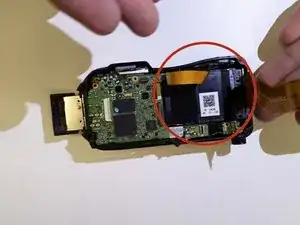
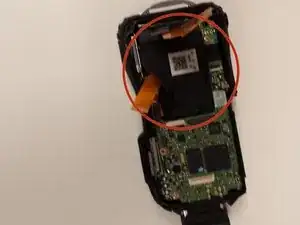
    • Remove all orange strips located on the motherboard and the LCD screen.

    • Lift black latches before removing the strips.

  7. WKMkxBQ5InMaJT1P
    WKMkxBQ5InMaJT1P
    knAjS3HNSRRRST2o
    FGqVvksUcYRXL1oh
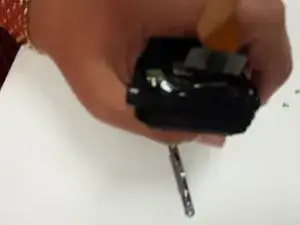
    • Remove the lens from the camera carefully. It is the black block held inside the casing.

  8. cuUZ125CvjK3orNM
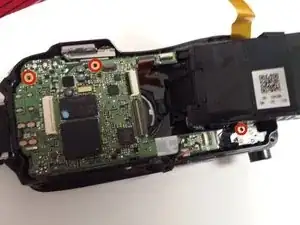
    • Remove 3 Phillips 00 screws from the motherboard.

  9. JJUdmxXBvMRB5uVb
    JJUdmxXBvMRB5uVb
    vScblTar41ZKT2SJ
    ZGEWYpDXpYtmE5ro
    • Remove 2 Phillips 00 screws from the mini USB bay.

  10. EEMudJJbdRXva1cO
    • Remove 2 Phillips 00 screws from the silver handle on the side of the camera.

  11. GFLMUkewmtlWYeNS
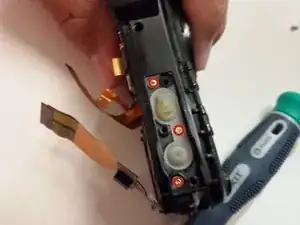
    • Remove 3 Phillips 00 screws from the camera's photo capture button.

    • After removing those screws, remove the plastic piece and buttons they secure.

  12. SHYZvajPElxLmTYp
    • Remove 3 Phillips 00 screws from the same location located under the cameras photo capture button.

  13. kLZv4yeku4L1HqWO
    kLZv4yeku4L1HqWO
    ysRxtPUr1ehWiLxE
    OLNpLB2CpspLwh1L
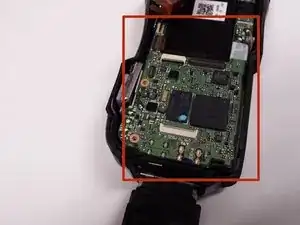
    • Remove the motherboard from the housing.

Brandon Berlew

Member since: 27/01/15

122 Reputation

0 comments