Introduction
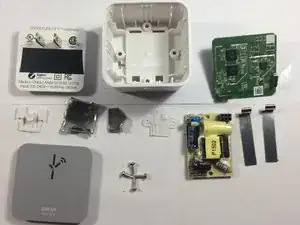
Welcome to my 3rd teardown! today I will tear down an Osram Lightify.
Tools
-
-
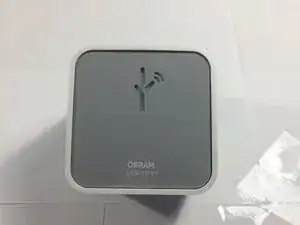
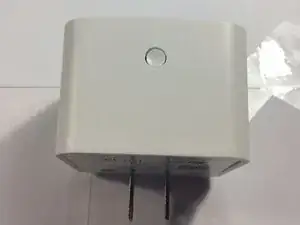
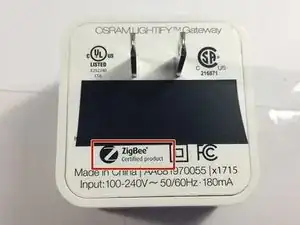
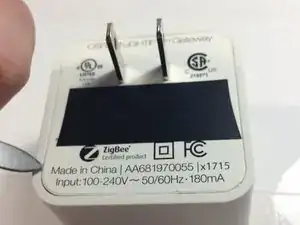
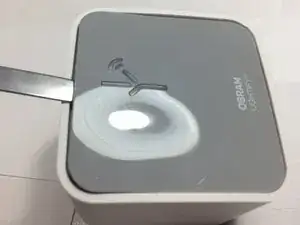
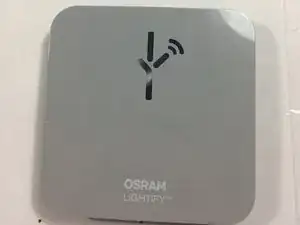
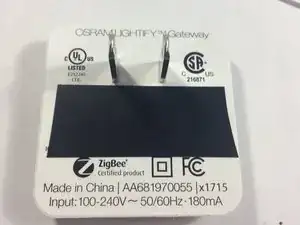
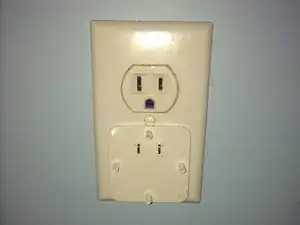
This is the Osram Lightify. This is a broken unit that does not sync to the app properly. I got a free replacement due to that.
-
Ooh... Shiny! you can see my iPhone 5s in it!
-
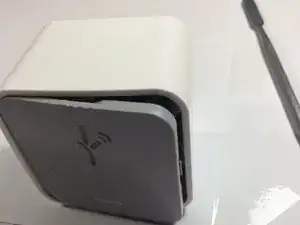
No more chit-chat. Time to dig in!
-
-
-
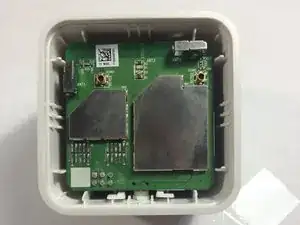
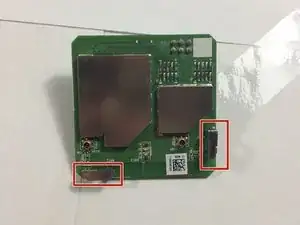
Not much to see here...
-
These Appear to be antennas...
-
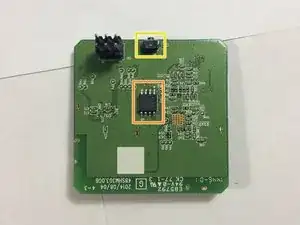
The only interesting thing so far: Some flash memory, at a whopping 32 megabits the spiflash 25Q32FVSIG . Wow.
-
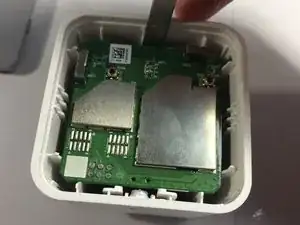
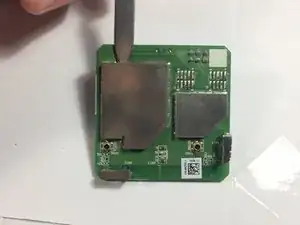
There has to be something under these plates...
-
-
-
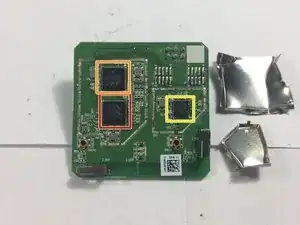
Time for some chip identification!
-
This one appears to be WLAN SoC. its a Marvell 88W8782.
-
The brains of it all, the Micro controller. A Marvell 88MC200
-
And on the smaller side, (what I think is) a Zigbee gateway. a Marvell MZ100
-
-
-
Oh goodie! the first screws!
-
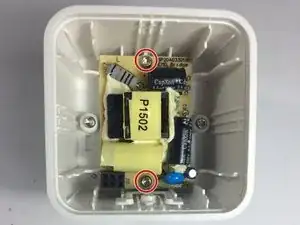
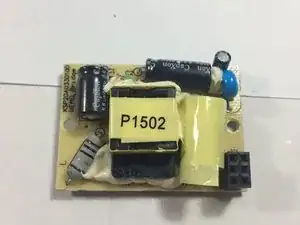
there are 2 Torx T9 screws holding in what looks like the power supply.
-
-
-
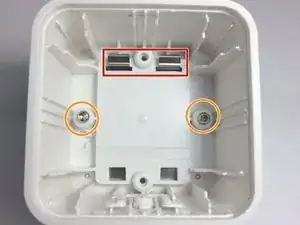
The prongs that plug into the wall, are not actually soldered to the board, but are just connected by contacting. interesting...
-
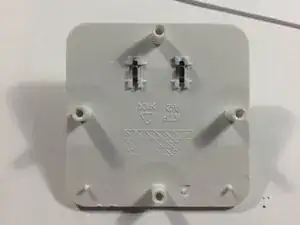
There are 2 more Torx T9 screws holding in the cover. most likely after removal of the cover the prongs can also be removed.
-
-
-
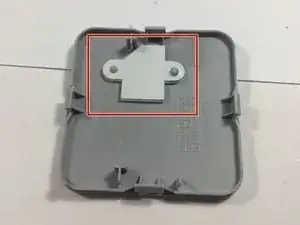
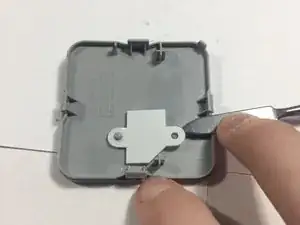
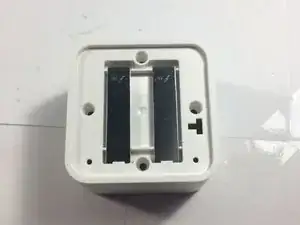
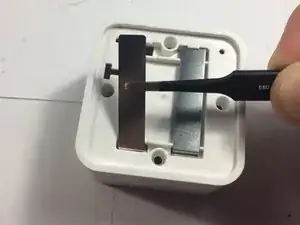
On the back we have two long metal sheets.
-
Removal is pretty straightforward.
-
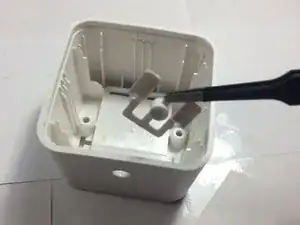
And on the front again, the button slides right out.
-
-
-
I'd give this a 9 out of 10.
-
All screws and tabs.
-
Easily repaired without much knowledge of repair.
-
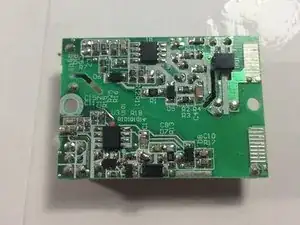
main board slides right out of the power connections.
-
Tiny bit of adhesive on the logo holding it in place, so it will not securely fit in after removal. although it will still fit snugly and not come out without rough handling. This is an unlikely repair anyway.
-
3 comments
@oldturkey03 I’ve always knew my soldering skills ;)
Aiden -
@captainsnowball Looks good. Now, all you have left to do is to tell the world what is under the EMI shields.
will do tommorow
Aiden -
