Introduction
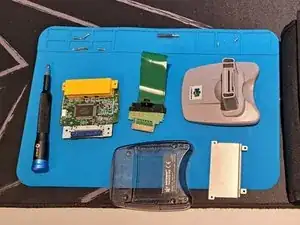
Teardown of a Nintendo 64 Transfer Pak.
Useful for repairs or deep cleans.
-
-
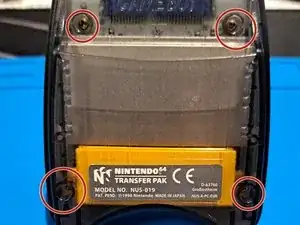
On the side where you can enter the gameboy cartridges remove the 4 screws ( These are Y screw, you can use a Y 2.0 or 2.3 head). The top cover should come of after.
-
-
-
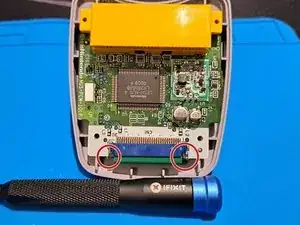
Pull back the 2 small plastic levers carefully. After you can eject the ribbon cable and remove the board.
-
-
-
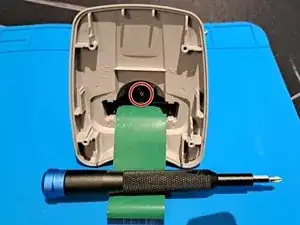
After the board is removed you can access the bracket that holds down the connector attached to the ribbon cable. You can remove this by unscrewing the screw on the bracket using a PH0 head
-