Introduction

In this guide, we will be taking apart a Macintosh Centris 610, which is basically the same as a Quadra 610.

First, let's take a look at the specs of this computer:

  • Centris 610
  • 80 MB hard drive
  • 32 MB RAM
  • 512 KB VRAM
  1. 45IvjNkCNEZXeTkm
    45IvjNkCNEZXeTkm
    XLlUD6Y2GDmBJLM4
    KdxoXJhCwxXKng5E
    • To start, lift the two tabs on the back of the computer and take the cover off.

  2. SWXCExUeNNSXNubb
  3. YDDKViVsGElZS3Tc
    YDDKViVsGElZS3Tc
    5LCwG4TgG1POFDav
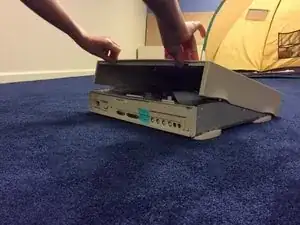
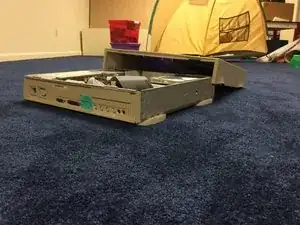
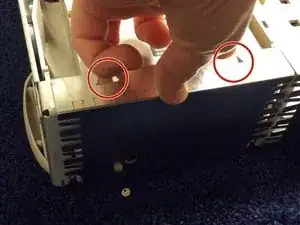
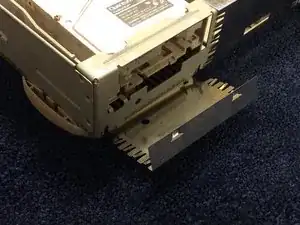
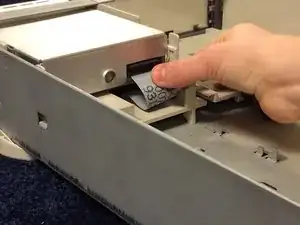
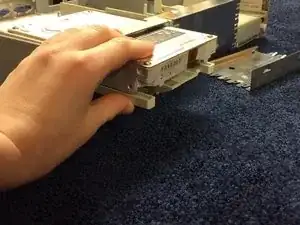
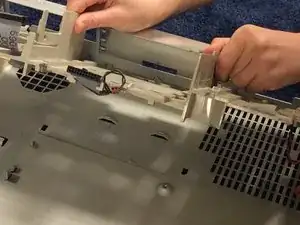
    • To gain better access to the power supply, push the two tabs securing the floppy drive out and slide the floppy drive forward a few inches.

    • If you have a CD-ROM drive installed in the Mac, disconnect the SCSI ribbon cable, the CD-ROM power supply cable, and the CD-ROM audio cable. Remove the EMI shield in the front of the CD-ROM drive also.

  4. dK4JeyWJIB1ntBVG
    dK4JeyWJIB1ntBVG
    1ZbfyiChTMBYiY6c
    • Grab the power connector for the hard drive and take it out of the hard drive.

    • Make sure that you grab the connector, and not the wires, or you will risk damage to the connection.

  5. IdBm6bNqISf2pufE
    IdBm6bNqISf2pufE
    fvD31BpwyXyGmG5B
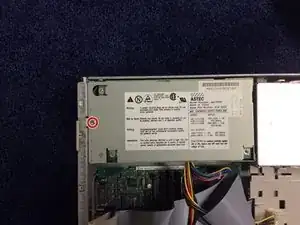
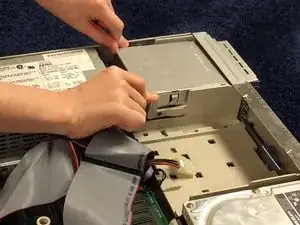
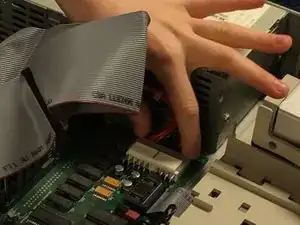
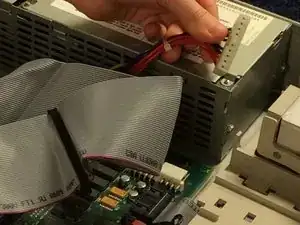
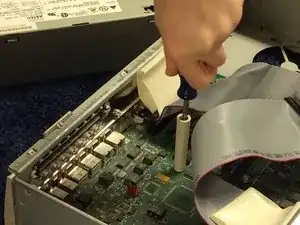
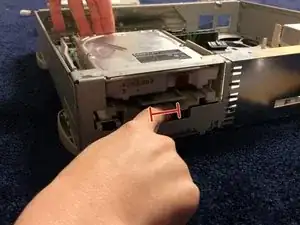
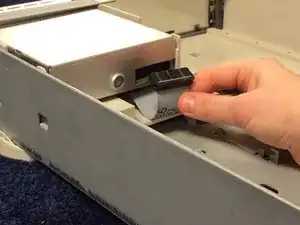
    • Grab the main power connector that is connected to the motherboard and pull gradually and firmly toward the power supply.

    • Make sure that you grab the connector, and not the wires, or you will risk damage to the connection.

  6. S1LbLWeckGOWJDsJ
    S1LbLWeckGOWJDsJ
    sDt1aAGUSIkPkVeR
    jSRxxGIshXoer3xM
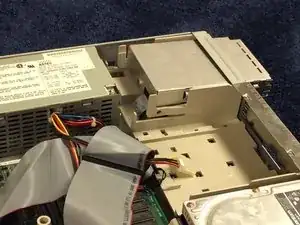
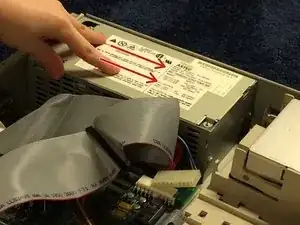
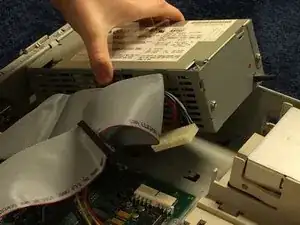
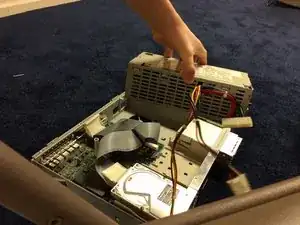
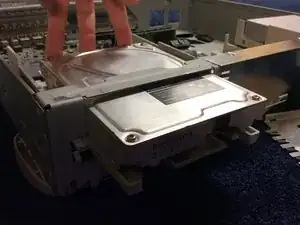
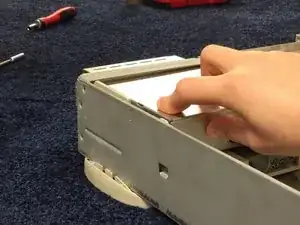
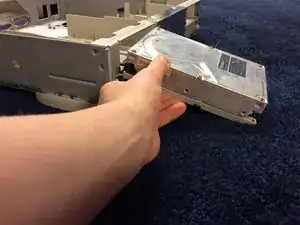
    • Push the power supply toward the front of the computer, lift up the side of the power supply closest to the floppy drive, and take the power supply out of the Mac.

  7. 2JYn4WsqTHUc5PwE
    2JYn4WsqTHUc5PwE
    qgeA4pVlS3KIkdWZ
  8. x5HQgSYBBIonRPjp
    x5HQgSYBBIonRPjp
    123qxgKdgLIVaP4n
    VSUSBve4ddLvitj1
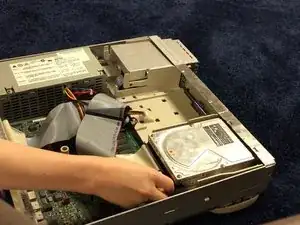
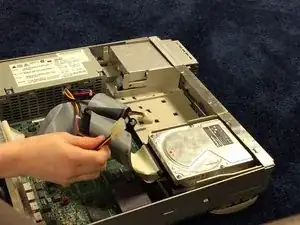
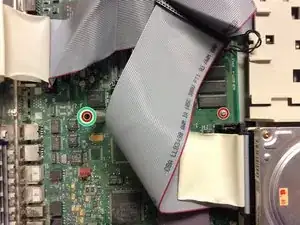
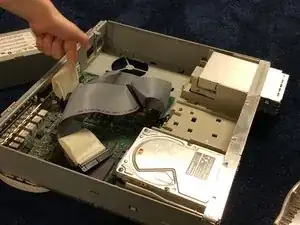
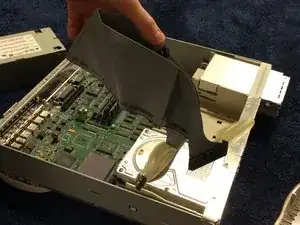
    • Take out the SCSI ribbon cable, using the provided straps connected to the cable to pull it out.

    • Do not pull on the cable itself, or you will risk damage to the connection.

  9. NGvtnSj3Yum1CknZ
    NGvtnSj3Yum1CknZ
    ggZRW3YgDjtDSPnY
    bM3TRc5iBonq3YBE
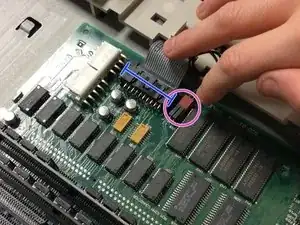
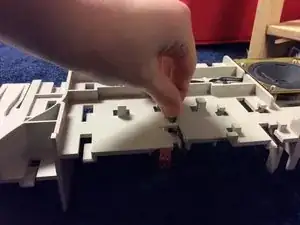
    • Remove the floppy drive cable from the motherboard. It may be necessary to lift up the edge of the motherboard to make it easier to remove the connector.

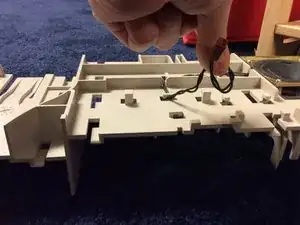
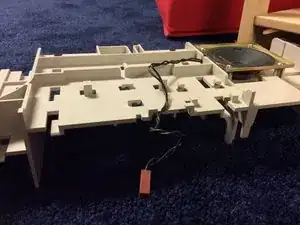
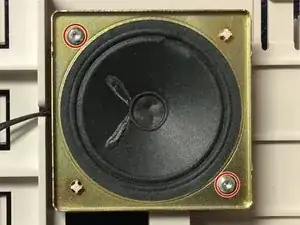
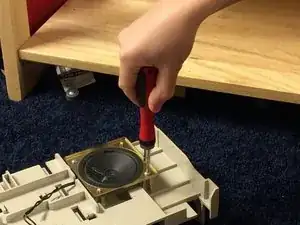
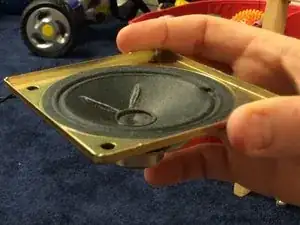
    • Remove the speaker cable from the motherboard.

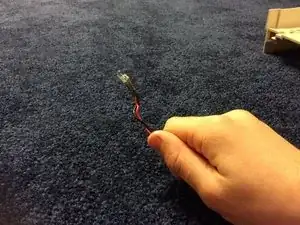
    • Remove the LED cable from the motherboard.

    • Make sure to pull only on the connector, and not the wires, or you will risk damage to the connection.

    • If you have a CD-ROM drive installed in the Mac, remove the CD-ROM audio cable from the motherboard.

  10. OlunTlDuVDLQXurc
    OlunTlDuVDLQXurc
    Dr1jkZjcMPWrAj66
    • Push up on the two tabs for the EMI shield, and fold it down.

  11. VQZQMK1IIwIL1Dmp
    VQZQMK1IIwIL1Dmp
    RtLIZSAv1xhTrnfk
    • Push down on the tab marked, and push the hard drive forward a few inches.

    • If you have a CD-ROM drive installed in the Mac, push up on the tab in the front of the computer, and slide the CD-ROM drive forward a few inches.

  12. IxEK2IRqBGpNbEUG
    IxEK2IRqBGpNbEUG
    J6EYjRDwMkNIhg22
    ErGnEQToEpNRXfUO
    • Slide the motherboard forward, and lift it out of the Mac.

  13. EStPjuScDVPkZCrD
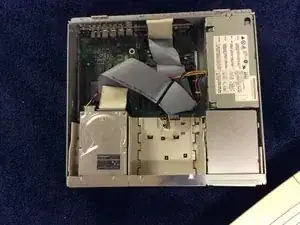
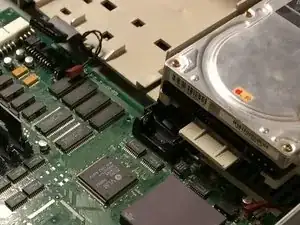
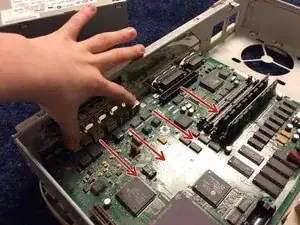
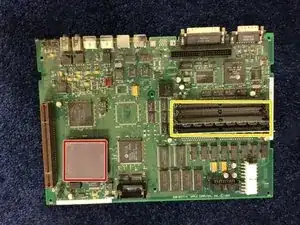
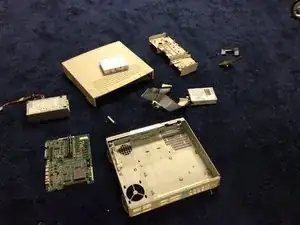
    • Let's take a look at the internal components:

    • 20 MHz Motorola 68LC040

    • 32 MB RAM, expandable to 68 MB.

  14. aDErlwpYWpasLVqN
    aDErlwpYWpasLVqN
    rhUIcDONONKFRDHT
    • Disconnect the floppy cable from the drive, pulling on the cable.

    • It's okay to pull on the cable this time, but only do it with gradual force, don't just yank it out.

  15. GX4fEMZsmAT1cuj6
    GX4fEMZsmAT1cuj6
    qHwD4HUCBqMVkr1P
    • Push the floppy drive out of the Mac.

  16. t6t3eHimSLwhviII
    t6t3eHimSLwhviII
    H5O5ElhPWyXV1i5J
    • Take the hard drive, and pull it out the front of the Mac.

    • If you don't have a CD-ROM drive installed in your Mac, skip ahead to Step 18.

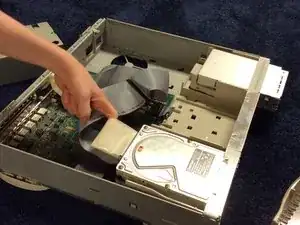
    • Push the CD-ROM drive out of the computer (I don't have a CD-ROM drive installed in mine, so I can't give you any pictures. Sorry!).

  17. Z2lXYTwMnDVaLyFs
    Z2lXYTwMnDVaLyFs
    nSrTR4BQrcAv1F5G
    UGoSbVYf1XGDDujb
    • The chassis is secured to the bottom cover by two tabs at the front of the unit, two rail and tab sets at the sides of the unit, support posts at the back of the chassis, and hidden brackets that slide into the bottom cover.

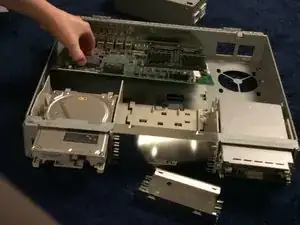
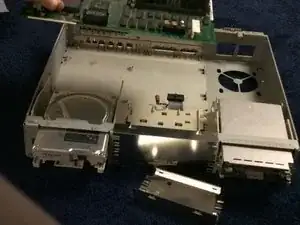
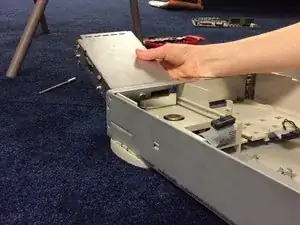
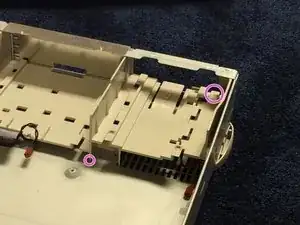
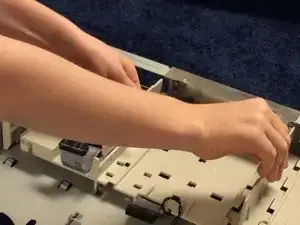
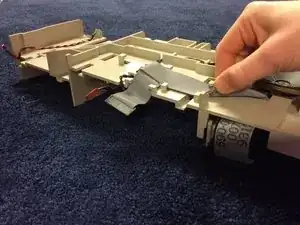
    • Step 1: Press up on one of the front tabs while lifting the support post. Step 2: Repeat this step on the other side until the internal chassis slides easily toward the back of the computer.

  18. ZqRLfYCwiMtFgVOF
    ZqRLfYCwiMtFgVOF
    XyylTulMw3LBHHFv
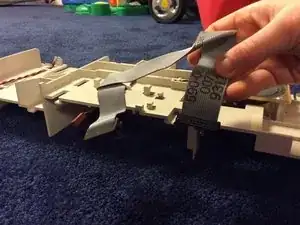
    • Flip the internal chassis over, and take out the floppy cable, carefully unthreading it from its routing guides.

  19. sptikmuWmyRwwcwf
    sptikmuWmyRwwcwf
    PWDYTgJUvL1BURjU
    • Take out the LED cable, carefully removing it from its routing guides.

  20. CacRtjq52iBMAEZT
    CacRtjq52iBMAEZT
    MJyZIKqAXIpbFO2v
    Cb64NHRGVmwwwpbv
    • Carefully remove the speaker wire from its routing guides.

  21. xt45jQrtG2DmMRPh
    xt45jQrtG2DmMRPh
    cDwTStLK35SmGydX
    mRupHyTFEvLYiChY
  22. NgHB3seTQ3EF1DDO
    • Congratulations! You just took apart your Macintosh Quadra / Centris 610!

    • Follow these steps in reverse to put it back together.

DominoRider2431

Member since: 26/01/16

11 Reputation

0 comments