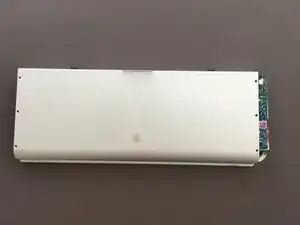
Introduction

  1. suxkhKxH6jdHq1iJ
    suxkhKxH6jdHq1iJ
    KJbJW5TupVfjRmD1
    • The Unibody MacBook released in Late 2008 is one of the last Mac Notebooks to feature a "user replaceable battery".

    • Apple removed this feature in mid 2009 when they discontinued the Late 2008 Aluminium MacBook and introduced the 13" MacBook Pro with it's larger 58 Wh battery and its higher 1000 cycle rating for the battery.

  2. nETE34DpeDZ5nEjS
    • Start by removing the 6 3 mm Y00 screws from the top side of the battery

  3. 5E1M3xbC3equaOWC
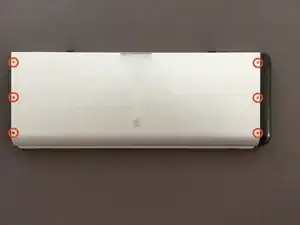
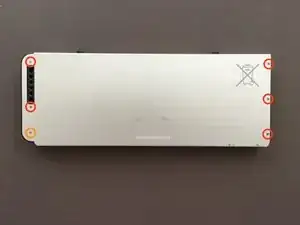
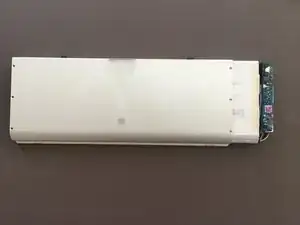
    • Flip the battery over and continue by removing the screws from the bottom side of the battery:

    • Remove the 5 3 mm Y00 Screws.

    • Remove the 1 2 mm Y00 Screw

  4. AOaT6iCloKQc4esr
    AOaT6iCloKQc4esr
    pNSs2HlagrwM4sVM
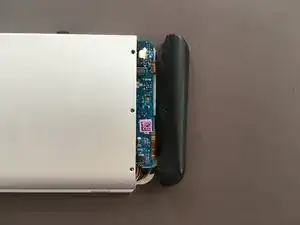
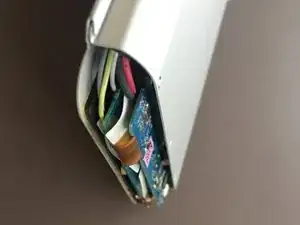
    • With the help of a plastic opening tool remove the plastic cover on the right side of the battery.

    • Insert the plastic opening tool in-between the aluminium casing and the plastic cover and pry it straight away from the casing.

  5. rAEboTBLmRyYXigT
    rAEboTBLmRyYXigT
    6oEJKNopncu1Tlpo
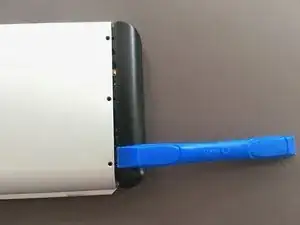
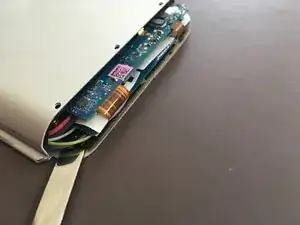
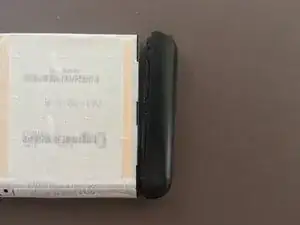
    • Continue by removing the plastic cover on the other side of the battery.

    • Insert a plastic opening pick in-between the aluminium casing and the plastic cover and pry the plastic cover out of the battery by bending the opening pick upwards.

  6. udCEWqKaCbtwQS4Y
    udCEWqKaCbtwQS4Y
    5RcX2sFiOfSvqidk
    c6LvUFT414BENHWK
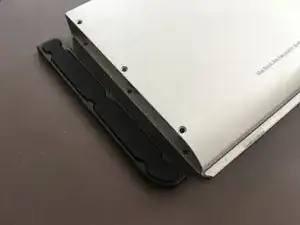
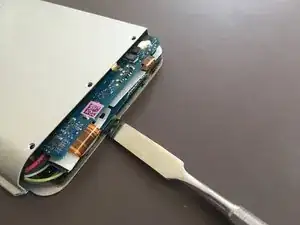
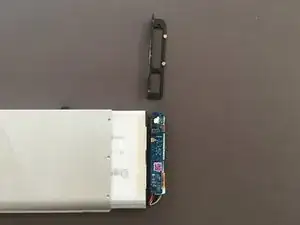
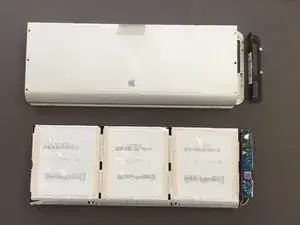
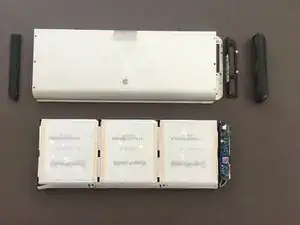
    • With the plastic covers removed it's now time to get the battery pack out of its casing. However there is still one plastic piece glued to the aluminum casing which we have to remove first.

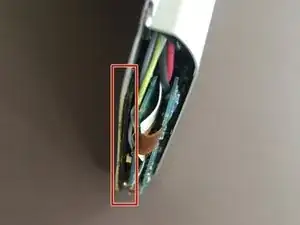
    • Insert a metal spudger in-between the plastic piece and the aluminium casing on the left side.

    • Be careful when working with metal objects near a battery pack. Shorting out the battery terminals can lead to a fire.

  7. 3QkbL6blVdjyAkoT
    3QkbL6blVdjyAkoT
    XCFp5fcIGDJRliZ6
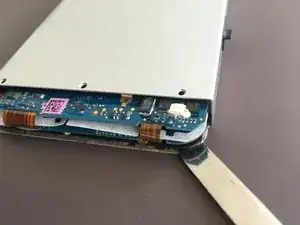
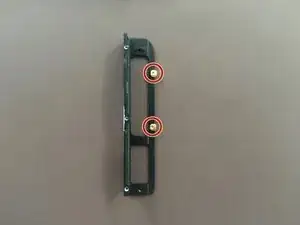
    • Work your way across the entire edge of the battery to free the plastic bracket from the aluminium casing.

  8. A6xaIFGYbVtsBOCK
    A6xaIFGYbVtsBOCK
    UccidCigyDgZCqVG
    • With the plastic bracket free from the aluminium casing we can now remove the battery pack from the aluminium casing.

    • Push the plastic inside of the battery from the non-circuitboard side into the direction of the circuitboard side.

  9. tIsdBRLWeBAH3MGx
    tIsdBRLWeBAH3MGx
    cRWDJoVojp4O43Ct
    • The plastic bracket may drop out of the battery pack when removing the pack from the casing.

    • When reassembling the pack make sure the metal pins on the plastic bracket are oriented in the direction shown as the plastic cover will hook onto these pins.

  10. ma2UMahSJeAbnJhj
    ma2UMahSJeAbnJhj
    M2SXMR2aJs4nke3S
    GTOujEC1WAVwtgcS
    • When reassembling it's easier to attach the plastic cover onto the plastic bracket before inserting the pack back into the aluminium casing.

  11. r4iSxABxVccbyS3u
    • The pack is now fully disassembled.

    • Be careful not to puncture or damage the cells as this could lead to a fire.

Carl Hauschke

Member since: 03/03/16

592 Reputation

2 comments

Hi Carl,

did you figured out what type of cells this is? (mah, Volt [7,4?]) and could you give us the dimensions of the cells?

Regards, Conrad

Conrad -

…and did it have a bms/protection circuit for each battery or is it just one pcb for the package?

Conrad -