Introduction
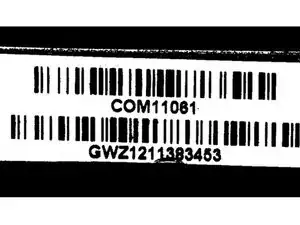
This guide is about dismantling an A1175 battery pack as RAYOVAC® COM11061.
Tools
-
-
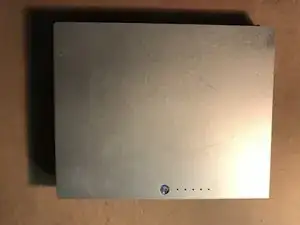
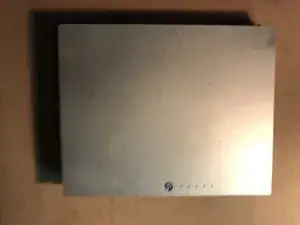
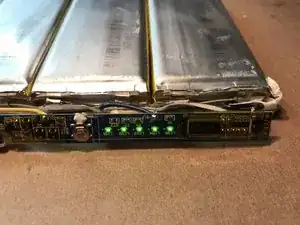
you can check the charge indicator:
-
Then, put on rubber gloves and the safety goggle because you will be handling dangerous stuff: Lithium-Polymer cells that may turn into bombs if electrically shorted or mechanically damaged.
-
-
-
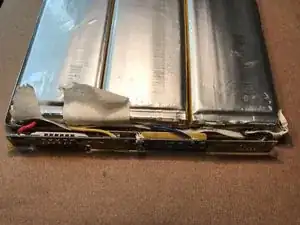
Have kind of mobile vice ready for the battery to clamp into, so it doesn't try to tilt. With the right perspective, you can judge how bulged the battery is in order to know how much hazard to expect.
-
-
-
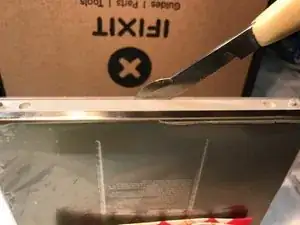
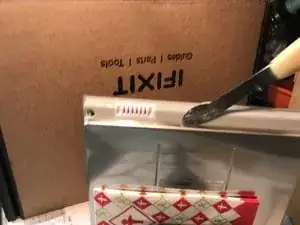
Take a slim knife and sink it into the gap in order to get a feeling how resistive the contact glue is.
-
-
-
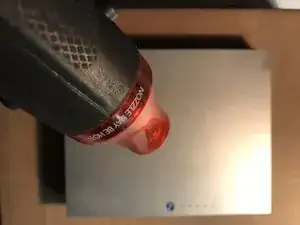
The further action doesn't work without a heat blower to soften the glue before it gives way.
-
-
-
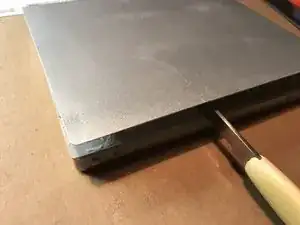
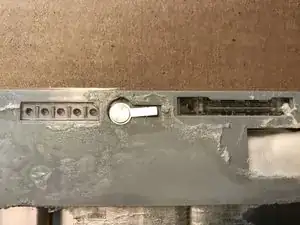
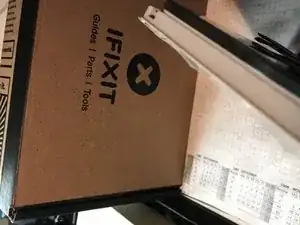
Patiently insisting in separating the aluminum sheet without permanently bending it yields success.
-
-
-
Don't lose the charge-indicator window and the switch lever.
-
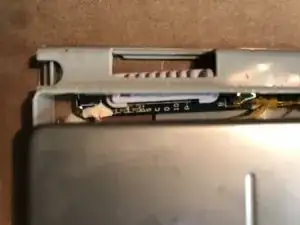
Using some duct tape, you may pull the connector lock now or later.
-
-
-
It responds with an audible crack and surrenders. A sharp wide screwdriver helps to widen the gap
-
-
-
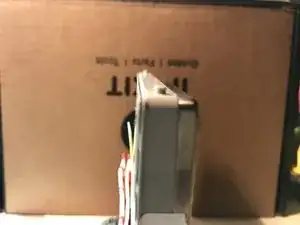
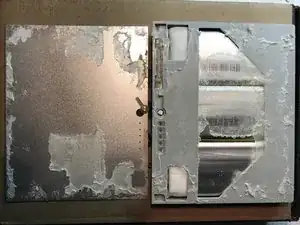
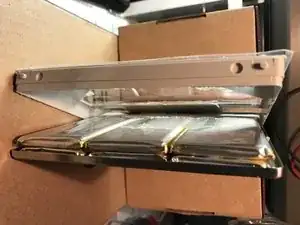
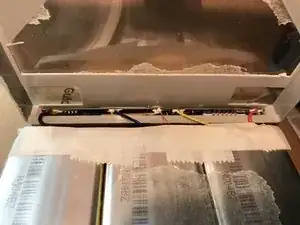
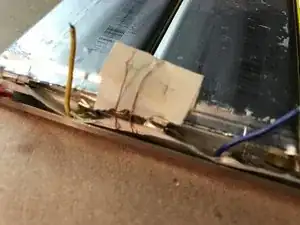
You can see the printed circuit board with all the electronics.
-
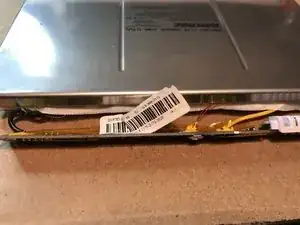
Always prevent the pan edge from scratching the isolation of the enameled wires between the yellow wire and the blue wire.
-
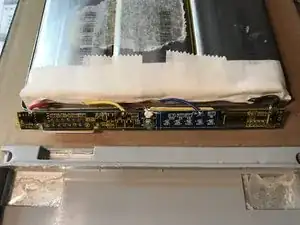
Do never go with conductive tools into the wiring maze between the cell heads and the electronic board, or you may cause a catastrophic firework that you may regret. Do not pinch or bend the electrical interconnection structure between the cell heads as long as you don't know what you're doing.
-
-
-
Mind all the transparent brown tapes that get lost easily and will hinder unsoldering of the wires. Before you do the latter, check the charge status with the electronic functionality for a last time.
-
-
-
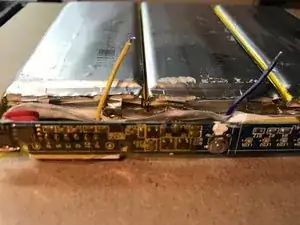
After having cleared the solder spots from their silicone protection, you can desolder the power wires in that sequence:
-
1. the blue 4-V wire and the yellow 8-V wire;
-
-
-
2. the enameled wire that is closer to the yellow one (mark it with some duct tape as long its polarity is in doubt);
-
3. the other enameled wire (now is opportunity for softening the pan edge with duct tape to no longer endanger the enameled wires);
-
4. the red 12-V Wire and the black 0-V wire.
-
-
-
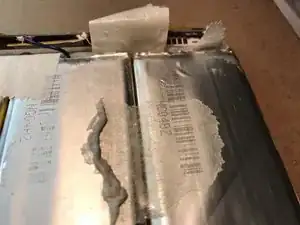
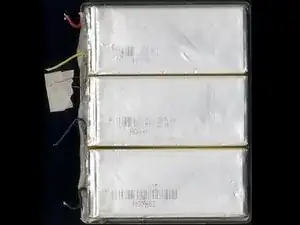
Unfortunately, the internet doesn't know this part, that is 95 mm x 43 mm x 6 mm long*wide*thick. Since these 6 cells go as three pairs that are connected in parallel each, and then connected in series (3S2P), just three cells of 95 mm x 43 mm x 12 mm would work too.
-
-
-
Neither the thin nor the thick cells are available in the required size, so the result of our endeavor is just ripe for the museum. Hopefully there will be more luck at a later time.
-