Introduction
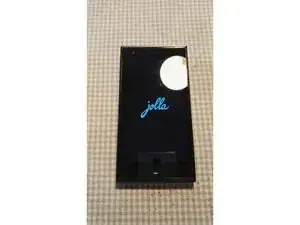
The Jolla smartphone is a smartphone produced by Finnish company Jolla Oy that runs the Sailfish OS, released on 27 November 2013. Let's see what's inside!
Tools
-
-
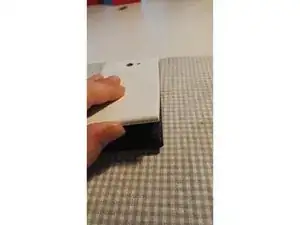
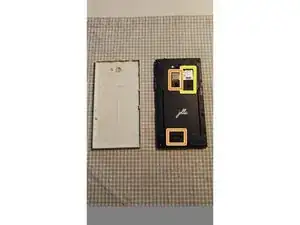
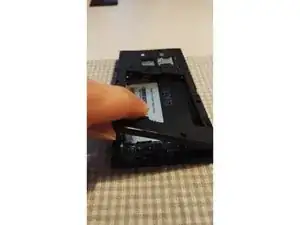
Remove the back cover by pulling up from the bottom right hand corner. Remove the bottom first and then the sides.
-
-
-
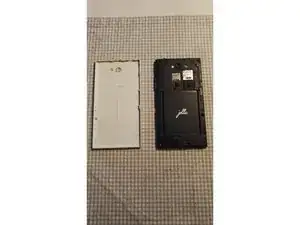
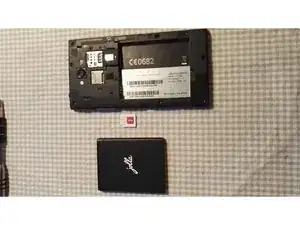
Remove battery from the small space near the bottom of the phone.
-
Remove the sim card by pulling the plastic flap to the right and pulling/pushing the sim card downwards.
-
Remove the MicroSD card by pushing up from the bottom until it clicks. It will then ping down.
-
-
-
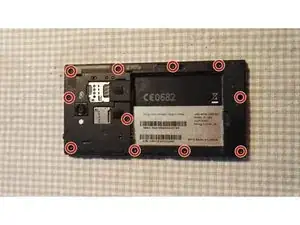
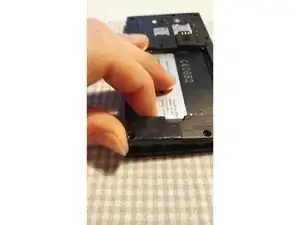
Pull up from the bottom corners, remove the bottom first and then the sides.
-
The volume and power buttons may fall out at this point. Don't lose them.
-
-
-
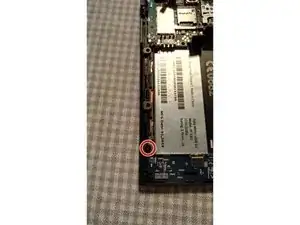
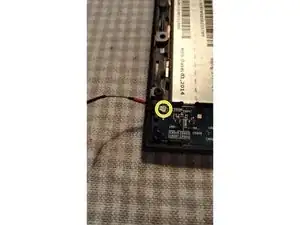
Remove this T5 screw from the bottom left hand side. This is the only screw holding in the inner frame.
-
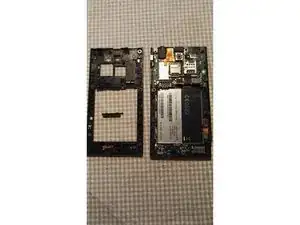
The frame should lift out and up from the phone.
-
-
-
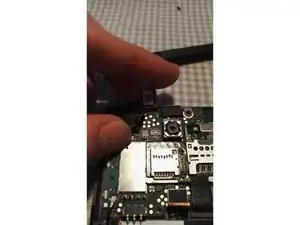
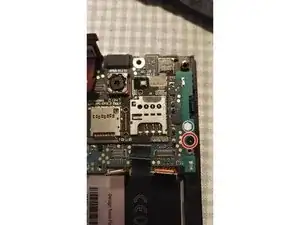
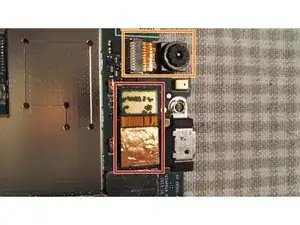
Two connectors on the top right hand side.
-
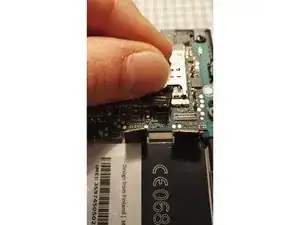
3 connectors on the right hand side about half way down the phone.
-
-
-
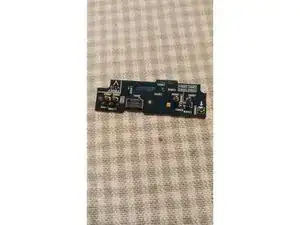
The circuit board is held in place by one T5 screw.
-
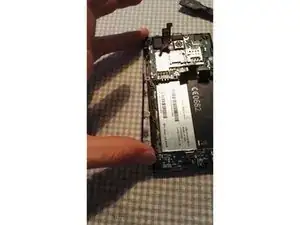
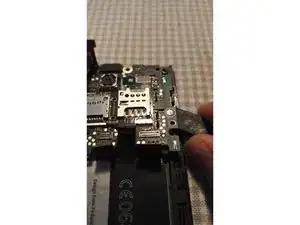
Use a spudger to gently pry the circuit board upwards. Do this on both sides.
-
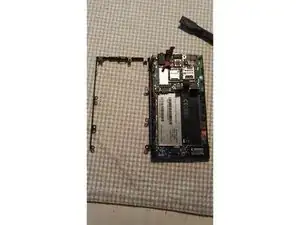
It should lift out quite easily.
-
-
-
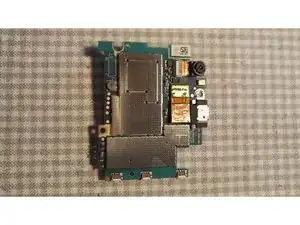
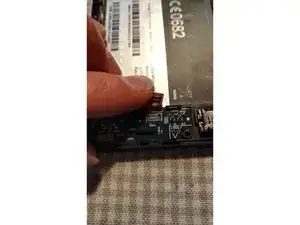
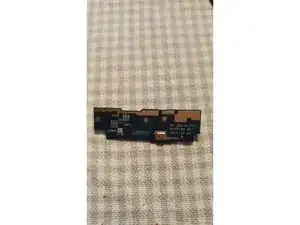
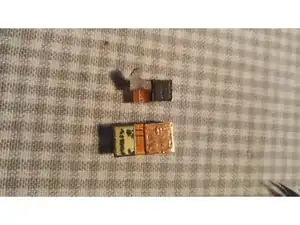
The second circuit board can be removed after removing the connector attached to it and gently prying it off. It's fixed in place by a small amount of glue.
-
-
-
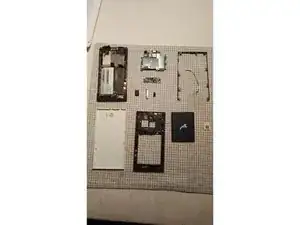
I won't be removing the screen in this teardown as replacement screens for the Jolla phone are not very easily available at the moment.
-


One comment
So far so easy. I might be able to get hold of a new Screen/Digitizer for my good old Jolla (finally removing this annoying spider app ;-) ). Would be nice if you could say a few words about going on from where you stoped. It seems to me that the rest is more or less one piece being molded together or something. What else is there to remove, besides small parts like earpiece, mic, audioconnector, flat cables, etc.
Is the digitizer-glass just glued in so I could pry off the pieces of mine and replace it with a new one?
Would be very nice to hear from you and thanks a lot for the tear down, was very helpfull so far.
FYI: Spare parts available at maxbhi.com, though I don't trust that shop very much ;-)