Introduction

The HQ Compaq 8200 Elite is a workstation-class desktop PC meant for office spaces. It has an internal design philosophy based around making it easy for technicians to quickly swap drives and expansion cards in and out, and most other components are easily swapped as well provided one has a Torx driver handy.

The device used in this teardown is a decommissioned design PC which has been in deployment for around 3 years. It may have minor differences from the stock configuration, but is fundamentally the same.

  1. LRtNJmpRlVesgTta
    LRtNJmpRlVesgTta
    k41cwJgHXKNXhV5t
    ILQPL5wvNM6IxRpF
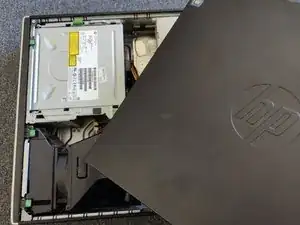
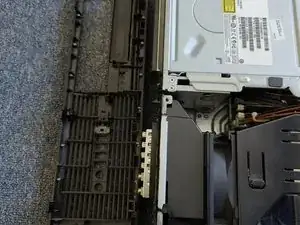
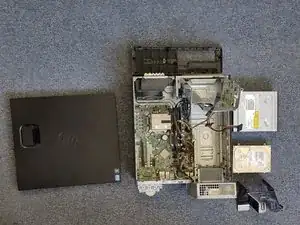
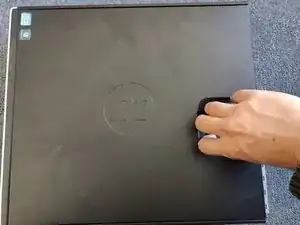
    • There are no screws to remove, simply pull the handle on the cover towards you

    • It is recommended that you do this with the PC flat on the floor

  2. AZhQqSRfF2cRLLB3
    AZhQqSRfF2cRLLB3
    ya5rjX3otNTpkDSC
    WQHQSjNjTFS13arV
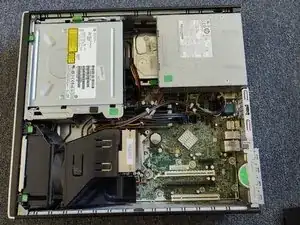
    • There are 3 labelled tabs

    • Pull gently upward to release them

  3. PqIMDecEPjsCMVsP
    PqIMDecEPjsCMVsP
    TSeWqvPcKpRceHB1
    XibmpxtXGpnvGQYs
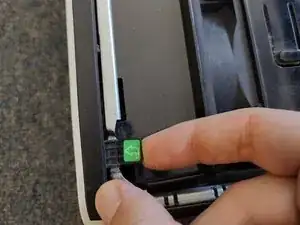
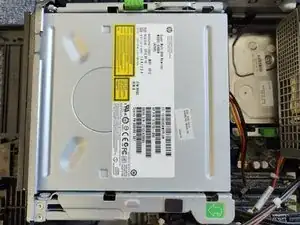
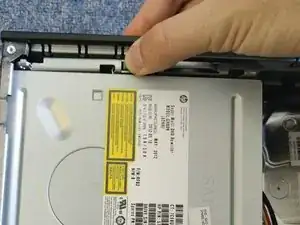
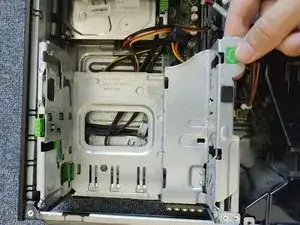
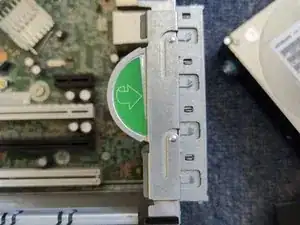
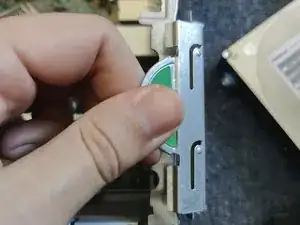
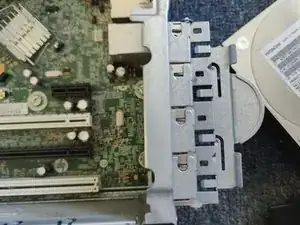
    • Press down on the green button

    • Pull the drive backwards until you hear a small click, then raise it out of the caddy.

    “…until you (hear) a small click.”

    Thousand Sunny -

    well that's embarrassing!

    Darohan -

  4. JKUPBSSrNuKJjcKV
    JKUPBSSrNuKJjcKV
    uRuQWVCFpfAgMcHu
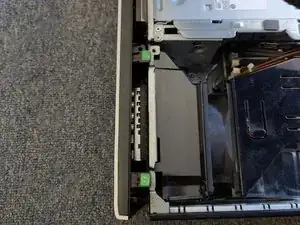
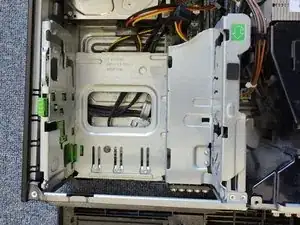
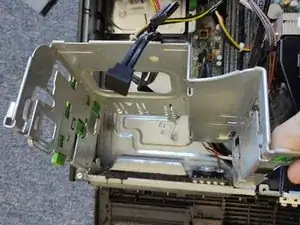
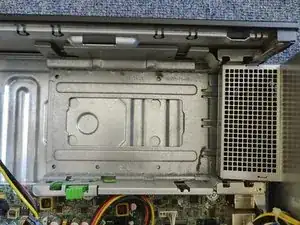
    • The drive caddy can be raised to allow access to the 3.5" drive bay below the CD-ROM

    • You don't have to remove the CD-ROM to do this.

    • This makes it easier to access the next 3.5" bay, too.

  5. 2GUJMup1ICKGmHWb
    2GUJMup1ICKGmHWb
    TeeLSI3nntpfTJNJ
    qlCq33KANJNRvONR
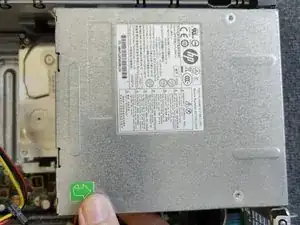
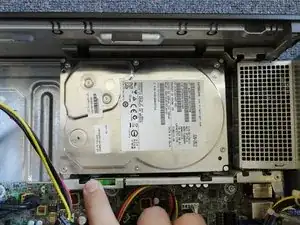
    • The power supply is hinged, and swings away to reveal a 3.5" bay below.

    • As with the CD-ROM, press the green button to release the drive.

    • Pull back then up to remove.

    • Depending on your configuration, there may not be a drive in this bay.

  6. w5bq2JLcxC3F6L2j
    w5bq2JLcxC3F6L2j
    UT4gCwya16xFs5QO
    LH3llLxoxTUiIWfJ
    • In the bottom-right corner, there is a tab

    • Lifting this up allows screw-free installation of PCI-E cards.

  7. UxVtdAvAc6VpeBKp
    UxVtdAvAc6VpeBKp
    1RFLgq2ie6JHOyv5
    WInDlhNG64gjQPia
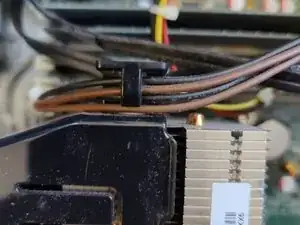
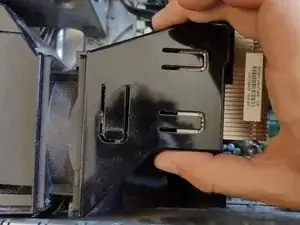
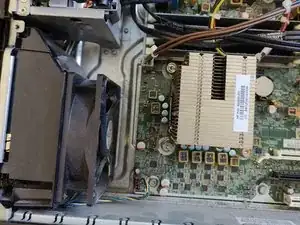
    • Make sure to unclip the cables routed through the shroud before removing it.

    • Only a very minor amount of force is required to remove the shroud.

    • This will allow you to replace the CPU heatsink or fan.

  8. JKYpTYRKctWH6HLy
    JKYpTYRKctWH6HLy
    HVjwywwoq4FahmZh
    ngErPTpQqIkNdcZu
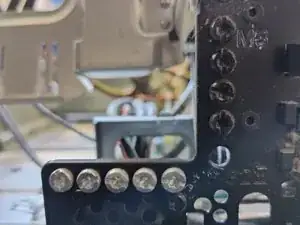
    • This workstation comes with spare Torx screws.

    • 5 Silver, 5 Black

    • Mine is missing one

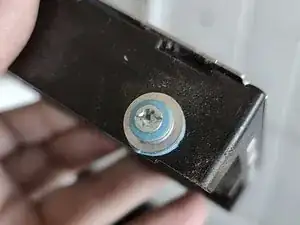
    • These are also bitted for a flathead, but I had no luck actually unscrewing with one, so it's not recommended.

    • They are screwed into the chassis under the front cover

    • All screws in this device are Torx TR20. Ensure you have the correct bits before attempting board replacements

Darohan

Member since: 08/05/23

283 Reputation

3 comments

I want this (pcb)motherboard please show amount

Manoj subhash narwade -

i accadentally blew it up

Cosmo -

thanks i needed this<3
Vega Star -