Introduction
Nowadays there's no shortage of fitness trackers on the market to choose from. After looking closely at several of them, the sleek, minimalist design, 'hidden' interactive OLED screen, and sealed waterproof construction of Garmin's Vivosmart stood out.
Since there seems to be relatively little information available on the construction of this device, I did my own tear-down and decided to share it with you here.
Tools
-
-
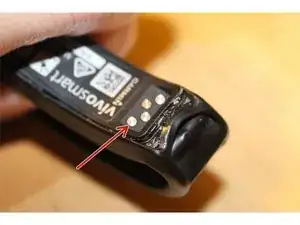
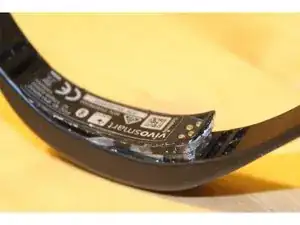
I was able to get at the electronics by bending the strap and prying the hard plastic enclosure out with a sharp utility razor.
-
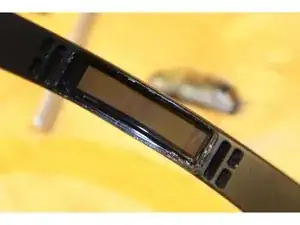
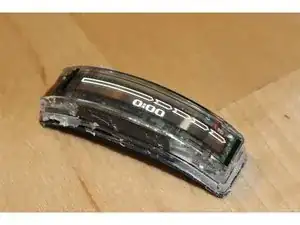
The electronics will eventually come out in one enclosed package and you'll be left with a flexible strap with a translucent insert.
-
-
-
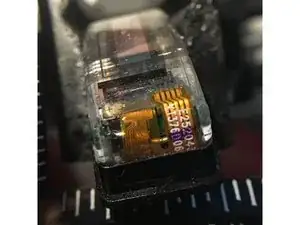
Here's the electronics enclosure, with silicone sealant all around the edges.
-
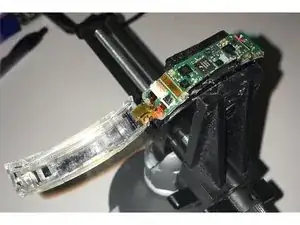
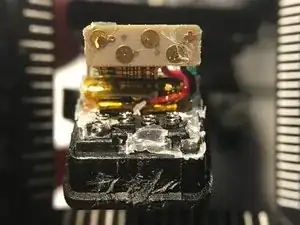
Looking at the side - the flex connectors go up from the PCB to the display. One for the OLED array and one for... stay tuned.
-
Clear away a whole bunch more of the sealant with your razor blade and the clear plastic cover can be pried off to reveal the PCB.
-
-
-
Now to take a look at that display...
-
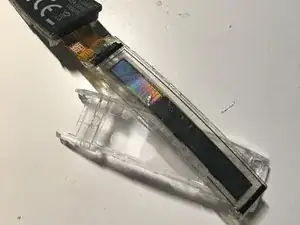
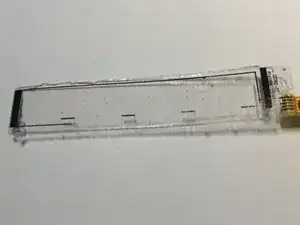
The flexible display strip can be peeled away from the clear rigid plastic.
-
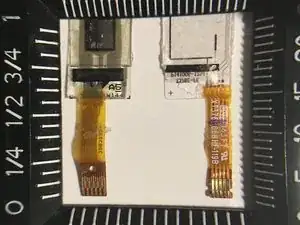
A closer look at the display strip reveals that it can be further split into two strips. One is a 128 x 16 OLED display.
-
The other is a capacitive touch sensor.
-
-
-
To remove the electronics from the hard plastic base we need to dig out a lot more sealant.
-
I first pried up the end of the PCB near the USB interface.
-
Finally (pic 2) the electrical assembly is free! Three rigid boards connected by flex.
-
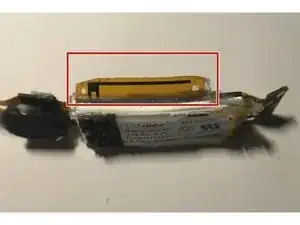
Check out the antenna built into the flex circuitry - looks like a PIFA.
-
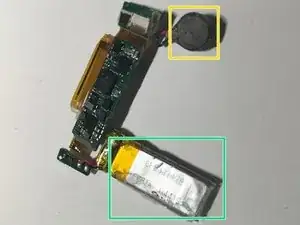
You can keep prying and release the
-
70mAh Li-ion battery
-
and buzzer.
-
-
-
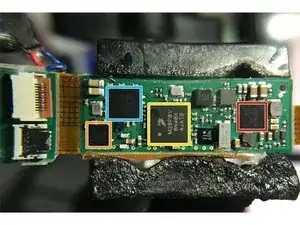
Now let's see what kinds of ICs are being used:
-
Nordic nRF51422 low power RF SoC. Used for Bluetooth LE.
-
Cypress CY8C20767capacitive touch controller.
-
Maxim 14676B wearable charge management IC.
-
Assumed to be an ARM Cortex-M microcontroller. Freescale, the manufacturer, is no longer in business, as it was purchased by NXP recently - this makes it hard to look up the marking.
-
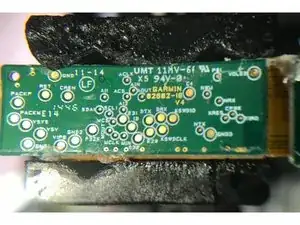
There are all kinds of test points visible on the back. Garmin must do a pretty thorough QA.
-
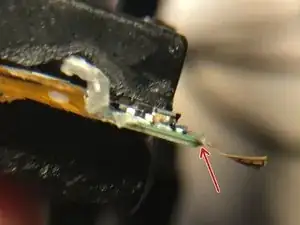
Looking side-on, you can see that the flex circuitry is sandwiched between two sets of rigid PCB.
-
-
-
While we're at it, let's take a quick look at some of the mechanical parts.
-
First, the rigid (probably ABS) injection molded base plate for the electronics.
-
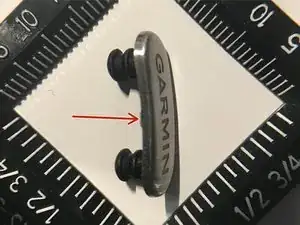
The plastic strap lock has a brushed aluminum plate crimped to it with the Garmin logo embossed. Nice touch!
-
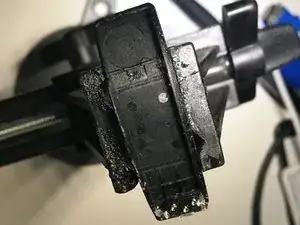
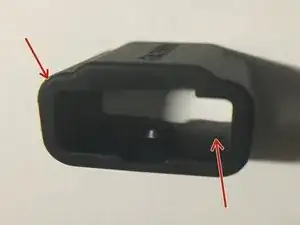
A close look at the strap holder reveals part lines on the inside and outside - probably a multi pull mold. (really hard to see here - sorry).
-
6 comments
Pleaae, do you have any knowledge about the charging pin voltage sequence or configuration.
Hello!
Is there any possibility to connect it to any programing protocols, ISP for example, in order developing own firmware for this device?
for charging use 1st and last pins on the device, when u look back on vivosmart (pins up) 1st pin is + last is - use max 5v1A (middle 2 pins are usb connection)
