Introduction

  1. YqevVwqyuNwRB2ng
    YqevVwqyuNwRB2ng
    NQJQ1KffUQHaKxBO
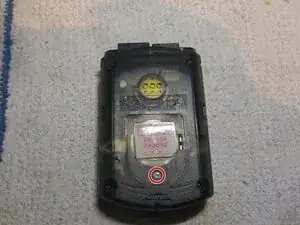
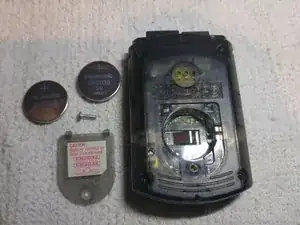
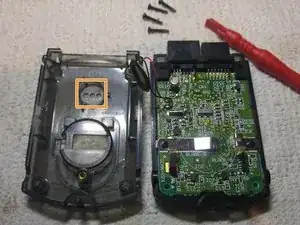
    • Remove the silver screw and batteries

  2. BvuWVnYnNqRGqhxO
    BvuWVnYnNqRGqhxO
    sHuNKy2hqPVGjJKB
    jvRUOCcUHqFuPtbB
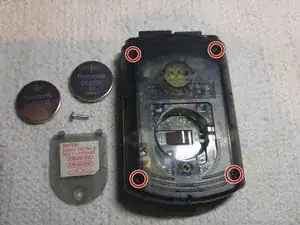
    • Remove the four black screws

    • Be careful of the speaker wire

    • Carefully peel the speaker away from the shell with a Spudger

  3. NwuHV5S44uEESDue
    NwuHV5S44uEESDue
    aLTCyDyOEdvQtWnM
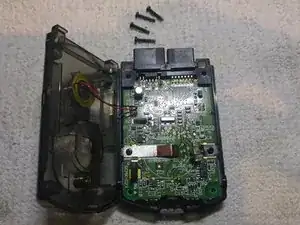
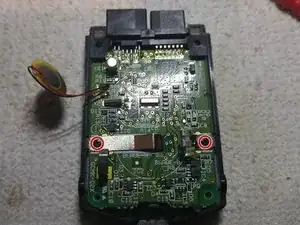
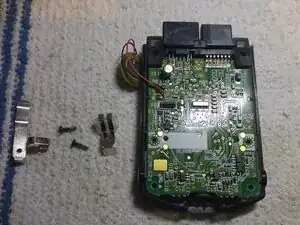
    • Remove the two battery terminal screws

  4. ir6SI5otSReajqOG
    ir6SI5otSReajqOG
    OfelsHDmaKGsICvL
    i1eIeywlkggHKlhx
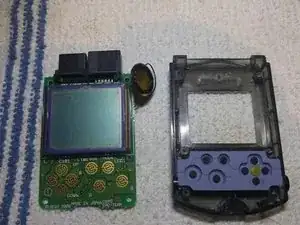
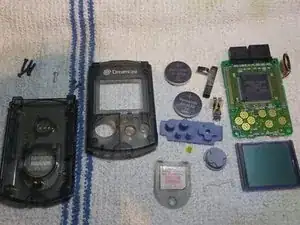
    • Lift the main board from the shell

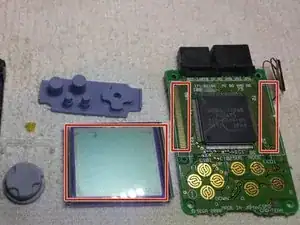
    • Remove the screen from the motherboard

    • Remove the screen stay, D-pad and rubber buttons from the shell

    • And you're done!

    Nice teardown, it really brings me back to 1999. Does the unit still work?

    ...Also, the correct spelling is "you're." Sorry for being that guy.

    benrockhold -

    Thanks for >you're< comment haha!, yes the VMU still works

    Caleb -

Caleb

Member since: 22/03/17

121 Reputation

3 comments

Bravo !!!!!!!!

Papa Robotnik -

Great! Now I can open my VMU without fear.

Wellington -

cool .

bob boberson -