Introduction
Tools
-
-
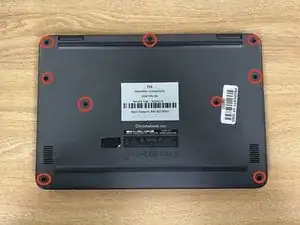
Unscrew all 9 screws, with a Philips screwdriver then pry open the back of the Chromebook with a spudger.
-
-
-
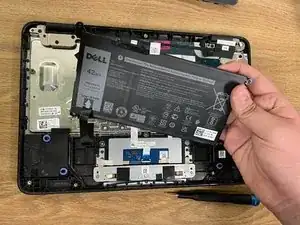
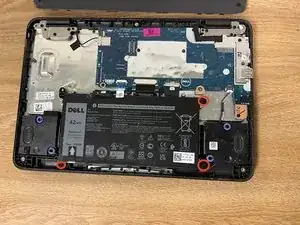
Unscrew the 3 screws holding the battery in place and unseat the battery from the motherboard. Be careful when removing the battery as there is a sticker.
-
-
-
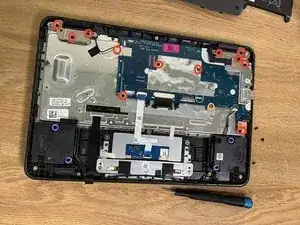
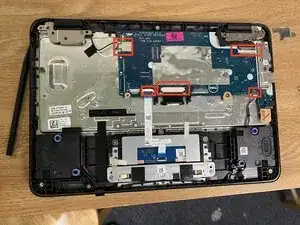
Remove these screws and then remove an additional screw securing the black and white connection to the WiFi card.
-
-
-
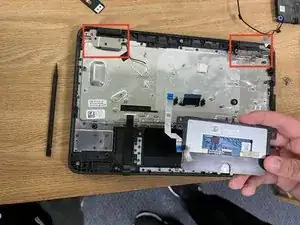
3 screws on each hinge hold the top screen to the bottom of the Chromebook. Removing these allow you to separate the two halves.
-
-
-
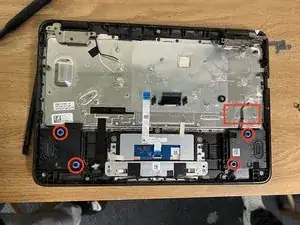
The speakers are the easiest to remove. Simply grab the speakers and gently wiggle them free.
-
-
-
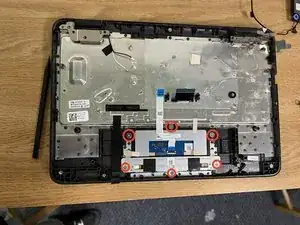
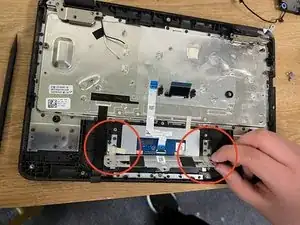
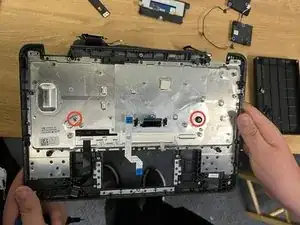
There are 2 types of screws for the mouse pad, The first 3 screws secure the mouse pad itself (these screws have a large flat head).
-
The other 3 screws secure the mouse pad.
-
-
-
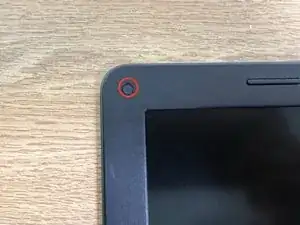
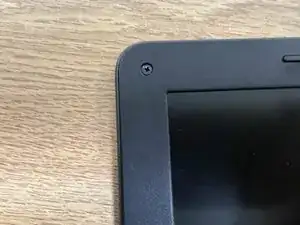
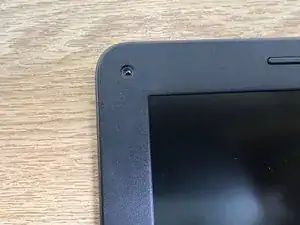
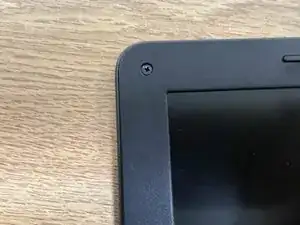
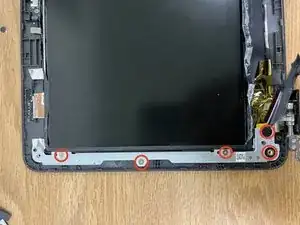
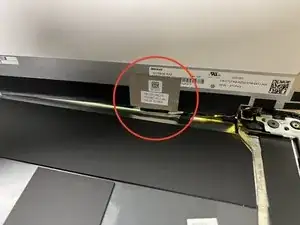
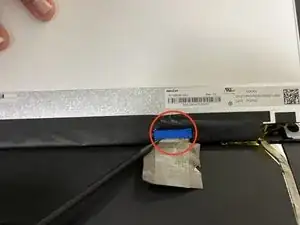
In order to reach the screw securing the display, you must first remove the sticker covering the screw.
-
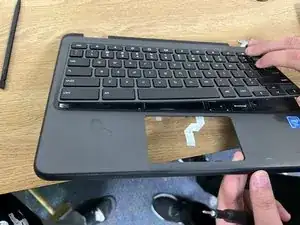
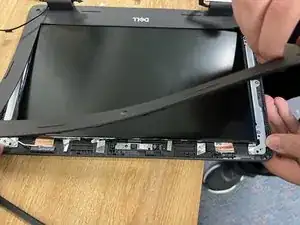
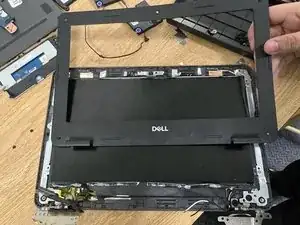
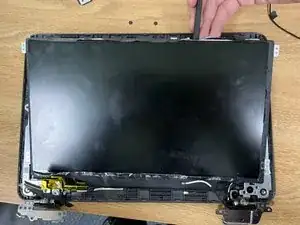
Once you have removed the screws remove the display cover by peeling it off it is glued on.
-
Once you have removed the screws, remove the display cover by peeling it off.
-
3 comments
thank you my speaker broke this helped me fix it with out getting in trouble
which ribbon cables control which functionality?
Can you show the connector colors for the battery to motherboard cable please
Deana -
