Introduction

hello all,

today we wil take down the canon pixma ip4850.

This printer has the wel know problem : B200.

Most of the time this is a printhead problem.

you will see how you can replace the printhead and other parts. enjoy !

be carefull : its not an easy guide!

  1. td5OPyChYXqAU5MD
    • this printer has the well known B200 error.

    • we will take the printer apart.

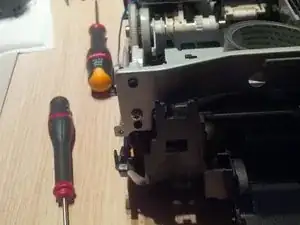
    • first step : remove all the loose parts.

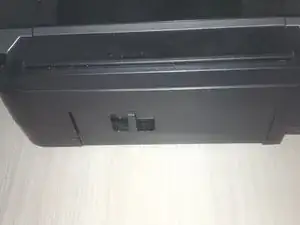
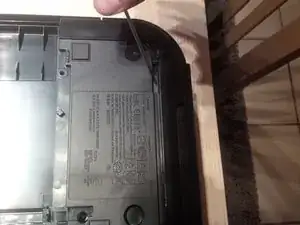
    • remove the panel at the back.

  2. I1CcUBRYsv65fHhY
    I1CcUBRYsv65fHhY
    f3IHCJwHBrfPWFOi
    n1sqEW2MZxyCP4Um
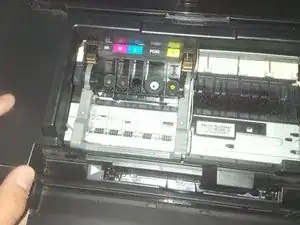
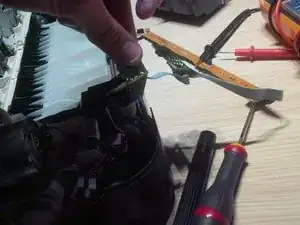
    • no we will remove the printhead and the cardridges.

    • be carefull with the remaining inkt.

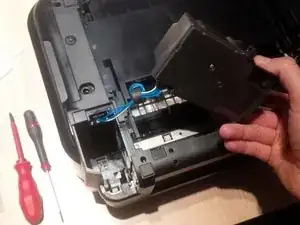
    • To remove the printhead you have to plug in the printer again and open up te front panel (like you have to remove the cardridges).

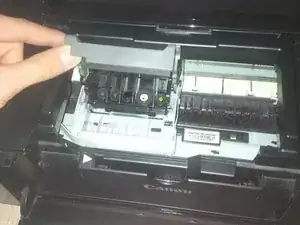
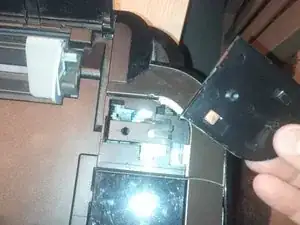
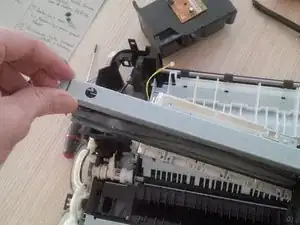
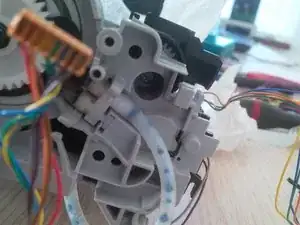
    • to remove the printhead you have to pull the levar up (grey) , be carefull its very rough to pull it up.

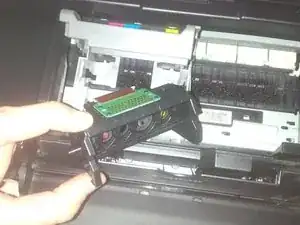
    • remove the printhead, if you only replace the printhead the guide stops here. be carefull for the pcb board, if you only clean the printhead do it carefully. clean it with destilled water, but do not touch the PCB.

  3. 5ug3maDHfR2CCDlJ
    5ug3maDHfR2CCDlJ
    eBWulXLGJWeenGVQ
    h2DV2qG5IsCborLR
    • remove the papertrunk at the botom, see picture 3

    • now remove the screws at the white clips.

  4. TpxY6hFarchpmrZ5
    TpxY6hFarchpmrZ5
    qCwilglg3CVrHs2D
    mSdCNfbKwQT1QqPV
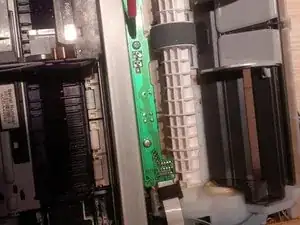
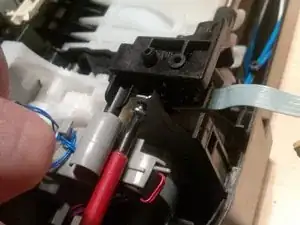
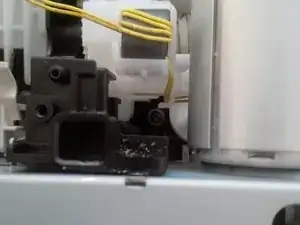
    • now we will remove the power supply.

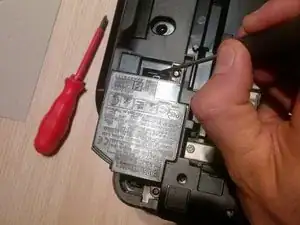
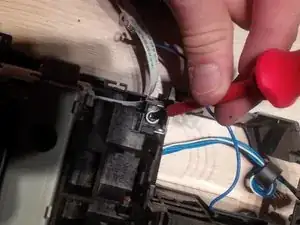
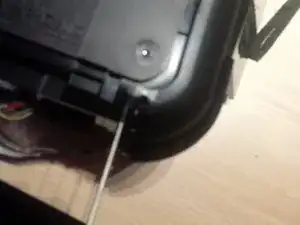
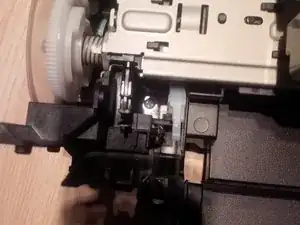
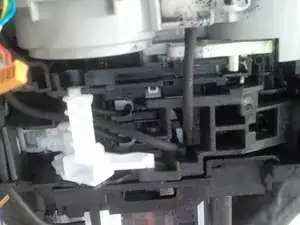
    • you'll find clips to loose the power suply . On the picture (number 1) you see how you do it. you'll here the clicks.

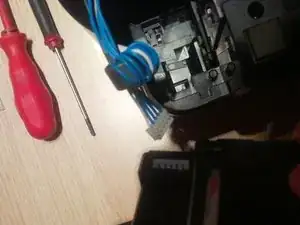
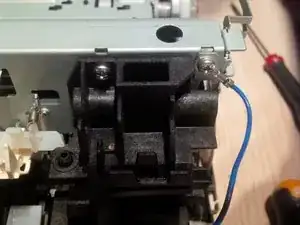
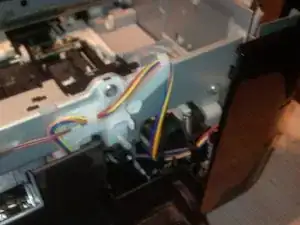
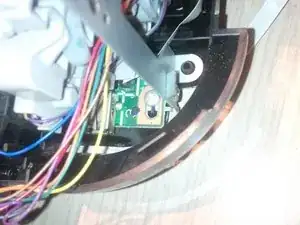
    • pull the power supply out of the printer, and you will see the white and blue wires. you will see this wires later in the printer again.

  5. hEHb45c3CZNEfJko
    hEHb45c3CZNEfJko
    WieXLArJHP1aERH4
    urTcVjb3YGxGLj6D
    • remove the side panels

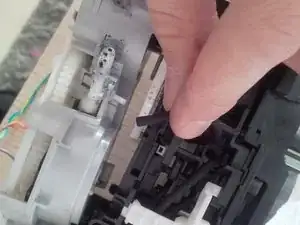
    • you can remove this by clicking the panel of.

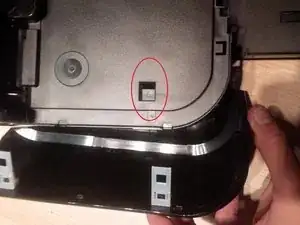
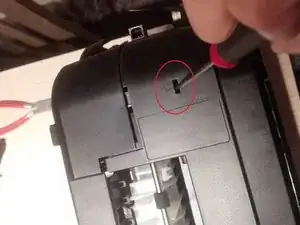
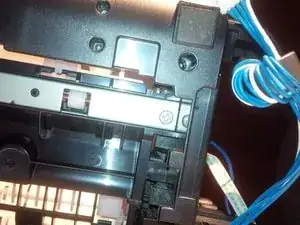
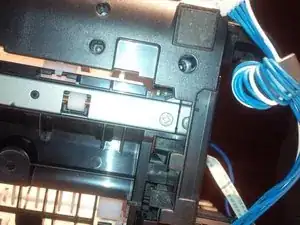
    • search for the arrows on the upper deck of the printer. see picture 1

    • than click the panel losse at the bottom of the printer.

    • again, and i think you know already, it's not so easy to take the printer apart. It's a lot of clicking the panels loose. and sometimes you will think the plastic will brake but it's quite flexible.

    • at the left side you'll find the paper drive roll. and at the right side the PCB boards

  6. TirLihidJXPLyMnU
    TirLihidJXPLyMnU
    hWyAQa5lLJFvFecY
    uYLmpmfHJuxyUsPV
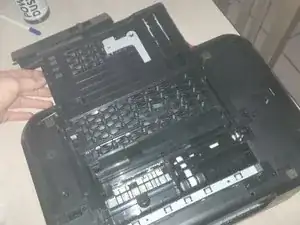
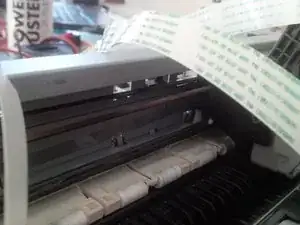
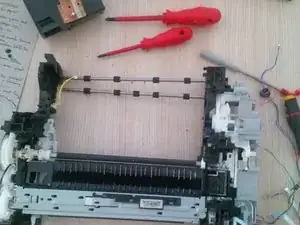
    • remove the upper panel by clicking two clips. at the backside.

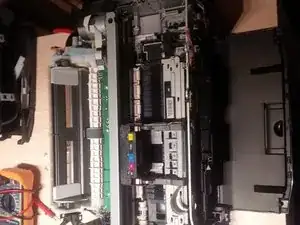
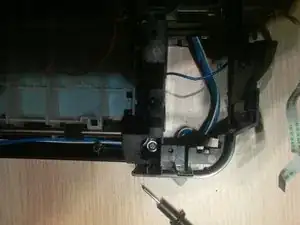
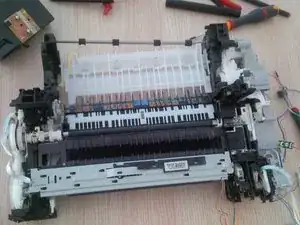
    • normaly , if my guide is good enough, the printer looks like picture 3 now.

  7. PEoNH1mAbCNucEut
    PEoNH1mAbCNucEut
    FQSyrcwU6EvdTR4l
    3sYbg2JbdIshbpfZ
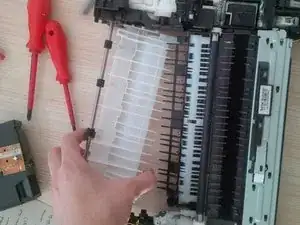
    • remove the printer paper roll

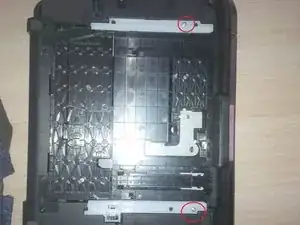
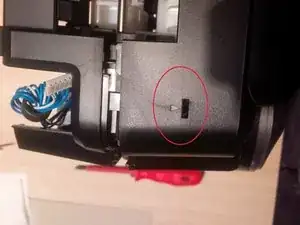
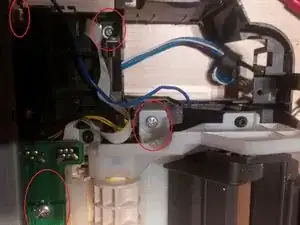
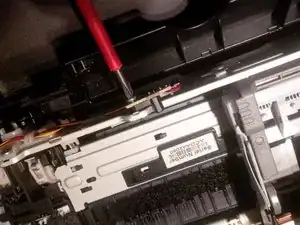
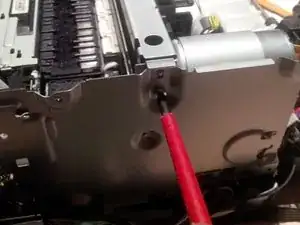
    • remove the red circled screws.

    • this step and the next is actualy 1 big step.

  8. dDQ1oCnBDAMVGCPZ
    dDQ1oCnBDAMVGCPZ
    fUQYWlCtaBssG6e5
    mQPiLSGybg1ExLSE
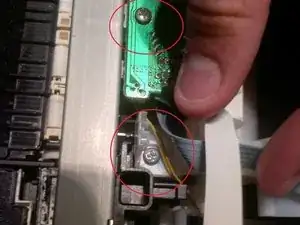
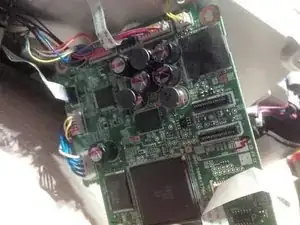
    • remove the 2 screws. one on a PCB board and the other in the white plastic.

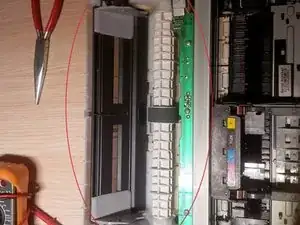
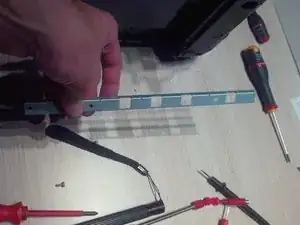
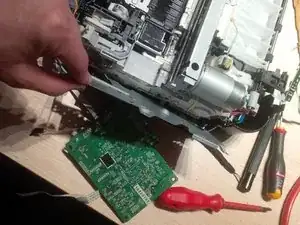
    • remove the long PCB , remove the three thick screws

  9. OZrLm4eIPTHMUQhA
    OZrLm4eIPTHMUQhA
    ZA6dbsOmDi4h3Nok
    ib1ra1A6DXYmHAMI
    • remove all the wires, some are attached to the PCB.

    • now you can remove the paper roll.

  10. GCYNiWTRsyRK2h3q
    GCYNiWTRsyRK2h3q
    OkbpYaDNgUepNfCV
    pDSjbX2TTKRERFKy
    • remove the other visible scerws at the back.

  11. 6cyYOhZVCliFTDEh
    6cyYOhZVCliFTDEh
    cBng1BOtIAWYyhVF
    fHQKQmGAuHyPITOf
    • same as before, remove all other visible screws at the side.

  12. PUSJTJjy2bcQpxYC
    PUSJTJjy2bcQpxYC
    6OUonBMfQ6oRcKTJ
    • now remove the metal plate (long) , 4 screws in total. 1 screw is attached at an PCB board.

  13. Q5W1pqMDRgIBIItp
    Q5W1pqMDRgIBIItp
    RpYQBe5W3LeOGvAP
    xunpLZJB3qRk6Bjt
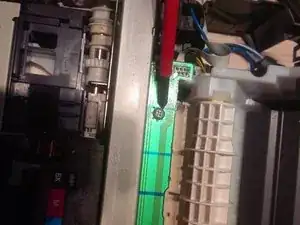
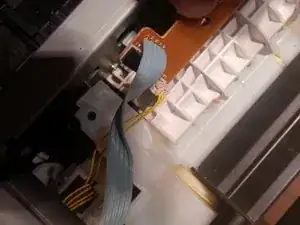
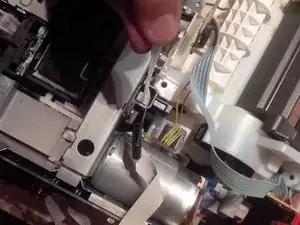
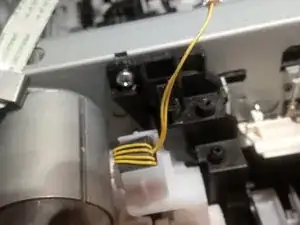
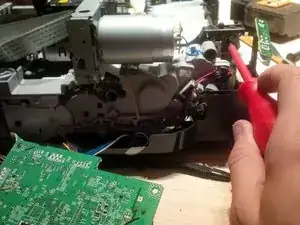
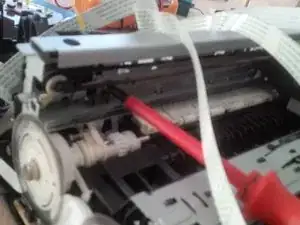
    • the pictures here are to remove the other metal plate, you'll see the colored wires running trough. remove the plastic and metal frame

  14. 5sYcbubGAxmpqhhJ
    5sYcbubGAxmpqhhJ
    OMKufBQmLASqOtXj
    2HqMnaZYRl3LBuJn
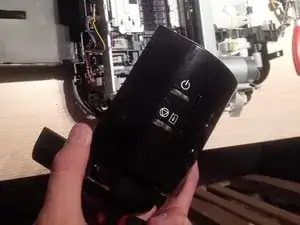
    • in this step we will remove the panel and PCB of the power button.

    • remove the visible screws and pull the plastic frame off.

  15. SFhgATtWuSrHZk6q
    SFhgATtWuSrHZk6q
    olA2smI3BWVdepNQ
    62644VgF2CIedn1I
    • remove the main PCB board.

    • remind were al the wires run to. i made a plan of it so i could use it later in an other printer.

  16. fCRSkpSuUJXCsFwT
    fCRSkpSuUJXCsFwT
    srJGvx4PpVtbKyLi
    JESLaIFKXFkoAy1o
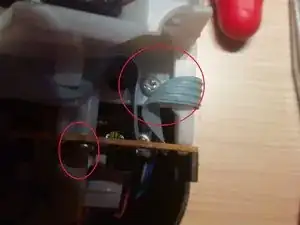
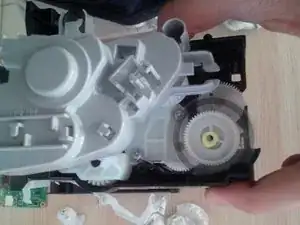
    • remove the metal plate and screw behind the PCB board

    • remove the plate and remove the hidden screws

  17. 42x6uNELVdB52cNI
    42x6uNELVdB52cNI
    tsK1GMlMPFUagk5C
    • remove all other screws

  18. 4FtwIwrQfIuIHd1M
    4FtwIwrQfIuIHd1M
    PUJTIQmJwQLHLkDJ
    KtkvmwRwvWwPwWEM
    • remove the metal plate ( where the printhead cable runs trough)

  19. UXVDW1gQ2QbEPXMV
    UXVDW1gQ2QbEPXMV
    ReD1SstuZPHHhvPn
    • remove the last screws from the bottom plate

  20. ZRt6HQxfje4S54HK
    ZRt6HQxfje4S54HK
    uFH46eNKZHdoKllX
    wbcYPddIeGbppmUr
    • remove the white plastic plate like you see on the pictures

  21. gIPQuv5atiAZsgFh
    gIPQuv5atiAZsgFh
    fRJKK1No3g12PkSY
    O3gISRZQW4UI5QDs
    • remove the plastic rotors.

  22. uUhY5pgpkdgJfRTY
    uUhY5pgpkdgJfRTY
    Ln1BgVBbj1MYfZp2
    1SZZsqVrVcqWyxj4
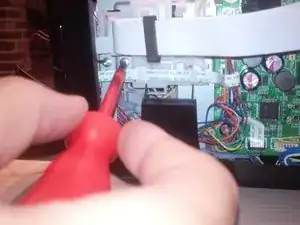
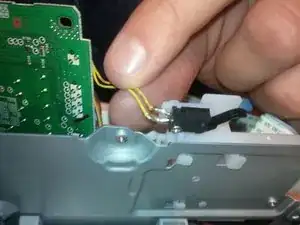
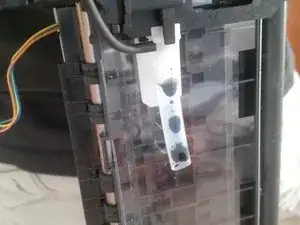
    • gently remove the ink tubes.

    • there is still inkt left in the tubes so use cotton towels or tissues.

  23. BRMkNxXIoMoTOUxs
    BRMkNxXIoMoTOUxs
    1Pr3MVaWPXZiZyr2
    aXbaLsXBoQApNttV
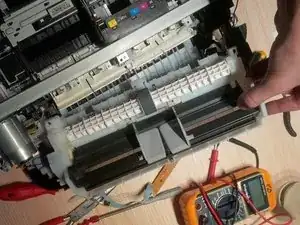
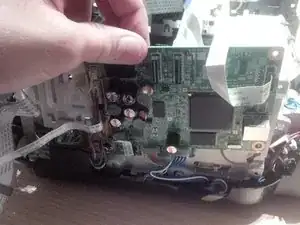
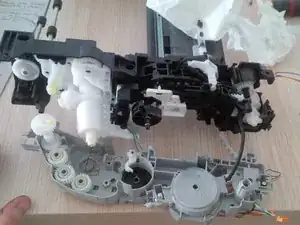
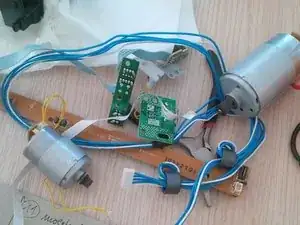
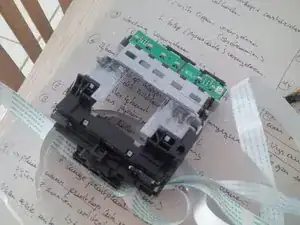
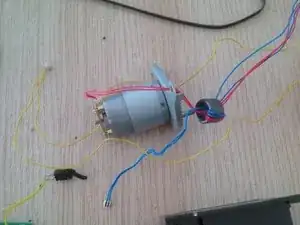
    • in the last pictures you will see all the parts like the motor PCB boards, power button print head holder ...

    • hope this guide helped you out.

Kevin D

Member since: 02/05/14

7276 Reputation

3 comments

Fixing back the printer but the connector wires are damaged in the ends any better way to get the connectors working again?

Paneer Selvam -

which connectors do you mean? soldering?

Kevin D -

unfortunately the Pixma MP printers and AIO are one of the most complicated to repair and undocumented in service guides printers in the world :(

Daniel Grafic -