Introduction
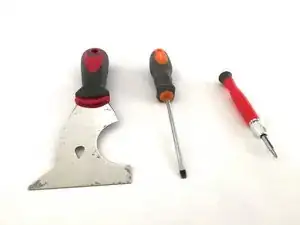
Tools
-
-
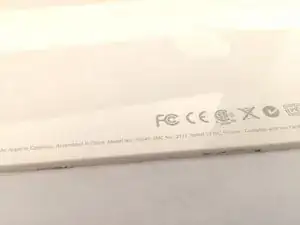
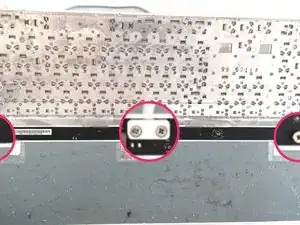
The underside of the keyboard is affixed by a layer of adhesive that covers the entire surface. There are no screws holding the rear cover in place.
-
-
-
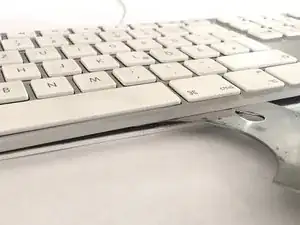
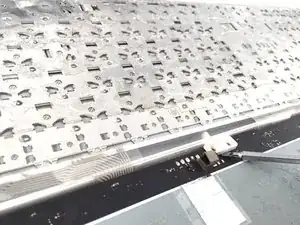
Open the front end of the keyboard with a prying tool.
-
Using a heat gun on low setting can be used carefully to heat the rear cover and soften the adhesive. Work in sections heating and then gradually prying the sections apart.
-
Avoid using too much heat otherwise you will distort or melt the cover or other plastic parts. Do not use excessive force to remove the cover as the alloy is thin and bends easily. The keyboard will be permanently distorted.
-
-
-
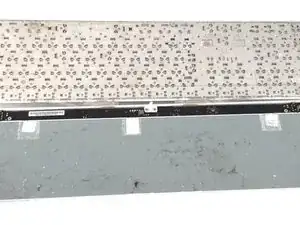
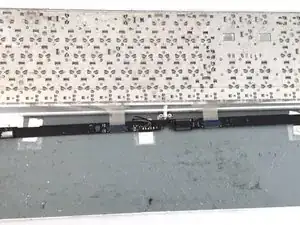
The main keyboard backplate is held in by dozens of spot welds, the only way to disassemble further is to remove them with a drill!
-
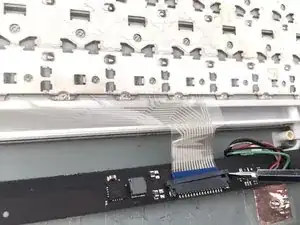
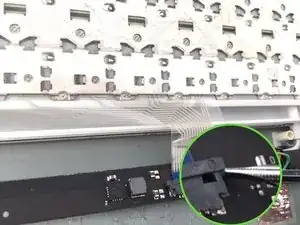
The logic board is secured with philips head screws. Two ribbon cable connect the keyboard to the logic board. Damage to a cable will result in whole sections of keyboard not functioning.
-
-
-
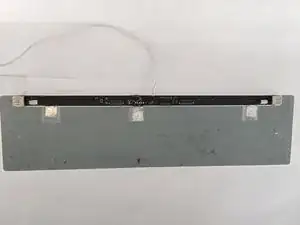
There are practically no serviceable parts inside the keyboard other than the logic board but even so due to the assembly of the keyboard there are no spare parts available to buy even if you could. There is little practical reason to actually disassemble the keyboard
-
-
-
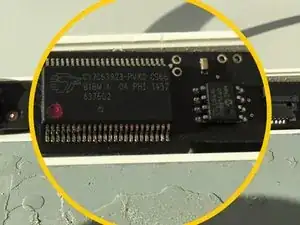
Cypress CY7C63923 (Low-Speed USB Peripheral Controller)
-
ST 95040W (4kbit EEPROM)
-
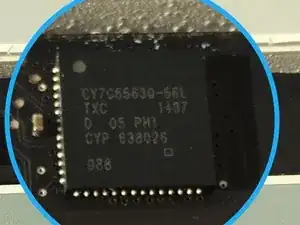
Cypress CY7C65630-56L (Low Power USB 2.0 Hub)
-
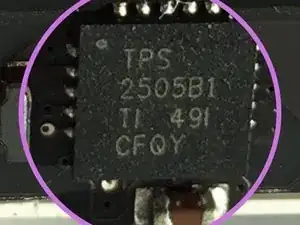
Microchip 2026-1YM (Dual-Channel Power Distribution Switch)
-
-
-
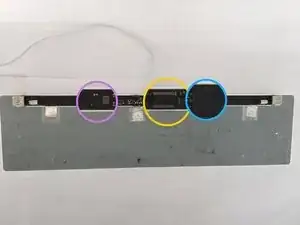
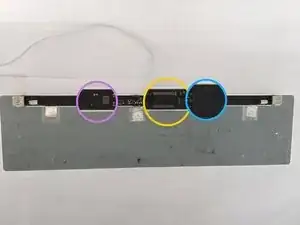
The yellow circled element is a Cypress CY7C63923-PVXC, a "Low-Speed USB Peripheral Controller" .
-
The blue circled element is a Cypress CY7C65630, a "Low-Power USB 2.0 Hub Controller".
-
19 comments
Any hope of replacement of a defective key switch?
I think I will need to open mine to replace the USB wire.
I fried one of the usb port with coil back current, the other port runs well so does the keyboard.
How do I fix that? Is there a fuse to replace?
daslolo -
