Introduction

  1. YPIUoaLurYsFFqmk
    • Lay out your mouse and gather your tools.

  2. WTrOkYaOKkUeJfSX
    • Use metal spudger to lift sticker

    The wireless version has two (2) more screws under the other two (2) small circular pads.

    Terry Ess -

  3. JYvT5IqaAtLLwcol
    • Using a phillips #0, unscrew the screws

  4. QSECTTSfbDArye5x
    • Applying some force lift the mouse top up and backward at the same time to disconnect it

  5. QN6gT1mmYw5GOaJm
    • Once inside pull on the scroll wheel to remove it from the board

  6. nbvmt4DRYgcrB1mK
    • Pull on the cable and the board should come out

    The wireless version has yet another small Philips head screw holding the main board to the base.

    Terry Ess -

  7. MOFU5WfOGRmYMW1C
    • Then pull out the plastic at the bottom

    In the wireless version there is also a slider under the main board that engages with the battery (AA size) isolation switch.

    Terry Ess -

  8. WLwuRmeFLDySjhhZ
    • All done just follow guide in reverse to reassemble

Oduelca

Member since: 16/05/21

187 Reputation

2 comments

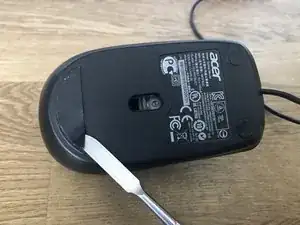
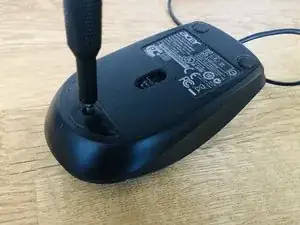
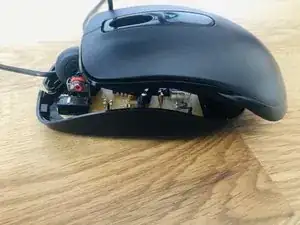
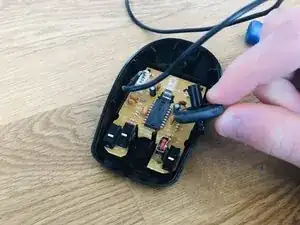
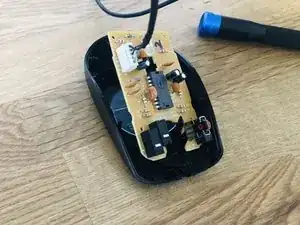
The wireless version of this mouse has 2 extra screws under the other two small pads and arranged differently because of the battery compartment intrusion into available space. There was also a small screw retaining the circuit board.

Terry Ess -

Scroll not working

Nimai Padhy -