Introduction
Parts
-
-
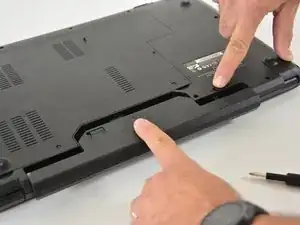
Unlock the lock latch on the left.
-
Unlock the lock latch on the right.
-
Remove the battery while holding the lock latch unlocked.
-
-
-
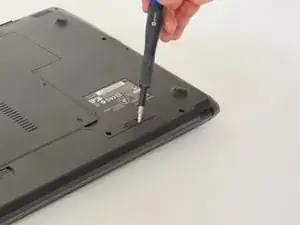
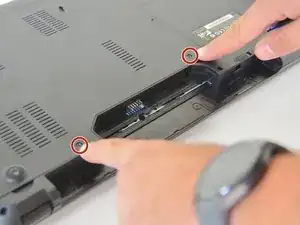
Using the Philips # 0 screwdriver, unscrew the 2 screws from the bottom cover.
-
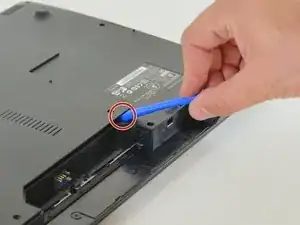
Lift the bottom right cover with the iFixit Opening Tool.
-
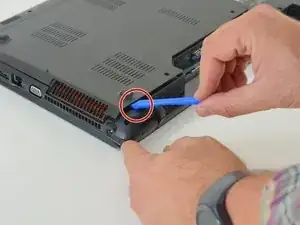
Lift the lower left cover with the iFixit Opening Tool.
-
Finally clear the bottom cover completely to access the main components.
-
-
-
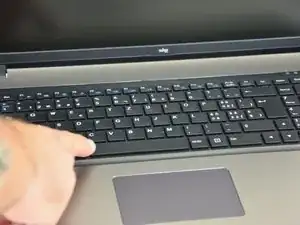
Once the bottom cover is removed you can start disassembling the keyboard.
-
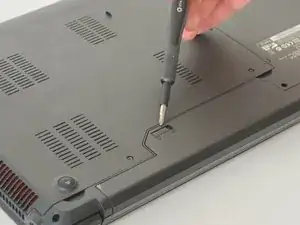
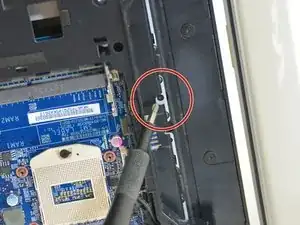
Start by turning the computer over and then unscrew the screw shown in image 2 of this step.
-
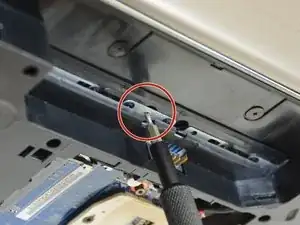
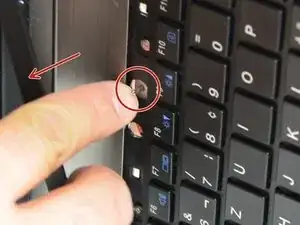
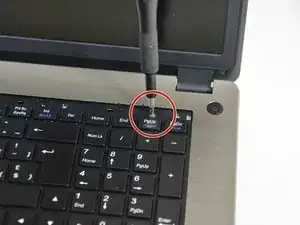
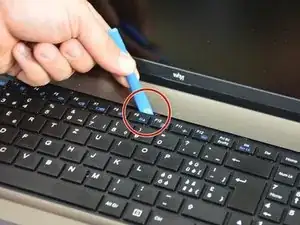
Then using the screwdriver unscrew the bar that hides the screws fixing the keyboard.
-
-
-
Once the bar hiding the fixing screws of the keyboard is unclipped we see the tip of the screwdriver.
-
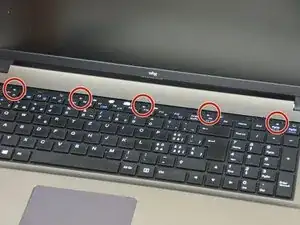
Now find the 5 screws fixing the keyboard.
-
Unscrew the 5 screws.
-
-
-
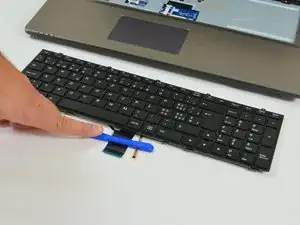
Now gently lift the keyboard.
-
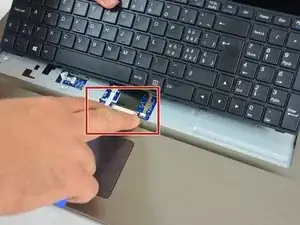
Then appear the keyboard connection cable and the keyboard backlight cable
-
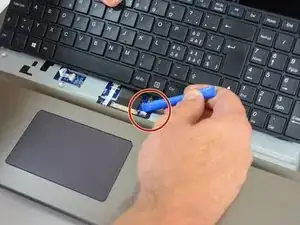
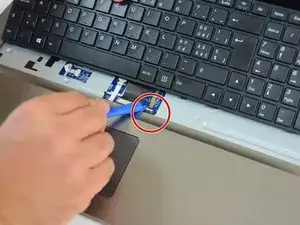
Start by unlocking the right latch of the connector securing the backlight cable.
-
-
-
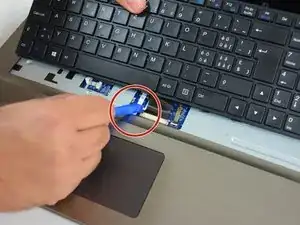
Then the one on the left.
-
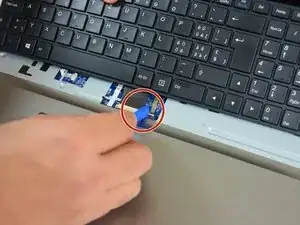
Do the same with the left latch of the connector securing the main cable.
-
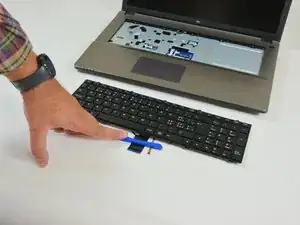
Then with the right latch of the connector fixing the main cable.
-
To reassemble your device, Follow these instructions in reverse order.
