Introduction
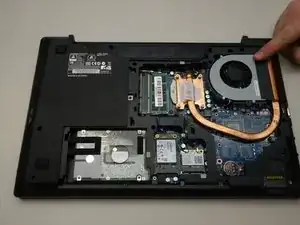
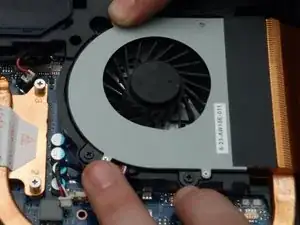
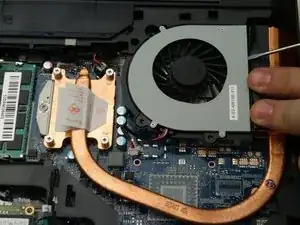
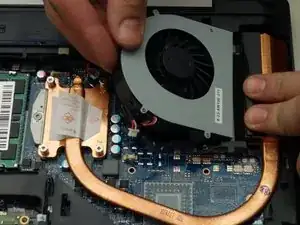
Fan disassembly for cleaning or replacement.
Tools
Parts
-
-
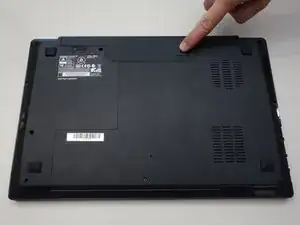
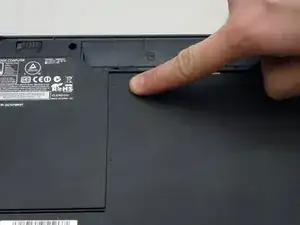
Slide the latch on the right to the unlocked position.
-
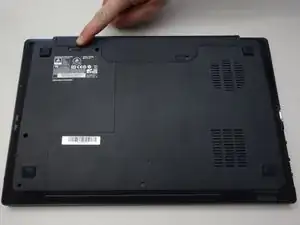
Slide the latch on the left to the unlocked position.
-
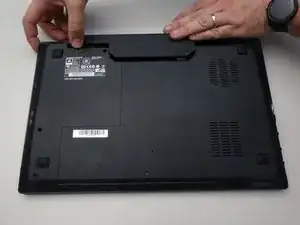
Remove the battery pack from the slot.
-
-
-
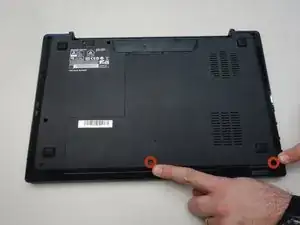
With your #0 Philips screwdriver remove the 2 screws from the bottom panel.
-
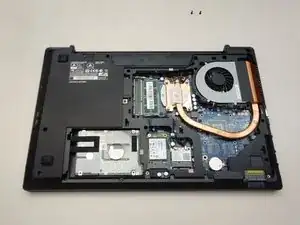
Now you can remove the bottom cover.
-
-
-
Start by locating the fan.
-
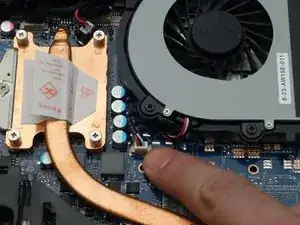
Unplug the power cable from the motherboard.
-
Remove the three screws that secure the fan.
-
Conclusion
To reassemble your device, follow these instructions in reverse order.
