Introduction

Motors are often used in robot vacuums and other machines. The side brush motors on your ionvac SmartClean V2 help power the spinning side brushes and maintain its optimal performance. If your ionvac has reduced cleaning efficiency, inconsistent brush functionality, or unusual noises, this may be a sign that the brush motors need to be cleaned or replaced.

This guide will show you how to replace the side brush motors and requires more time and attention to detail than other ionvac guides. You will need a Phillips #2 (PH2) screwdriver and a Jimmy tool (or another prying tool) to complete it. Remember to remove and reinstall all parts gently.

  1. 3fcu4aQZ3Vfdx4OP
    3fcu4aQZ3Vfdx4OP
    W4eABr4NQsenpFKu
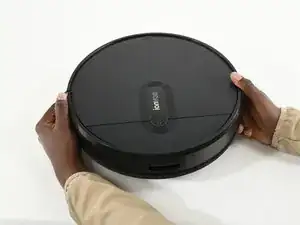
    • Caution: Before beginning, turn off the ionvac and place it on a level surface.

    • Keep in mind that your ionvac has many small screws that can be easily lost. Using a magnetic project mat is best to prevent misplacing any parts.

    • Flip your ionvac right-side up, turning it so that the front filter vents are facing forward and the power button is furthest from you.

  2. aIuCtaWHUgX5QDfr
    aIuCtaWHUgX5QDfr
    umsoyXvYB52wLxQP
    DMbGrDHM3ht3yqCJ
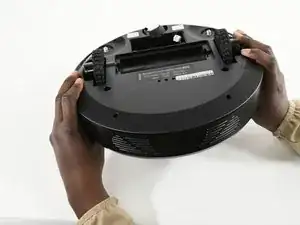
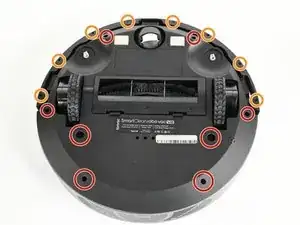
    • Use a Phillips screwdriver to remove the 8 screws indicated in red holding the base together.

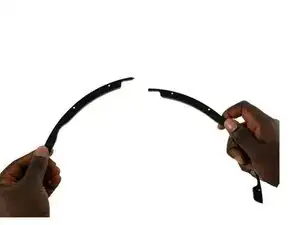
    • Use the same screwdriver to remove the 8 screws indicated in orange which hold the rims (bumper arms).

    • Remove the rims from your ionvac and set them aside.

  3. CfSKBUZXDVo5cAXP
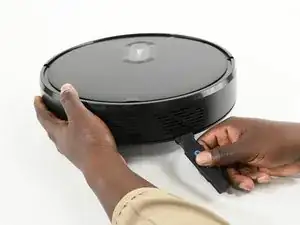
    • Flip your ionvac right-side up and tilt it upwards at a 45 degree angle.

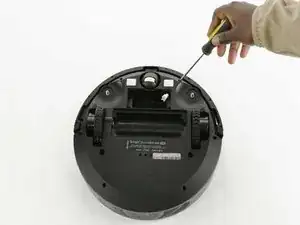
    • Use a Jimmy or prying tool to wedge the sharp end through the bottom crevice (below the sensors).

    • Continue prying the outside rim of your ionvac open. You will feel the top shell (frame or cover) loosen.

    • Caution: Resist the urge to tear the top shell open until the entire rim has been loosened.

  4. P2UJoFQmhkC3KJGr
    P2UJoFQmhkC3KJGr
    IBNxAmjcb1LKRsSS
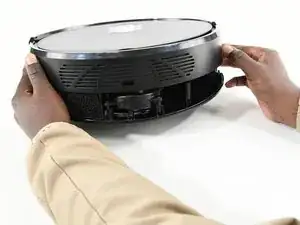
    • Lift the top shell off carefully.

  5. cpO255OdwKWbfUQB
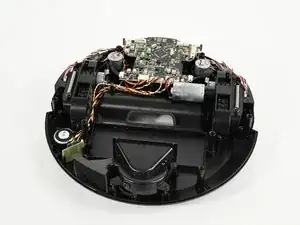
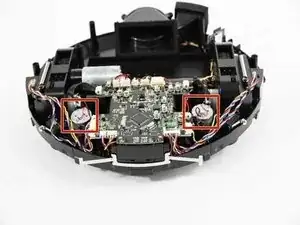
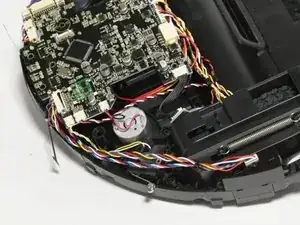
    • Identify the 2 side brush motors that look like cylinders on the bottom shelf of your ionvac.

  6. LeKbgwpluWkFwfnK
    LeKbgwpluWkFwfnK
    UcBkkipValT1dR2I
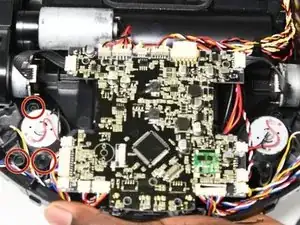
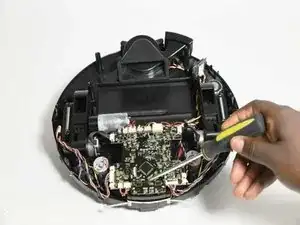
    • Remove the 3 screws that attach the motor to the bottom shelf.

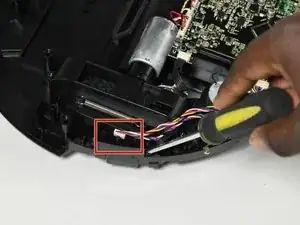
    • Lift the motor out of its slot.

  7. SdDMUb5O1eEGIomW

    SIDE BRUSH ERROR FIX:

    If the machine is throwing the side brush error and one or both side brushes have stopped spinning after having been cleared and can spin smoothly by hand, they may not need to be replaced immediately or at all.

    1. Follow steps 1-5 of the above guide.

    6. Disconnect one of the side brush motors from the circuit board.

    7. Without replacing screws, replace main housing, switch power ON, flip unit over, and place on floor, and start unit to test.

    8. If the unit continues to throw the error, gently flip it over, turn it off, remove the main housing, and re-connect the brush motor and disconnect the OTHER side brush motor.

    9. If unit runs without throwing the error after step 7 or 8, stop the unit, gently flip it over, turn it off, remove the main housing, and re-connect the brush motor. This can 'restart' the brush motor that is throwing the error.

    10. Unit can run with either or both motors disconnected if necessary.

    Rmitchell -

Conclusion

To reassemble your device, follow these instructions in reverse order.
Ruth Mekonnen

Member since: 11/09/23

725 Reputation

0 comments