Introduction
If your tablet fails to hold a charge, use this guide to replace your worn out battery. It is important that the device be completely powered off before proceeding. In addition, one must take care not to puncture or snap the battery while prying it free. This guide will also require the desoldering of two wires connecting the battery to the motherboard.
Tools
-
-
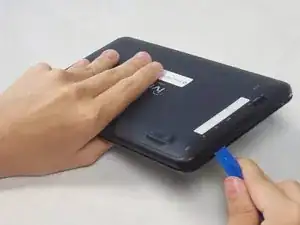
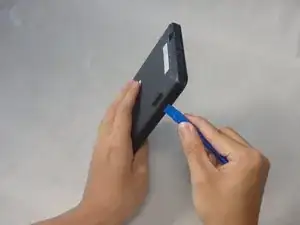
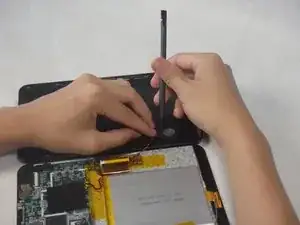
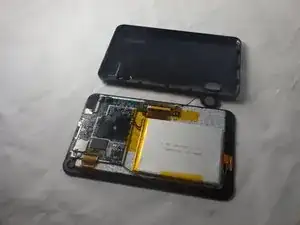
Use the plastic opening tool to release the clips holding the rear panel of the device onto the front section.
-
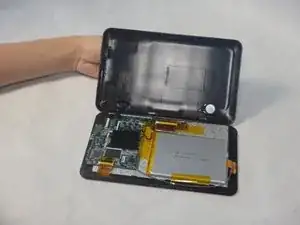
Continue around the entire device until all of the clips have been released.
-
-
-
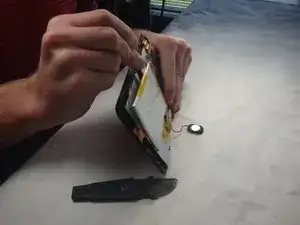
Use a spudger to carefully free the speaker from it's housing on the back panel.
-
Place the spudger between the speaker and the rear panel. Use a prying motion to remove the component.
-
-
-
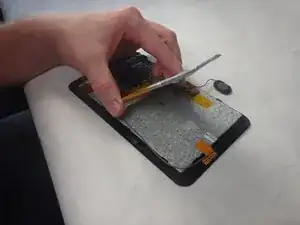
Insert the flat side of the standard spudger underneath the battery and use a prying action to loosen the glue holding it to the digitizer.
-
Do this all around the battery until it comes off.
-
-
-
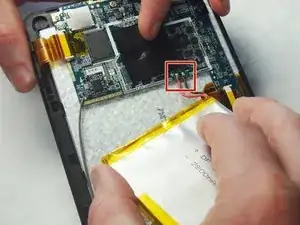
Use the Portable Soldering Iron tool to heat the leads coming from the battery to the motherboard, thereby breaking the connection.
-
Once heated, use tweezers to pull the wires free from their connections.
-
To reassemble your device, follow these instructions in reverse order.
